Adventure Travel Selfie Tips Guide: How to Take Better Selfies in the Wild
Why Regular Selfie Rules Don’t Apply to Adventure Travel
Most selfie advice assumes you’re on flat ground, near a power outlet, and not getting rained on or eaten by bugs. That advice falls apart when your environment is fighting you. The golden hour sounds great until you’re on a ridge at noon with harsh overhead light. The arm’s-length trick usually gives you a blurry background and a thumb in the frame.
Adventure selfies need a different approach. You deal with moving subjects, uneven terrain, unpredictable weather, and gear strapped to your pack. And you need to stay alive, which sounds obvious but gets forgotten when the view is stunning. This guide covers gear that fits in a pack, composition that works in rough conditions, lighting adjustments you can make without a studio, and camera settings that save headaches. It also covers when to just put the camera down. The point is getting genuine shots without turning your trip into a production.
I’ve made enough mistakes to learn a few things. Dropped a phone in a crevasse. Took hundreds of selfies that looked like I was swatting bees. Spent twenty minutes setting up a tripod on a sloped rock while my legs shook. Those failures taught me what actually works. The advice here is practical and built for people who care more about the experience than the feed.

The Three Critical Mistakes Most Adventurers Make
Avoid these three errors and you’ll save most of your adventure selfies. They’re not about lighting or specs. They’re about judgment and timing.
Mistake One: Putting Safety Second for a Shot
This is the big one. You see a ledge or cliff edge and think it would make an incredible selfie. Then you lean back, stretch your arm out, and stare at your phone instead of the ground. That’s when people slip, fall, or drop gear. I watched someone nearly back off a wet log trying for a reflection shot. The rule is simple: if your feet aren’t on stable, flat ground, or you have to contort your body to frame the shot, skip it. No image is worth a twisted ankle or worse.
Mistake Two: Using the Wrong Camera Settings for Harsh Light
Midday sun makes your phone adjust exposure based on the brightest part of the scene. Your face ends up in shadow against a blown-out sky. The fix is exposure compensation. On an iPhone, tap the screen, then swipe down to darken. On most Android phones, the same gesture works. Dial it down slightly to keep sky detail, even if your face gets a little darker. You can fix a dark face later. You can’t fix a white sky with no detail.
Mistake Three: Ignoring Your Background and Foreground
Pointing the camera at your face doesn’t magically include the environment. The background shrinks to a small area above your head, and the foreground is your arm and shoulder. The point of an adventure selfie is showing where you are. You need to manage the relationship between your face, the midground, and the background. On a ridge, make sure the ridge line is visible behind you. Beside a waterfall, include enough for context but not so much you’re a tiny speck. Take a quick test shot, check it, and adjust your arm angle or position. Taking ten seconds can save a series of unusable close-ups.
Gear That Actually Helps (Without Weighing You Down)
You can’t carry a full camera kit on a hike. But a few carefully chosen items make a big difference without adding bulk.
A Lightweight Tripod or a GorillaPod
Standard tripods are heavy and useless on uneven ground. A GorillaPod with bendable legs is more practical. Wrap the legs around a tree branch, rock, fence post, or backpack strap. It stabilizes the camera, eliminates shake, and lets you use a self-timer or remote shutter without holding the phone at arm’s length. You can also step away for a wider shot that shows the surroundings. A GorillaPod with a small ball head works well for static scenes like summit views or calm water reflections. It weighs around 200 grams and folds to the size of a water bottle. Travelers who need reliable support on uneven terrain might consider a flexible tripod that wraps around rocks or branches.
A Remote Shutter or Bluetooth Clicker
Self-timers force you to rush back into position. A small Bluetooth shutter button solves that. Clip it to your backpack strap or keep it in a pocket. Set up the shot, press the button, and the photo fires instantly. Useful for action shots like jumping or climbing because you trigger the shutter at the right moment. Voice commands don’t work well in wind. A cheap Bluetooth remote shutter costs around fifteen dollars and lasts months on a watch battery.
A Clip-On Wide-Angle Lens
Most phones have a wide-angle mode, but quality is often poor in low light. A small clip-on lens from Moment or a generic brand gives a wider field of view without distortion or softness. Useful in tight spaces like slot canyons or when you want to include more landscape without backing up. Wide-angle exaggerates the foreground, so it works best when you’re relatively close to the camera and the background is far away.
A Protective Case or Pouch
Adventure environments are rough on gear. Sand, water, mud, and impacts happen. A padded case or waterproof pouch protects your phone. Waterproof pouches are useful for kayaking or rainy hikes. They’re cheap and lightweight. A dedicated camera strap with a quick-release system helps prevent drops. If your camera has a lanyard hole, use it.

Mastering Composition in Challenging Environments
Composition matters more in adventure settings because the background is the whole point. Balance your presence with the environment so the viewer understands both scale and place.
The Rule of Thirds for Adventure
Place your face slightly off-center. This creates a more dynamic image and leaves room for the background. On a ridge, position yourself on the left or right third with the ridge line leading the eye. Beside a waterfall, put the waterfall on one side and yourself on the other. Avoid static mugshot looks.
Using Natural Framing
Look for natural elements that frame the scene: an overhanging branch, cave entrance, rock pillars, or foliage gaps. Position yourself so these elements appear on the edges. This adds depth and draws the eye. It makes the image feel intentional.
Avoid the Empty Middle
A common mistake is having a vast empty space in the middle of the frame. Face on one side, sky or flat water on the other. It feels unbalanced and boring. Fill the middle with something interesting. Move closer to the landscape or include a distinct feature like a peak, tree, or rock formation.
Action Checks Before You Tap
Before pressing the shutter, run a quick mental checklist: is my face in focus, is the background visible and interesting, is there clutter in the frame, is the horizon straight, does my body look natural. Taking a few seconds saves you from deleting a series of shots. If you have time, take two or three variations with different angles.
Lighting on the Move: Working With What You Have
Outdoor lighting is rarely perfect, and you rarely have time to wait. Know how to adjust quickly.
Managing Harsh Midday Sun
Midday sun creates deep shadows and blown-out highlights. The easiest fix is partial shade under a tree or overhang. If none exists, hold your hand or a hat above your head to cast a small shadow on your face. This softens the light. Shooting with the sun behind you lights your face evenly but looks flat. A better option is putting the sun to one side and blocking it from hitting the lens directly.
Using Shadows Creatively
Shadows aren’t always bad. A strong shadow across your face can create a dramatic, moody portrait if it fits the scene. On a rocky ridge with contrast, a shadow across half your face can emphasize ruggedness. But if you want even light, avoid shadows across your eyes or nose. Move your body or tilt your head until the shadow sits on one cheek or below the chin.
Exposure Compensation for Backlighting
Backlighting creates a silhouette when the sun is behind you. This can be beautiful for creative shots, but if you want your face visible, compensate. On a phone, tap the screen on your face, not the sky. This forces exposure for your face. The sky may blow out, but that’s acceptable for adventure shots. On a camera, use spot metering or set exposure compensation to +1 or +2.
Bouncing Light With Anything You Have
If your face is in shadow, bounce light onto it using a white surface. A white shirt, piece of paper, reflective emergency blanket, or a friend’s light backpack can act as a reflector. Position it to catch the sun and bounce it toward your face. This creates soft, even light without a flash. Works well in open landscapes with no control over the light source.
Camera Settings for Fast, Effective Selfies
Knowing your camera settings saves time and frustration. You don’t need to be an expert, but understanding a few controls prevents common errors.
Smartphone Settings
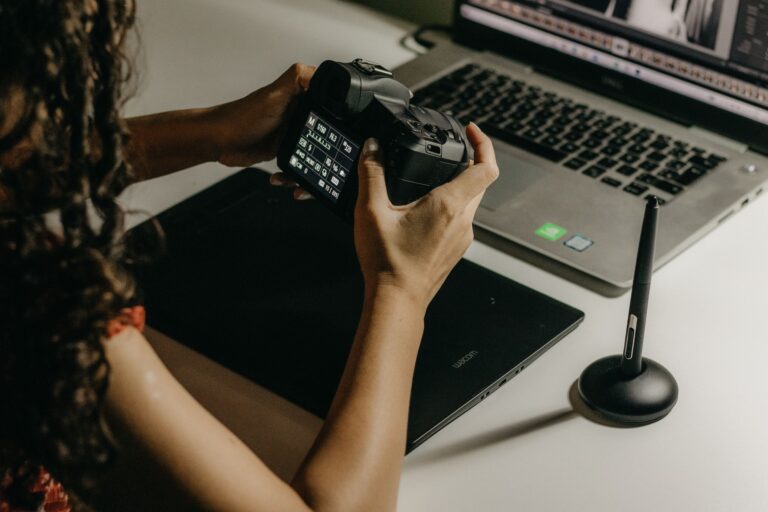
Most phone cameras are good, but override defaults for adventure selfies. Tap to lock focus on your face. This prevents the camera from hunting for focus while you move. Adjust exposure by swiping up or down. A slightly darker face is better than a blown-out background. Use burst mode for action shots. Hold the shutter button for several frames per second. Out of ten shots, at least one will have both face and action in focus. For static shots, use the 10-second self-timer with the phone propped on a rock or tripod.
Mirrorless or DSLR Settings
Switch to Aperture Priority mode. Set the aperture wide (low f-number like f/2.8 or f/4) to blur the background slightly and isolate you from the environment. For everything in focus, stop down to f/8 or higher. Use a 2-second self-timer to avoid camera shake. Set drive mode to continuous for action shots. For consistent results, use manual focus. Pre-focus on a spot where you’ll stand, then move into position and fire.

Quick Reference List
- Phone action shot: Lock focus, exposure -0.3, burst mode, 10-second timer.
- Phone static shot: Lock focus, exposure -0.7, 3-second timer, tripod or stable surface.
- Camera action shot: Aperture Priority at f/4, continuous drive, 2-second timer, auto-ISO.
- Camera static shot: Aperture Priority at f/8, single shot, 2-second timer, ISO 100-400.
- Low light: Use a tripod, increase ISO to 800-1600, use self-timer to avoid shake.
Planning Your Shot Location and Time of Day
The best selfies come from preparation. A little planning saves you from hiking to a spot with bad light or a crowded foreground.
Before you leave, scout your location using Google Earth or recent social media posts. Look for good viewpoints or natural features. Know where the sun will be when you arrive. Apps like Sun Surveyor or PhotoPills show the sun’s path to predict shadows and bright spots. The golden hour gives warm, soft light that flatters faces and landscapes. The blue hour creates cool, moody tones. Both are worth planning around.
The tradeoff is energy. You might be most tired after a long hike, but the light might be best then. Plan a short break at the viewpoint during golden hour. Rest, hydrate, eat, and spend ten minutes taking photos. Don’t rush. If you’re exhausted, your posture and expressions will look strained. If the light is perfect but you’re tired, take a few shots anyway. You can always delete them, but you can’t go back in time. Prioritize the experience, but use good light when you have it.
Staying Safe While Getting the Shot
This isn’t optional. People die or get seriously injured trying to take selfies in dangerous locations. Don’t become a statistic.
Never set up near a cliff edge, steep drop, or fast-moving river. If you have to lean back or stretch your arm out to frame the shot, you’re too close. Use a spotter if possible. Ask a friend or stranger to watch your footing while you set up. If you’re alone, take extra care. Test the stability of the ground before committing to a pose. Secure your camera or phone with a wrist strap or lanyard. A dropped phone in a canyon is probably unrecoverable. A simple phone wrist strap or lanyard can prevent a costly drop in the backcountry.
If I feel unsteady, rushed, or uncertain about my position, I skip the shot. There’s always another angle, another view, another day. The memory is more important than the image. If conditions are risky, put the camera away and enjoy the view. No photo is worth a fall.

Editing Without Overdoing It
Editing is a finishing touch, not a fix for a bad shot. If the photo is technically bad, no amount of editing saves it. But small adjustments fix common outdoor issues.
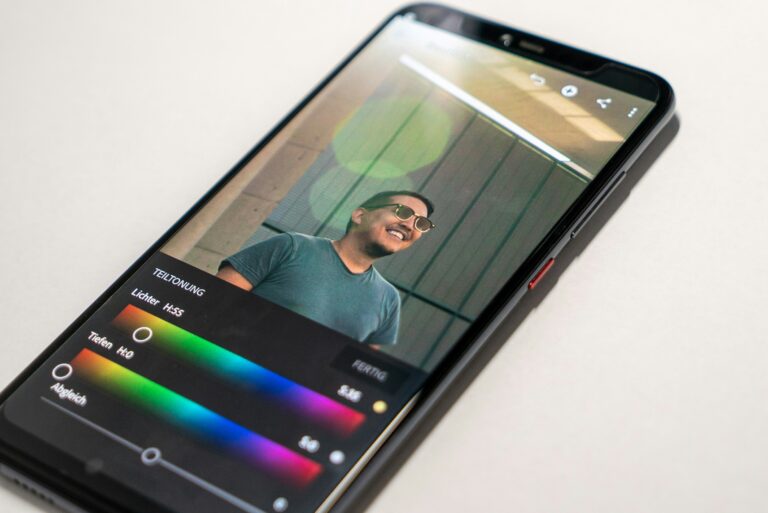
Use a simple app like Adobe Lightroom Mobile or Snapseed. The adjustments that matter most are brightness, contrast, and shadows. If your face is too dark, increase shadows. If the sky is too bright, decrease highlights. A slight increase in clarity adds texture without looking artificial. Avoid over-saturation. Nature already has vibrant colors. Pumping them up makes the image look fake. Same with heavy filters. A filter that turns blue sky purple or green forest neon doesn’t help. It makes the environment unrecognizable.
Make a few subtle adjustments and compare the edited version to the original. If you can’t tell the difference at a glance, you’re on the right track. If the edited version looks like a different location, you’ve overdone it. Keep it authentic. Represent the place as it was.
When to Use Someone Else’s Photo Instead
Sometimes a selfie isn’t the best or safest option. Recognize those moments and pivot.
If you’re on a guided tour, the guide often knows the best spots and can take a picture from a distance with a proper camera. You get a high-quality image without setting up your own gear. If you’re with a friend, hand them your phone for a candid shot. The angle is different and the expression is more natural. If you’re in a particularly dangerous location, buy a high-quality image from a local photographer or stock site. Many guides sell digital copies. It feels like cheating, but the result is usually better than anything you could capture yourself. And it keeps you safe.
Not every adventure needs to be documented by you. Some of the best memories come from moments when you weren’t holding a camera. If you consistently struggle with selfies in certain conditions, outsource it. The memory is what counts.
Final Thoughts: Practice Over Perfection
The best adventure selfies come from experience. You’ll take bad shots, delete them, and learn. That’s how it works. Start with safety as your priority. Choose simple, lightweight gear. Practice composition in easy settings before attempting high-risk shots. Use camera settings that match the moment and plan timing around the light. Don’t be afraid to take a dozen attempts. One will work.
On your next trip, pick one tip and try it. You might surprise yourself. If you find yourself in a location where the light is perfect, the composition is clean, and your feet are stable, take the shot. You earned it.