Solo Trekking in Nepal: Routes and Safety Tips
Why Trek Solo in Nepal? The Tradeoffs You Need to Know
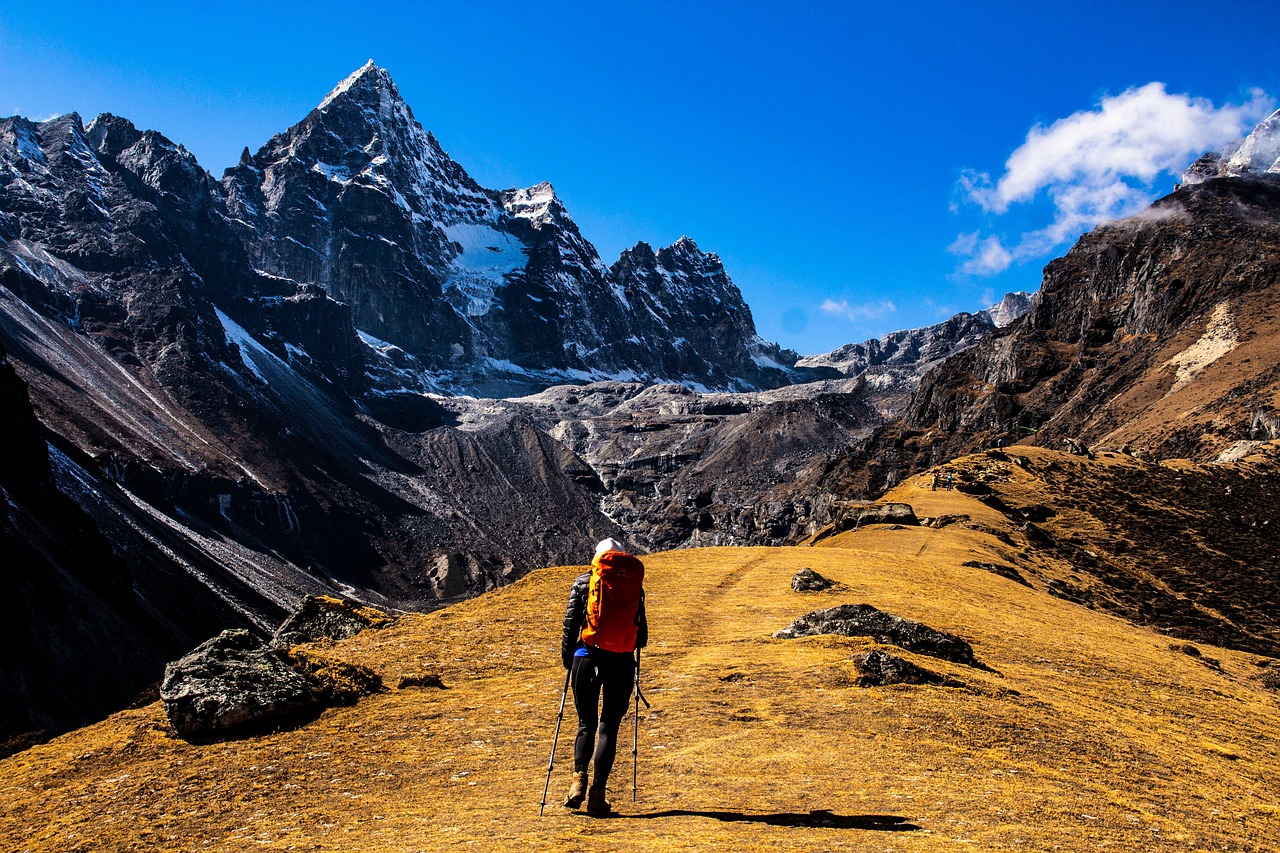
Trekking solo in Nepal sounds romantic until you’re standing in a monsoon downpour trying to remember if the trail marker was red or white. The tradeoff is simple: total freedom in exchange for total responsibility.
Solo trekking lets you set your own pace, change your itinerary on a whim, and spend real time in places that interest you. No waiting for anyone. No negotiating group decisions. But there’s also no one to help if something goes wrong.
Short, well-trodden routes like the Ghorepani Poon Hill loop are ideal for solo trekkers. The trails are busy, the teahouse infrastructure is solid, and you’re never more than a few hours from help. Experienced trekkers with good navigation skills can handle longer routes like the Annapurna Circuit or Everest Base Camp during peak season.
Remote high passes, technical sections, or trekking during the monsoon when trails are slippery and visibility drops are not ideal for solo travel. First-timers should think carefully before attempting anything beyond a short route. The mountains don’t care about your enthusiasm.
The honest truth is that solo trekking requires more self-reliance, not less. You’re the navigator, medic, planner, and decision-maker. That’s the appeal for some people, and the dealbreaker for others.

Choosing the Right Route: Safety and Logistics Considerations
Route selection is the single biggest safety decision you’ll make as a solo trekker. The best routes have good trail marking, reliable teahouse infrastructure, and enough other trekkers around to provide backup if needed.
Annapurna Circuit
The Annapurna Circuit is a classic choice for solo trekkers. The trail is well-established, teahouses are frequent, and the terrain is diverse without being technically demanding. You’ll need an Annapurna Conservation Area Permit (ACAP) and a Trekkers’ Information Management System (TIMS) card. The circuit takes 12 to 18 days depending on your pace. The safety profile is good, as you’re rarely alone on the trail. The high point at Thorong La Pass (5,416m) requires proper acclimatization, but the multi-day approach to altitude makes this manageable.
Everest Base Camp
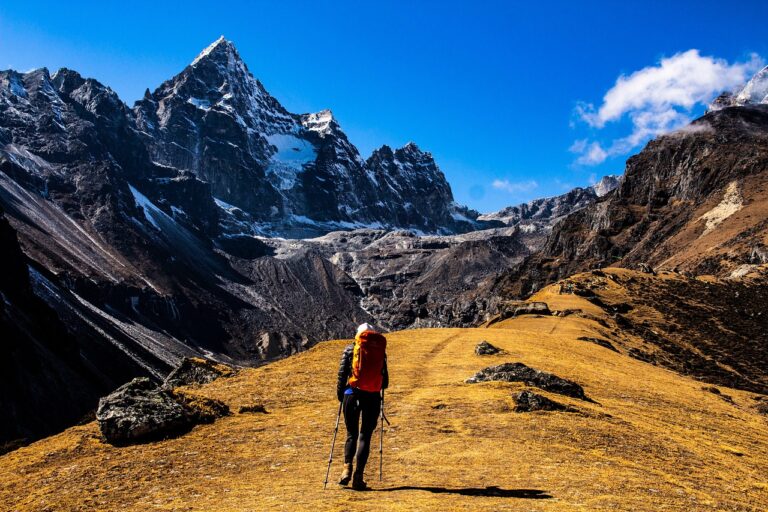
The Everest Base Camp trek is another strong option. It’s busy, which might sound bad but is actually good for solo safety. Teahouses are frequent, the trail is clear, and there’s a well-established lodge network all the way to Gorak Shep. You’ll need a Sagarmatha National Park Permit and a TIMS card. The trek takes 12 to 14 days. The main risk is altitude, since you’re sleeping above 5,000m at Everest Base Camp. The trail is well-maintained and the red and white trail markers are consistent.
Ghorepani Poon Hill
This is the easiest and safest solo trek in Nepal. It’s short (4-5 days), well-marked, and has abundant teahouses. The elevation gain is moderate, and the summit at Poon Hill (3,210m) gives you Himalayan views without serious altitude risk. This is the route I recommend for anyone testing their solo capabilities for the first time. No technical skills are required, and you can bail out at almost any point.
Langtang Valley
The Langtang Valley trek is quieter than Annapurna or Everest but still well-marked. It’s closer to Kathmandu, which means easier logistics. The trail follows the Langtang River through beautiful forest, and the teahouses are basic but reliable. The main risk here is trail erosion in monsoon season. The valley is narrower, so landslides can be an issue during heavy rain. Permits include the Langtang National Park entry fee and a TIMS card.

Must-Have Gear for the Solo Himalayan Trekker
Solo trekking means your gear needs to cover every contingency, since there’s no one else to borrow from. Here’s what I consider essential for a solo trip in the Nepali Himalaya.
Water Filter
A reliable water filter is non-negotiable. I carry a Platypus GravityWorks or Grayl Geopress. Boiling water works, but it takes fuel and time. With a filter, you can refill from streams and village taps without worrying about giardia or bacterial contamination. This is especially important on higher trails where water sources are less reliable.
Satellite Communicator
Cell coverage in the Nepali mountains is surprisingly good in valleys and near villages, but it disappears above treeline and in remote side valleys. A Garmin inReach Mini 2 or a Zoleo gives you two-way texting and an SOS button. This is your lifeline if something goes wrong. Don’t skip it for any route above 4,000m or for treks longer than a week.
Headlamp
A durable headlamp with decent battery life is critical. I use the Black Diamond Spot. Trails in Nepal are not lit, and teahouses often have minimal lighting. You’ll need it for early morning starts, evening walks, and emergencies.
First Aid Kit
Your first aid kit needs to be comprehensive, because there’s no pharmacy on the trail. Include acetazolamide (Diamox) for altitude sickness prevention, along with antibiotics for stomach issues, pain relievers, blister treatment, antiseptic wipes, and a basic wound dressing kit.
Down Jacket
A lightweight down jacket like the Patagonia Down Sweater is essential for cold mornings and evenings at altitude. Nights in teahouses can drop well below freezing, even at moderate elevations.
Altitude Sickness: Prevention, Recognition, and Response
Altitude sickness is the most serious health risk in the Himalaya. For solo trekkers, it’s also one of the most dangerous conditions because you’re the only person monitoring your own health.
Prevention
The golden rule is gradual ascent. The ‘300-meter rule’ means you shouldn’t increase your sleeping elevation by more than 300 meters per day above 3,000m. This isn’t a suggestion—it’s based on how your body acclimatizes. Hydration matters more than you think. Drink 3-4 liters of water per day, more if you’re sweating. Avoid alcohol and sleeping pills. Some trekkers use acetazolamide to speed up acclimatization, but it’s a supplement to proper ascent strategy, not a replacement.
Recognition
Symptoms of acute mountain sickness (AMS) include headache, nausea, fatigue, and dizziness. If you have a headache and one other symptom at altitude, you likely have AMS. The solo challenge is that you might convince yourself it’s just a bad day. It’s not. If symptoms persist or worsen, you need to descend.
High-altitude cerebral edema (HACE) presents as confusion, loss of coordination, and altered behavior. High-altitude pulmonary edema (HAPE) causes breathlessness at rest, a persistent cough, and pink frothy sputum. Both are medical emergencies. There’s no negotiation here—if you suspect either, descend immediately.
What to Carry
A pulse oximeter costs under $30 and gives you a reliable read on your oxygen saturation. If it drops below 80% and stays there, you’re heading into dangerous territory. Carry acetazolamide, dexamethasone (for severe AMS), and a portable hyperbaric chamber if you’re going above 5,000m. Know how to use them before you need them.
Navigation and Communication: Staying on Track and Connected
Getting lost is the second biggest solo trekker risk, after altitude. The good news is that most popular routes in Nepal are well-marked. The bad news is that one wrong turn can lead to a long day.
Offline Maps and Apps
Maps.me and Gaia GPS are excellent offline map apps. Download the region you’re trekking before you leave Kathmandu. Both apps work on GPS without a cell signal. I also carry a physical paper map from the Nepal Map Publisher as a backup. Batteries die, phones break, and digital maps are useless without power.
Cell Coverage Reality
Ncell and NTC have decent coverage in valleys and along main trails. You’ll get a signal in most villages and along many trail sections. Above treeline and in remote valleys, coverage is nonexistent. If you’re going above 4,000m or off the main trail, a satellite communicator is essential.
Trail Markings
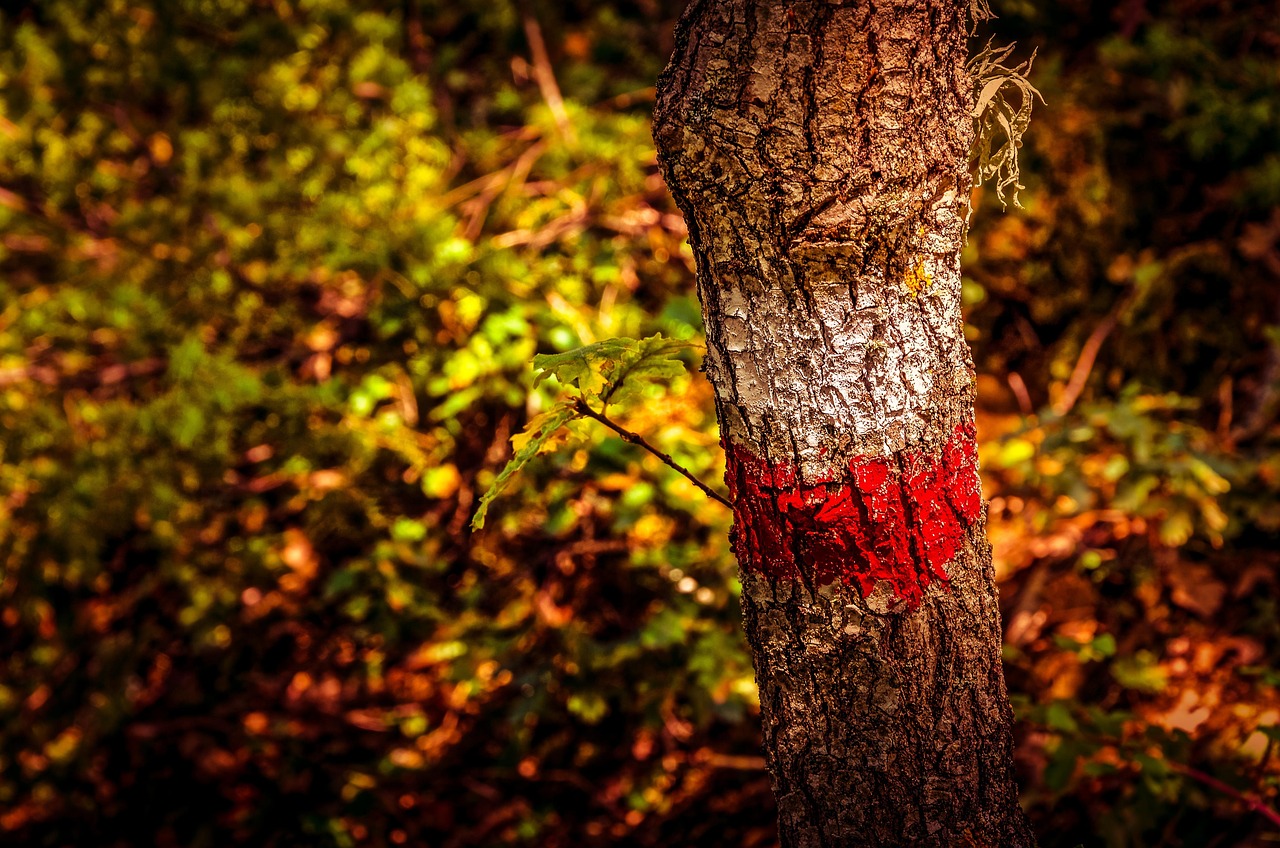
The Nepali trail marking system uses red and white dashes painted on rocks and buildings. Follow them closely. If you haven’t seen a dash in 20 minutes, you might be off trail. Stop, retrace your steps, and find the next marker. It’s better to turn back ten minutes than to wander for two hours.

Permits, TIMS Cards, and Local Regulations
Permits are straightforward if you know where to get them. The Nepal Tourism Board office in Kathmandu’s Durbar Marg handles most permits. For the Annapurna region, you can also get ACAP permits in Pokhara.
Here’s what you’ll need for the most common routes:
- Annapurna Conservation Area Permit (ACAP): Required for all treks in the Annapurna region. Roughly 3,000 NPR.
- Sagarmatha National Park Permit: Required for Everest Base Camp. About 3,000 NPR.
- Langtang National Park Permit: About 3,000 NPR.
- TIMS Card: Required for most trekking routes. About 2,000 NPR for solo trekkers.
Note that some restricted areas like Upper Mustang and Manaslu require a licensed guide, even for solo trekkers. Check the latest regulations from the Nepal Tourism Board before you go, as rules change.
Accommodation and Meals: Teahouse Etiquette for Solo Trekkers
Teahouses are the backbone of Nepal’s trekking infrastructure. They’re basic, warm, and surprisingly comfortable for the price. The standard arrangement is that you get a significantly reduced room rate if you eat dinner and breakfast there. This is how the system works, and it’s fair.
What to Expect
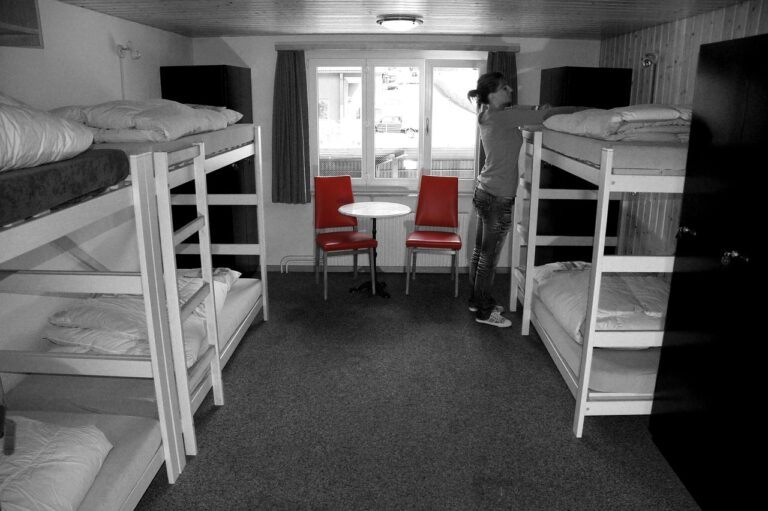
Rooms typically have two single beds with thin mattresses. Bring a sleeping bag liner. Some teahouses have attached bathrooms with hot showers (usually solar-powered). Others have shared bathrooms. Always check for a door lock—many don’t have one. If security is a concern, sleep with valuables in your sleeping bag.
Food Safety
Stick to hot meals. Dal bhat (lentil soup with rice) is the safest option because the rice is boiled and the lentils are cooked. Avoid raw salads, uncooked vegetables, and anything that has been sitting out. If you have dietary restrictions, communicate them clearly to the teahouse staff. Most are accommodating.
Common Mistakes Solo Trekkers Make (And How to Avoid Them)
After years of trekking in Nepal, I’ve made most of these mistakes myself. Here’s what to avoid.
Overestimating Daily Distance
The maps make distances look short, but they aren’t. Altitude, terrain, and trail condition all slow you down. A good rule of thumb is to plan for 3-4 kilometers per hour on flat terrain, 2-3 on moderate uphills, and 1-2 on steep slopes or high altitude.
Not Carrying Enough Cash
ATMs are nonexistent on the trail. Villages like Jomsom and Namche Bazar have ATMs, but they’re unreliable. Carry enough cash for the entire trek plus a buffer. Local currency (NPR) is best. Bring small denominations for teahouses and shops.
No Local SIM Card
An Ncell or NTC SIM card costs a few hundred rupees and gives you affordable data. Buy one at the Kathmandu airport or in Thamel. Without it, you’re relying on teahouse Wi-Fi, which is slow and often doesn’t work.
Ignoring Weather Changes
Mountain weather changes fast. A clear morning can turn into a thunderstorm by noon. Check the forecast on Mountain-Forecast or Windy before you start. If rain is predicted, start early and plan shorter days.
Not Telling Anyone Your Plan
Leave your itinerary with someone in Kathmandu or Pokhara. If you deviate, send a message. If you don’t check in, they’ll know something is wrong. This is basic safety, and it’s surprising how many solo trekkers skip it.
When to Hire a Guide or Porter (Even When Going Solo)
‘Solo’ doesn’t mean you have to carry everything yourself. Hiring a porter for a portion of your trek is a common compromise. You get the freedom of solo travel while someone else handles the heavy lifting.
When a Guide Makes Sense
Remote routes like Upper Mustang, Manaslu, or Dolpo require a licensed guide by law. Even on open routes, a guide is worth considering if you’re unsure about navigation, altitude management, or local language. A good guide also acts as a cultural interpreter and safety net.
Ethical Hiring
Always hire through a registered agency in Kathmandu or Pokhara. Avoid hiring guides on the trail—they’re often unlicensed and may not have proper insurance. Expect to pay $20-30 per day for a porter, $35-50 for a guide. Include meals and accommodation in the arrangement.
Final Checklist: What to Do the Day Before You Start
The day before you start your trek is not the time for last-minute shopping. Here’s your departure day checklist:
- 1. Download offline maps on both your phone and a backup device.
- 2. Charge all devices and power banks. Bring at least one 10,000mAh power bank.
- 3. Split cash into two locations – one in your daypack, one in your main bag.
- 4. Inform accommodation or a friend of your route and expected return date.
- 5. Check weather forecast on Mountain-Forecast or Windy.
- 6. Do a final gear check – filter, satellite communicator, headlamp, first aid kit, down jacket.
Your Solo Trek Starts Here: Ready to Plan?
Solo trekking in Nepal is rewarding, but it demands preparation. Choose your route carefully, invest in good safety gear, and never skip altitude planning. The mountains will test you, but with the right approach, you’ll come back with stories worth telling.
Book your permits early, secure your accommodation, and allow time to acclimatize before hitting the trail. The best views aren’t given—they’re earned.
Check trekking permits on iVisa Compare teahouse rates on Booking.com
Nepal Travel Guide: Trekking, Temples, and Culture for First-Time Visitors
Solo Hiking Safety Tips for Beginners: A Practical Guide
Best Patagonia Hiking Routes for Multi-Day Treks: Expert Guide
Solo Backpacking Australia: The Complete Route & Planning Guide
Best Snowshoeing Destinations Worldwide for Winter Adventure