Best Travel Tripod for Hiking: What Actually Works on the Trail
Introduction
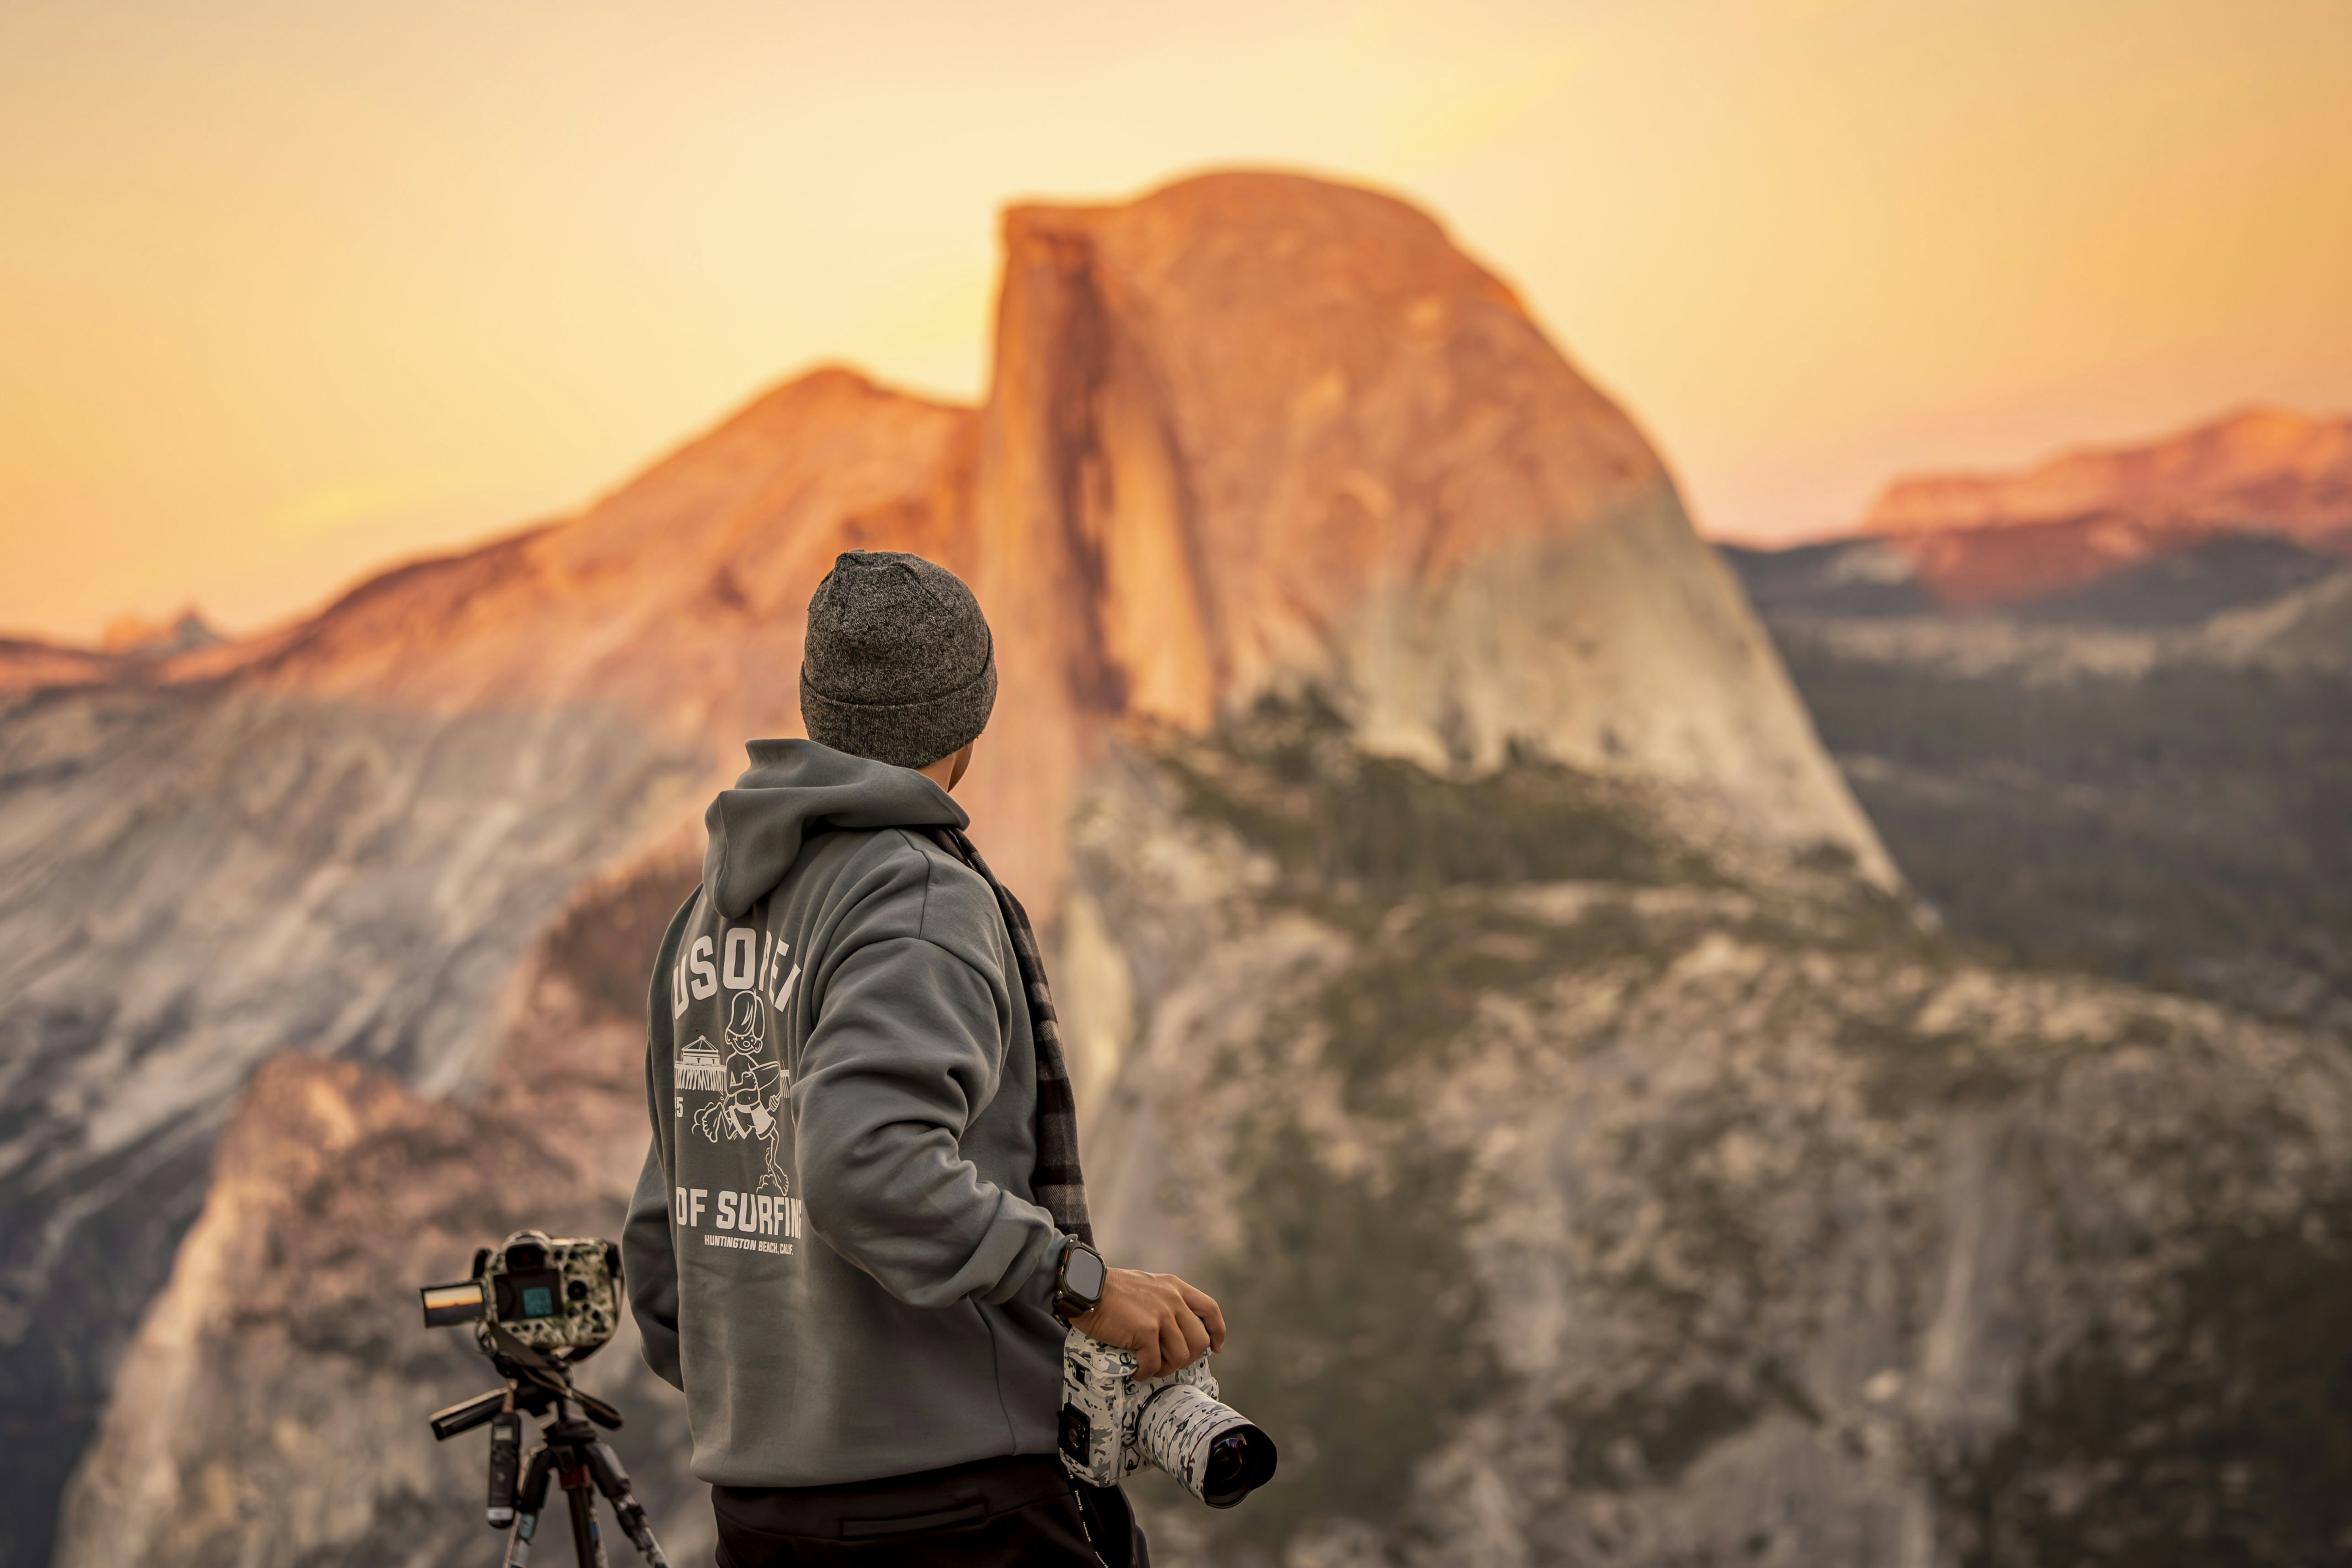
Selecting a tripod for hiking is an exercise in compromise. You’re constantly trading weight against stability, height against packability, and speed of setup against rugged durability. A studio tripod or a videography tripod is useless here. What you need is something that can handle a windy ridge, fit inside a backpack side pocket, and still support a camera setup without shaking itself apart.
I’ve tested a lot of these things over the years—on alpine trails, in humid jungles, along coastal cliffs, and across dusty deserts. Some tripods performed exactly as advertised. Others collapsed, literally and figuratively. The best travel tripod for hiking isn’t a hypothetical spec-sheet winner. It’s the one you actually bring with you on every trail because it doesn’t feel like a burden.
This article covers what actually matters when choosing a hiking tripod. No fluff. Just what works on the trail.

What to Look for in a Travel Tripod for Hiking
Three specs define a good hiking tripod: maximum weight capacity (and how that translates to usable stability), folded length, and leg lock reliability.
The biggest mistake beginner hikers make is buying a tripod that is too light. They see a sub-2-pound carbon fiber model and think it’s perfect for backpacking. Then they mount a 70-200mm f/2.8 lens on a full-frame body, set it up on a breezy summit, and get blurry long exposures because the tripod shakes. Always check the actual load capacity against your heaviest lens and body combination—not the manufacturer’s maximum, which typically includes some marketing optimism. A safe rule is to add 30% to the weight of your camera setup and look for a tripod that comfortably handles that. Travelers who need a reliable carbon fiber travel tripod should focus on models with a load rating that exceeds their gear weight by at least that margin.
Folded length matters because most hiking packs aren’t designed to hold a tripod internally. If the tripod is longer than 16 inches when collapsed, you’ll have to strap it to the outside. That works—but it flops around and catches on branches. Shorter folded lengths (12–14 inches) fit inside side pockets or lay flat inside a pack. That is significantly better for balance and protection.
Leg sections are also a tradeoff. More sections mean a shorter folded length but slower setup and narrower lower leg segments that introduce wobble. Four sections is the sweet spot for hiking. Five is fine if weight reduction is critical. Twist locks are generally more reliable than flip locks in sandy or muddy conditions—sand jams flip lock mechanisms easily. A tripod with a geyser tube (a knurled top section near the ball head) is also worth considering; it gives you a textured grip when your hands are wet.
Carbon fiber is lighter than aluminum, but it costs more and isn’t always necessary for shorter day hikes. If you are carrying the tripod less than three miles, aluminum is fine. If you are doing multi-day backpacking with elevation gain, carbon fiber saves significant weight.
Quick Comparison: Best Travel Tripods for Hiking (2025)
Here are the top models I have tested and continue to recommend. These cover the range from ultralight to best all-around, budget-conscious to premium.
- Peak Design Travel Tripod – Weight: 2.8 lbs (carbon), 3.6 lbs (aluminum). Max height: 60 inches. Folded length: 15.5 inches. Best for all-around versatility. It folds uniquely flat and fits inside a carry-on. The ball head is built-in and decent. Good for photographers who want one tripod for everything from cityscapes to moderate trails.
- Gitzo Traveler Series 1 (GK1545T-82TQD) – Weight: 2.9 lbs. Max height: 62 inches. Folded length: 16.1 inches. Best for tall photographers. Gitzo’s build quality is exceptional. The twist locks are smooth and do not loosen over years of use. This is the benchmark for premium hiking tripods.
- Sirui T-025SK – Weight: 1.9 lbs. Max height: 52 inches. Folded length: 11.6 inches. Best for ultralight backpacking. It is extremely compact and light. However, it wobbles in moderate wind with heavier lenses. Ideal for mirrorless and prime lenses only.
- MeFoto RoadTrip – Weight: 3.5 lbs (aluminum), 2.9 lbs (carbon). Max height: 61 inches. Folded length: 14.8 inches. Best value carbon fiber. The leg locks are good, and the center column can become a monopod. It is slightly heavier than competitors but much more affordable. A solid entry-level choice.
- Leofoto LS-223C – Weight: 2.2 lbs. Max height: 53.9 inches. Folded length: 14.8 inches. Best lightweight for mirrorless systems. Leofoto makes excellent tripods for the price. The leg locks are precise, and the build is very good. Slightly low max height for taller users, but stable enough for most landscape work.

The Weight vs. Stability Tradeoff: Why It Matters More on the Trail
On a flat studio floor, a lightweight tripod feels stable. On a windy alpine ridge with loose gravel underfoot, that same tripod transforms into a pendulum. The relationship between weight and stability is not linear. A tripod that weighs 1.5 lbs will not feel twice as stable as a 3 lb model—it will feel significantly less stable because the vibration dampening from mass is disproportionate.
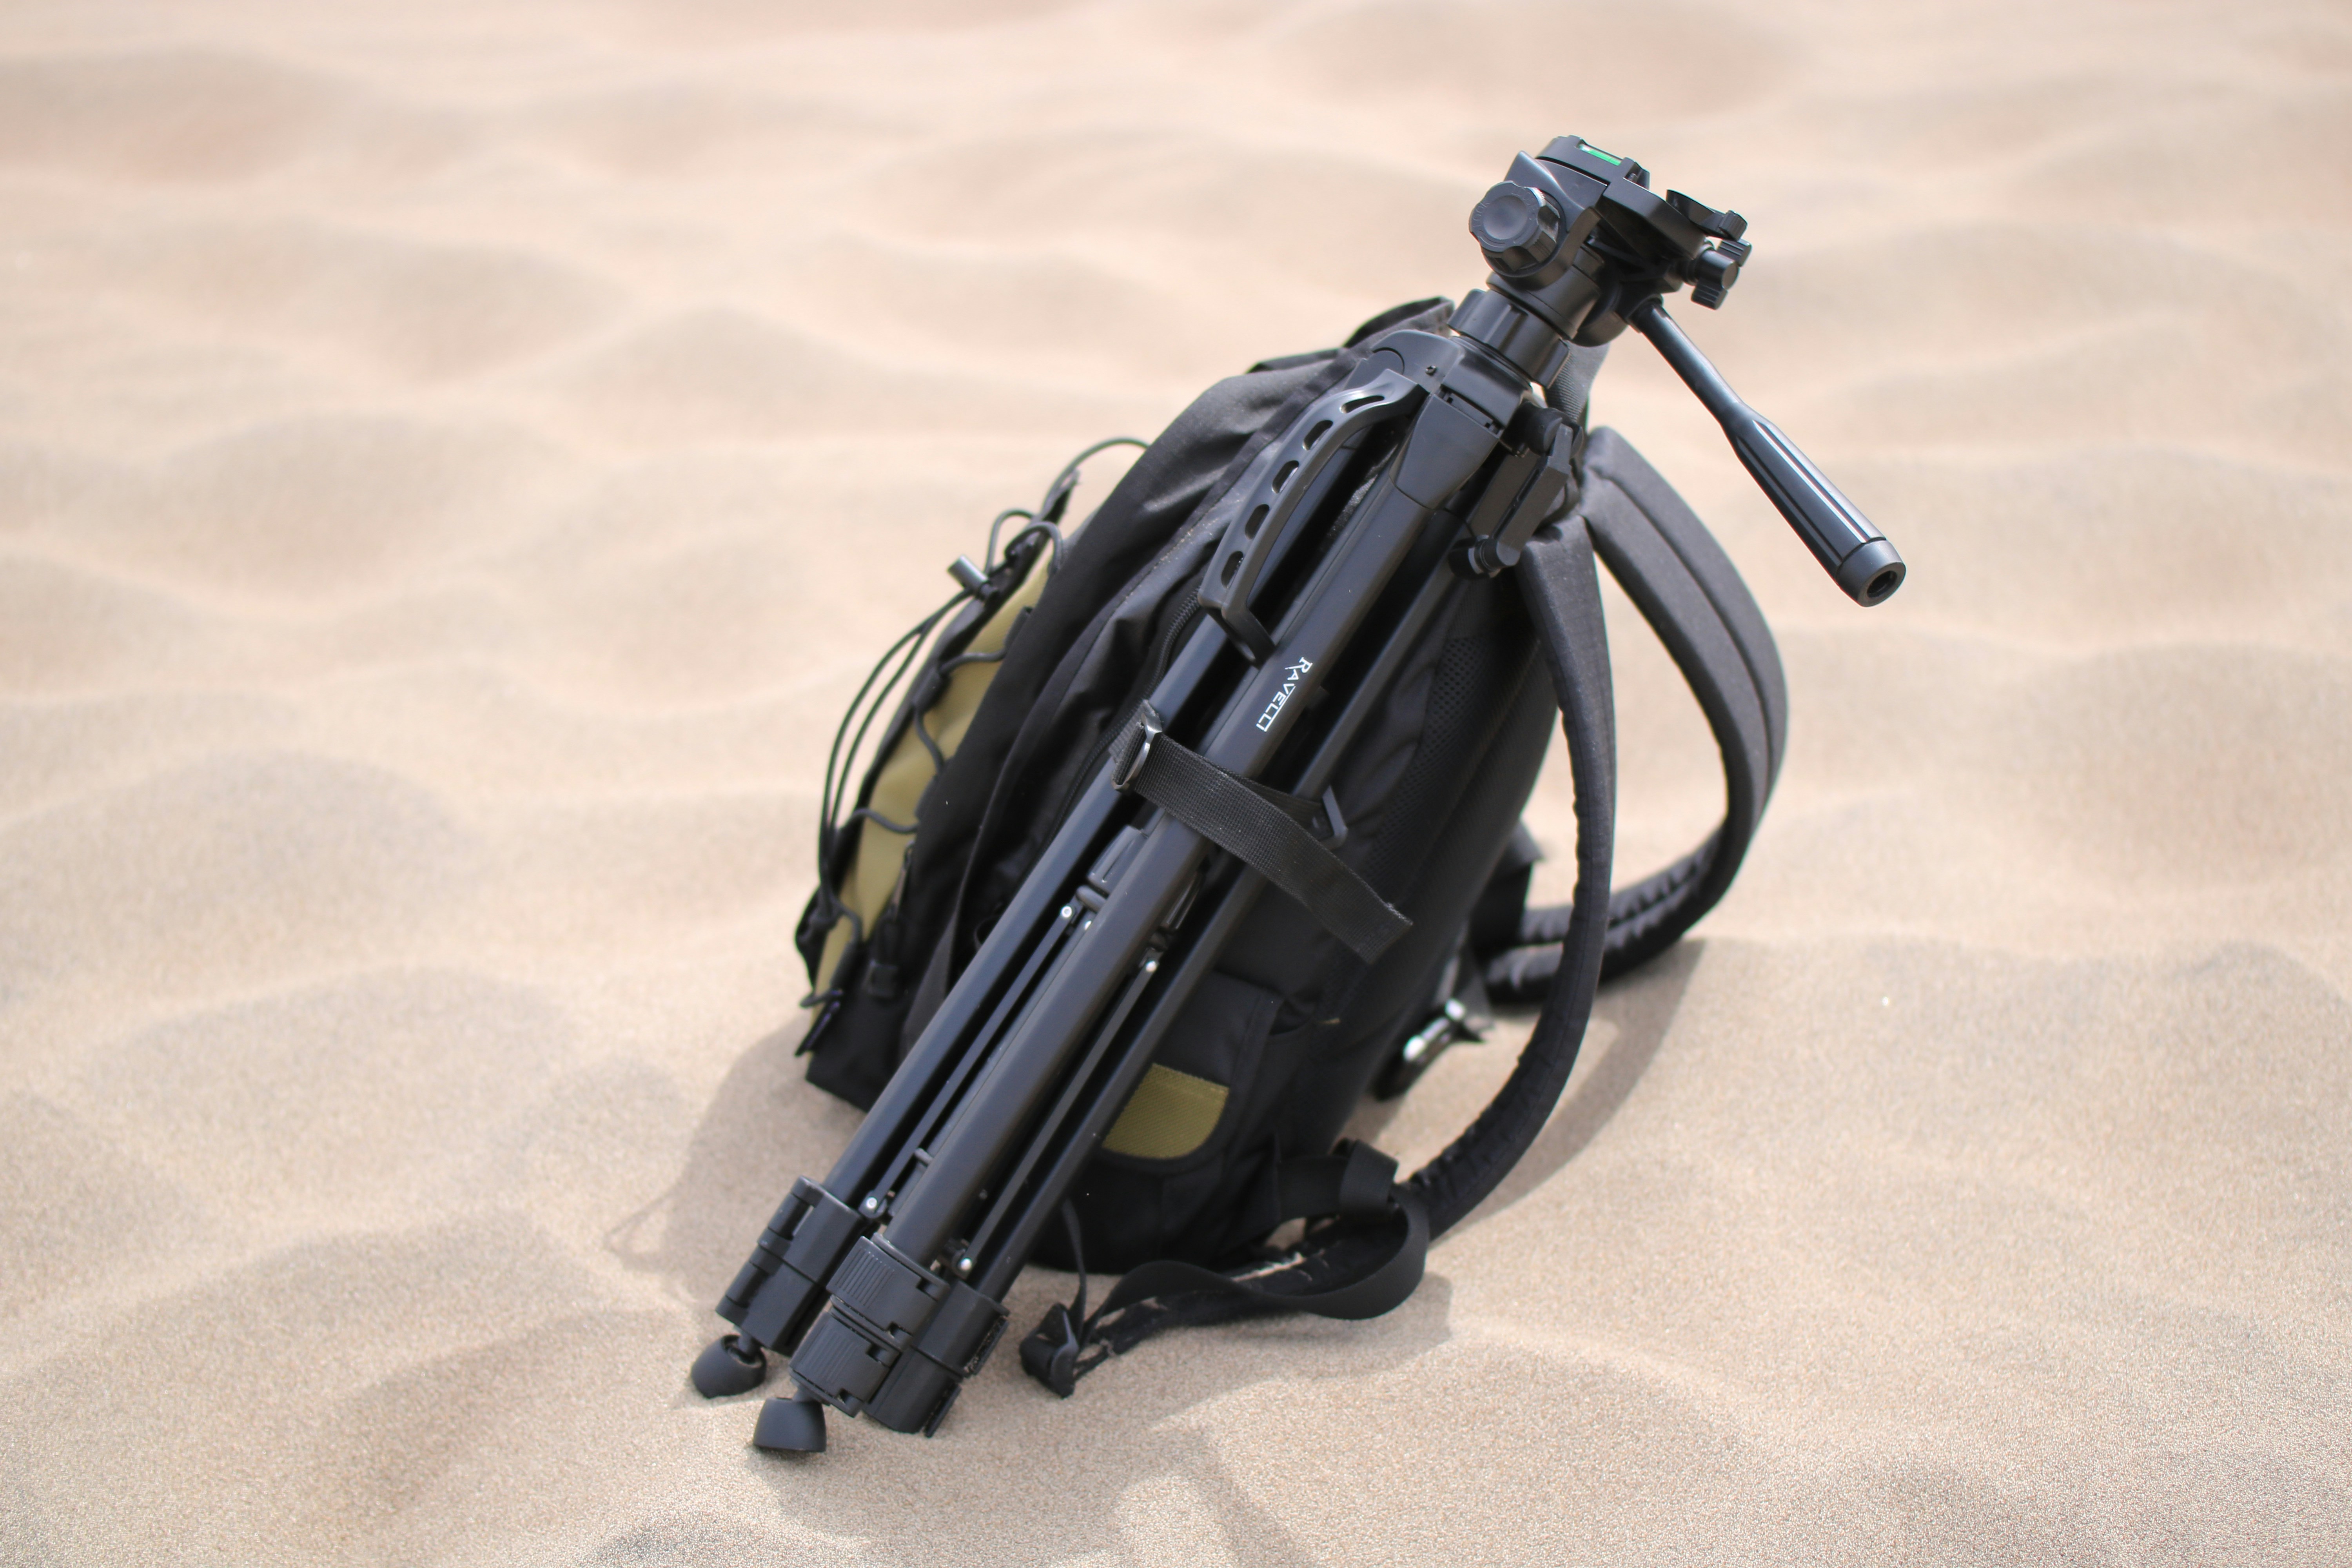
The concept of ‘load capacity’ (the manufacturer’s claimed maximum weight the tripod can hold) is not the same as ‘usable stability.’ A 2.5 lb tripod might technically hold a 5 lb camera, but in a 15 mph gust on a high ridge, every minor vibration is transmitted directly to the camera sensor. I’ve been there. You get back to camp, check the images, and find that your carefully composed foreground-to-background focus stacks are soft.
The fix is simple: hang your backpack from the center column hook. Most tripods designed for hiking have a hook at the base of the center column. Clip your bag’s waist strap or a carabiner there. This adds mass to the tripod and dampens high-frequency vibrations. It works surprisingly well. Keep this in mind if you want a very light tripod—you can add stability on location.
Leg Locks and Setup Speed: What to Prioritize on the Trail
When the sun is setting fast, you don’t want to fight with sticky locks. Leg lock design directly affects how often you actually use your tripod on the trail. If it takes too long to set up, you will skip it. And skipping it defeats the purpose of carrying the weight.
Twist locks are the standard for reliable hiking tripods. They are less likely to snag on brush, and they do not collect sand or mud inside a crevice. However, they can be slower than flip locks if you aren’t used to them. With practice, you can release and lock all three leg sections in under ten seconds. I’ve used twist locks on Gitzo and Leofoto tripods for years in wet conditions, and they have never loosened or failed. That consistency is what you want when you are on a muddy ridge in rain.
Flip locks are faster initially but have a shorter lifespan. The plastic buckles break or wear out. Sand gets into the mechanism, and they start to slip under load. I avoid flip locks for extended hiking use. They are fine for casual trips, but for anything beyond a weekend, twist locks are the better long-term choice.
Common Mistakes to Avoid When Buying a Hiking Tripod
Here are mistakes I see repeatedly from hikers who buy their first dedicated travel tripod.
- Buying a tripod that’s too tall for your height. I’m 5’10”. I do not need a tripod that extends to 65 inches. Running a fully extended center column reduces stability. A tripod that reaches 55-60 inches without raising the center column is ideal for most people. If you never extend the top leg sections, you lose stability and add weight. Get a tripod that matches your eye level without a raised center column.
- Ignoring the weight of a ball head separate from legs. Some tripod kits include a head that is surprisingly poor. I’ve seen cheap kits with heads that slip under the weight of a mirrorless camera and a standard zoom. If you buy a kit, test the ball head immediately. If it slips, replace it. A decent ball head like the Sirui K-20X or Really Right Stuff BH-30 ball head is worth the extra money.
- Getting a tripod with a complicated center column. Some designs have center columns that aren’t rigid. They wobble when extended. Worse, some have center columns that cannot be easily removed, and the mechanism rattles during hikes. Simpler is better. A standard center column with a hook is all you need.
- Choosing a tripod with non-replaceable feet. Rubber feet wear out. On rocky trails, you may want metal spikes for grip. A tripod whose feet aren’t replaceable with standard 3/8-inch threads is a design flaw. Avoid it.
Ball Head or Three-Way Head for Hiking?
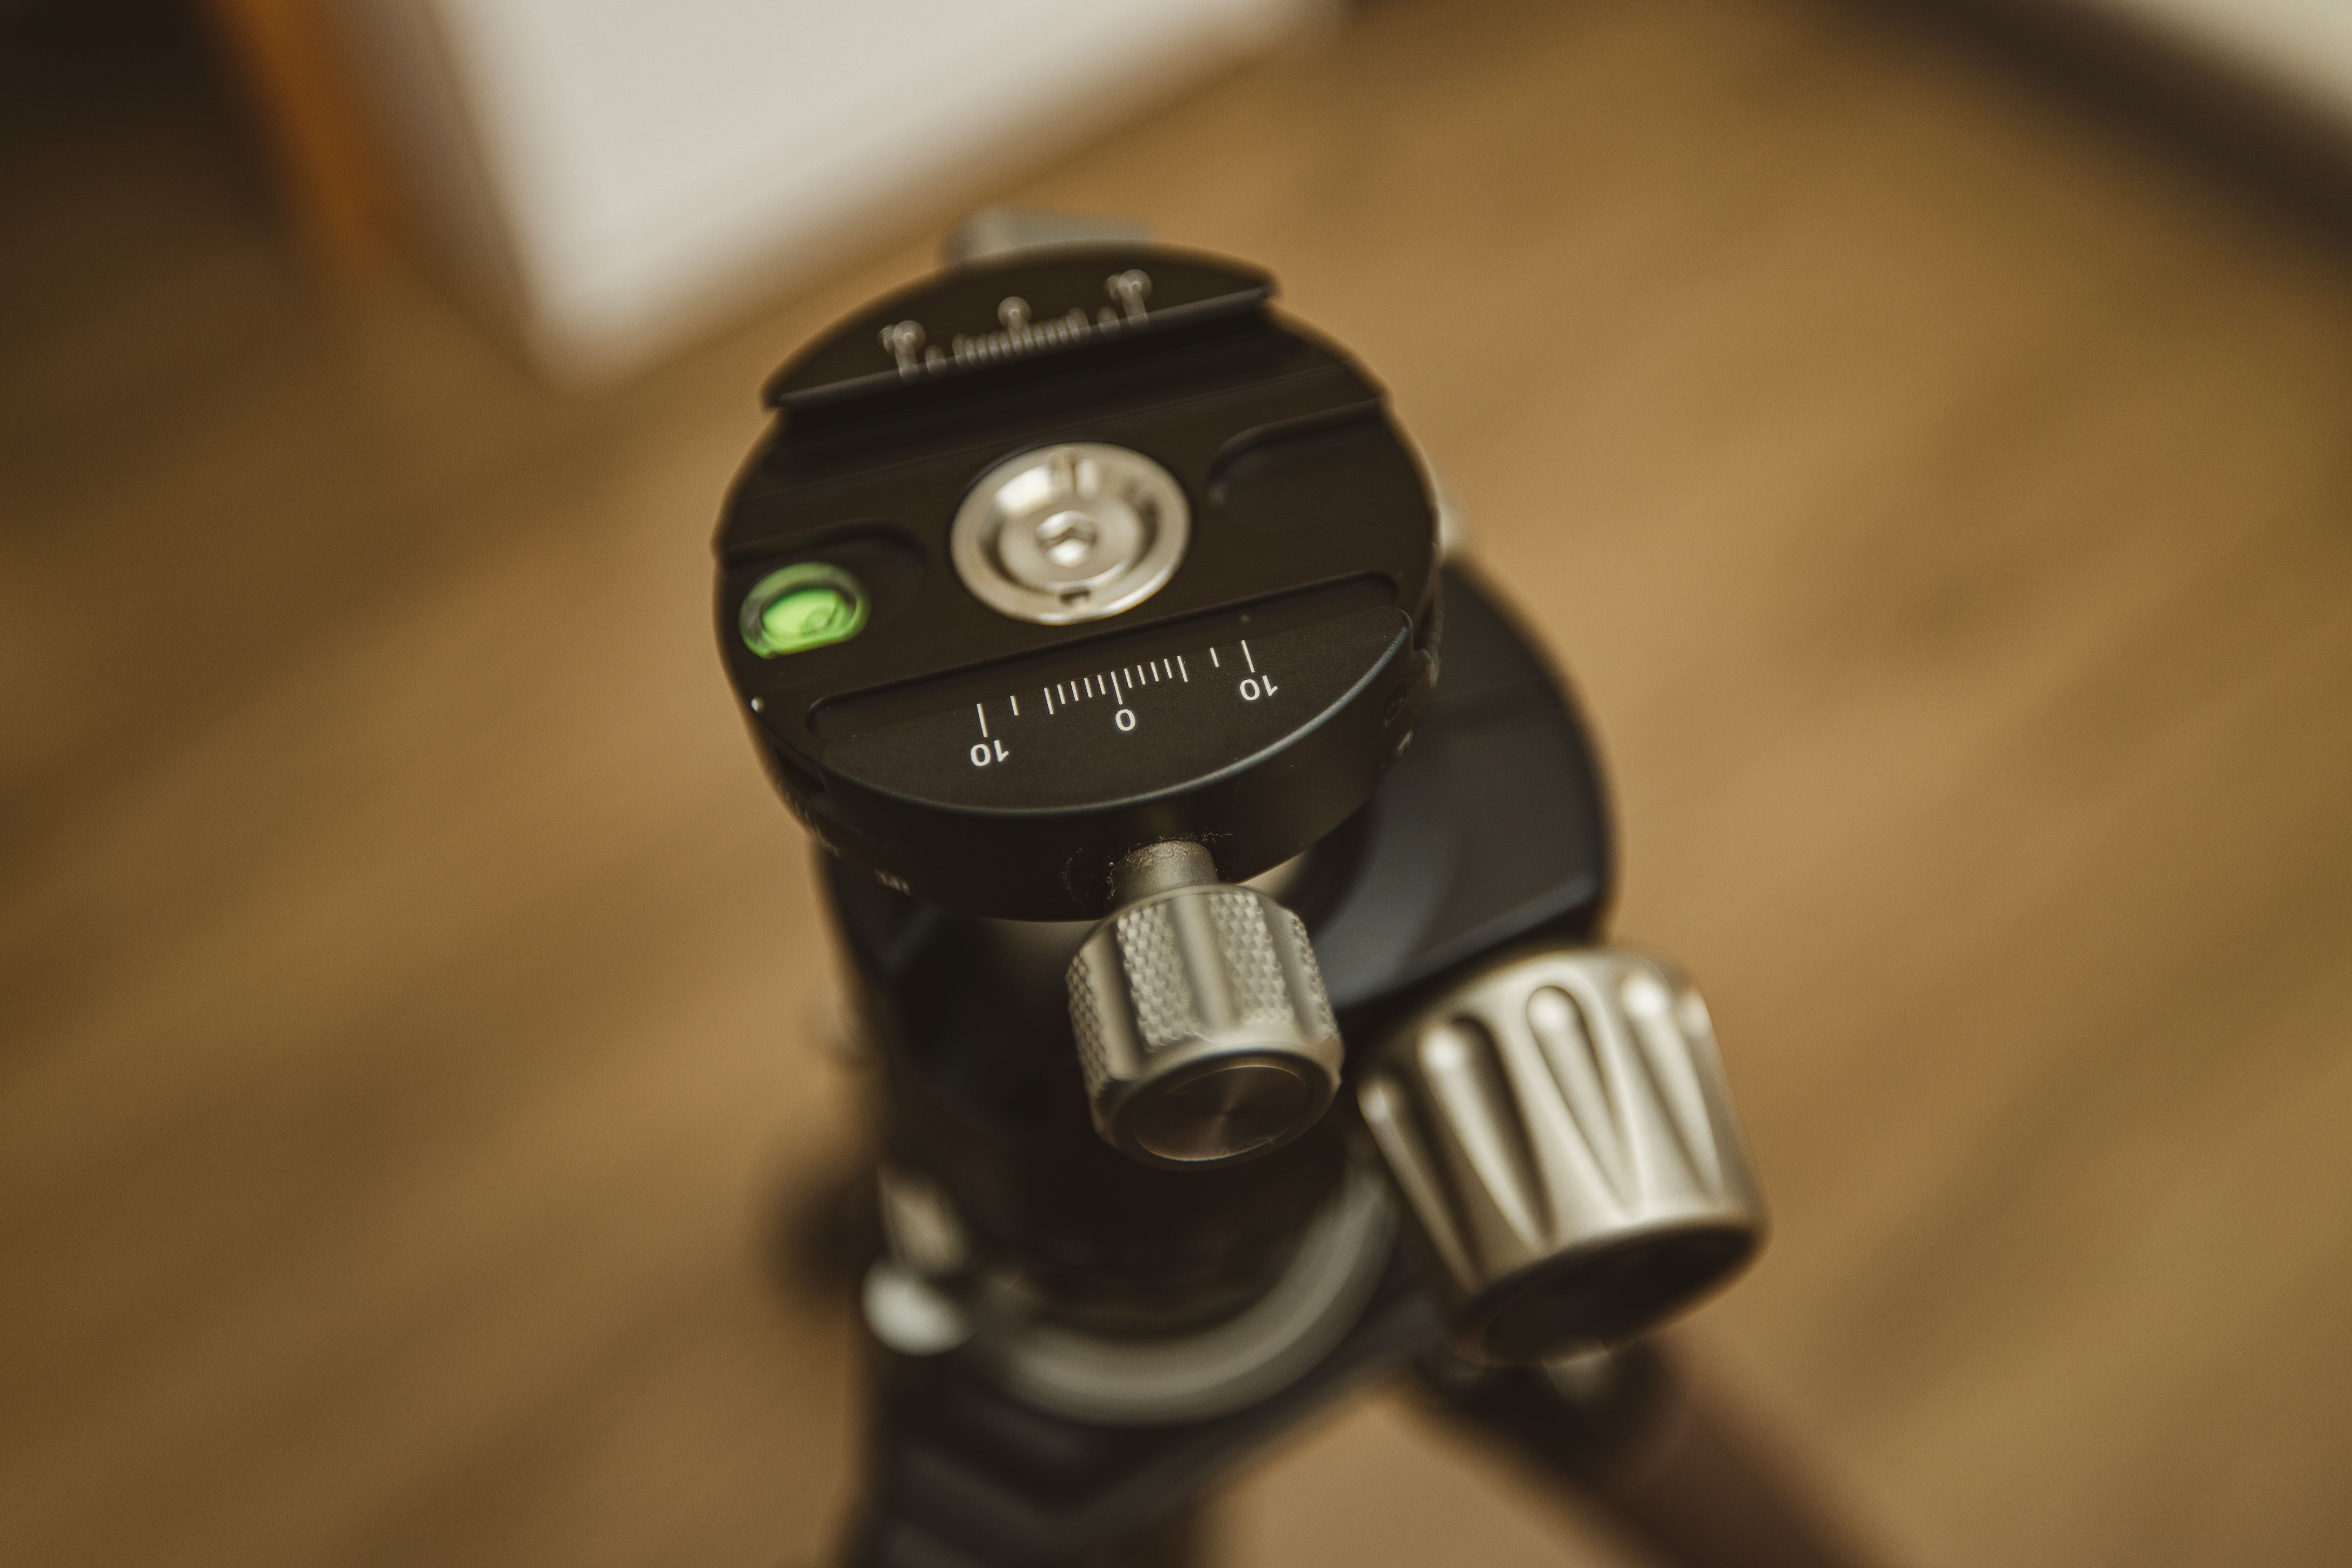
For nearly every hiking scenario, a compact ball head is the better choice. It is lighter, smaller, and simpler to operate. You are usually composing a landscape or a mountain scene—you need to tilt one axis and pan another. A ball head does this quickly with a single locking knob.
I prefer a ball head with a separate panning base. That way, you can lock the ball for tilt and still pan horizontally for panoramas without adjusting the ball again. Not all ball heads have this, but it is a feature worth seeking out. The Really Right Stuff BH-30 is one of the best compact ball heads for hiking—it weighs about 12 ounces, locks positively, and has a very smooth panning base.
Three-way heads are heavier, bulkier, and slower. They add over a pound to your setup. Unless you shoot architecture or video, skip them. Also, be wary of tripod kits that include a cheap ball head. A poor ball head ruins an otherwise good tripod. If you buy a kit, budget an extra $100-150 for a quality ball head upgrade.
How to Pack a Tripod for Hiking: Practical Tips
I have packed tripods in every conceivable way over the years. Here is what I’ve settled on.
The most efficient method is to attach the tripod to the outside of a backpack using dedicated straps. Many packs have a shock cord system or compression straps designed for a tent or mat. Loop the tripod legs through the compression straps with the ball head pointing up. Slide the legs through until the feet rest on the pack’s bottom. Cinch the straps tight. It stays secure, and you can remove it without stopping.
Use a neoprene tripod sleeve to protect the legs from scratches and the pack from the tripod’s metal parts. Some sleeves have a drawstring and a carry handle. They are cheap and worth it for long-term protection. If you are scrambling, a tripod belt clip that attaches to your pack’s shoulder strap gives fast access. It lets you grab the tripod without taking your pack off. A simple way to keep your tripod secure is to use a neoprene tripod sleeve designed for hiking.
Placing the tripod inside your pack is the safest for the camera gear, but it takes up a lot of space that is better used for food, water, and shelter. Leave the tripod outside or semi-external for the sake of pack volume.
Our Top Recommendations for Specific Needs
Here are my recommendations based on typical hiking and camera setups.
- Best lightweight for ultralight backpacking: Leofoto LS-223C – At 2.2 lbs, it is lighter than most. It is stable enough for a mirrorless camera with a standard zoom. If you are doing 10-mile days with a 35 lb pack, this is a smart choice. It will not hold a 70-200mm well in wind, but it is a breeze to carry.
- Best all-around for most hikers: Peak Design Travel Tripod (Carbon) – It balances weight, stability, and packed size better than anything I’ve tested. The built-in ball head is good enough for 90% of hiking photographers. The flat-fold design makes it genuinely packable inside a backpack or carry-on. It is expensive but worth the cost.
- Best budget pick: Sirui T-025SK – For $200-250, you get an ultralight tripod that works well with mirrorless kits. Just be aware of its wind limitations. Keep the center column low and hang weight from the hook.
- Best for tall photographers: Gitzo Traveler Series 1 – If you are 6’2″ or taller and do not want to crouch, the Gitzo Traveler reaches 62 inches without the center column extended. It is built to last for a decade. The price is high, but the build quality is second to none.
- Best value carbon fiber: MeFoto RoadTrip (Carbon) – It is a bit heavier than the Peak Design at a similar price, but you get more features (monopod conversion, reversible center column). A solid choice for budget-conscious hikers who still want carbon fiber.
If you carry a full-frame camera and a 70-200mm f/2.8, do not go too light. The Peak Design or Gitzo options will hold that setup adequately. The ultralight models will shake.
Accessories to Enhance Your Hiking Tripod Setup
These few simple accessories make a real difference on the trail.
- Tripod ground spikes. Standard rubber feet slide on wet rock or loose gravel. A set of retractable metal spikes or screw-on spikes grips the ground. They are a small purchase that prevents a lot of frustration. Beginners may want to consider tripod ground spikes for added traction on uneven terrain.
- Lightweight leveling base. If you do a lot of panorama stitching, a leveling base saves time. You level the base, lock it, and then pan on a flat plane. It is a luxury, not a necessity.
- Hook for adding weight. Most tripods have one built-in. If yours does not, buy a small carabiner or a hook attachment. This is the single most effective way to improve stability on a lightweight tripod.
- Quick-release plate tether. Losing the small plate that connects your camera to the ball head is a common trail disaster. A tether that attaches to the tripod head prevents this. It costs almost nothing and saves you from an unusable tripod.

Final Thoughts: Making the Right Choice for Your Adventures
The best travel tripod for hiking is the one you actually carry on every trail. That sounds simple, but it means prioritizing weight and packability above almost everything else—because a tripod that is heavy or bulky will stay at home. A lighter tripod with a hook-stabilizer will give you better images than a heavy one that never gets used.
If I could only own one tripod for hiking right now, it would be the Peak Design Travel Tripod in carbon. It solves the most tradeoffs for a wide range of hikers and camera systems. It is not the lightest, not the cheapest, and not the tallest. But it works. And that is what matters when you are out there on the trail trying to get the shot.