How to Edit Adventure Photos on the Go: A Mobile Editing Guide
“`html
Introduction
You’re miles from the nearest coffee shop, your pack is light, and your phone is the only screen you’ve got. Editing travel photos on mobile isn’t a compromise anymore—it’s often the smarter way to work. This guide covers how to edit adventure photos on the go, from the gear you actually need to the workflows that save battery and time. Whether you’re shooting on a flagship phone or pulling RAWs off a mirrorless camera, you can get pro-grade results without a laptop. I’ve been doing this for years on multi-day trips, and the following advice comes directly from the trail—not a studio.

Why Edit Adventure Photos on Your Phone?
The first reason is weight. A laptop and its charger add a couple of kilos you don’t need when you’re carrying everything on your back. The second is workflow speed. Modern phones handle RAW files faster than many old laptops, and you can cull, edit, and export a day’s worth of shots in the time it takes to find a power outlet.
Battery management is another real-world factor. Charging a phone from a power bank is far more efficient than keeping a laptop alive. If you’re smart about screen brightness, you can edit a hundred photos on a single charge. The tradeoff is screen size—you’re working on a small display, which makes fine-tuning details trickier. But that’s a logistics tradeoff, not a dealbreaker. Once you build a rhythm, the phone becomes your primary editing tool, not just a backup.
What You Actually Need to Edit Photos on a Phone
You don’t need much, but skipping the right gear will waste time and battery. Here’s the core setup:
- Phone with enough storage. 128GB minimum, 256GB preferred if you shoot RAW. If your phone is newer, you probably already have this.
- A good editing app. I’ll go deep on these below, but Lightroom Mobile is the standard for RAW work, and Snapseed is excellent for quick fixes.
- SD card reader. The Apple Lightning-to-SD reader or a USB-C equivalent is essential if you shoot on a camera. Travelers who need a reliable reader might consider a USB-C SD card reader for fast transfers. Skip the cheap knockoffs—they’re slow and unreliable.
- Portable SSD or USB-C drive. For offloading photos when your phone fills up. The Samsung T7 or SanDisk Extreme are small and fast. Don’t rely on cloud upload when you’re in the backcountry.
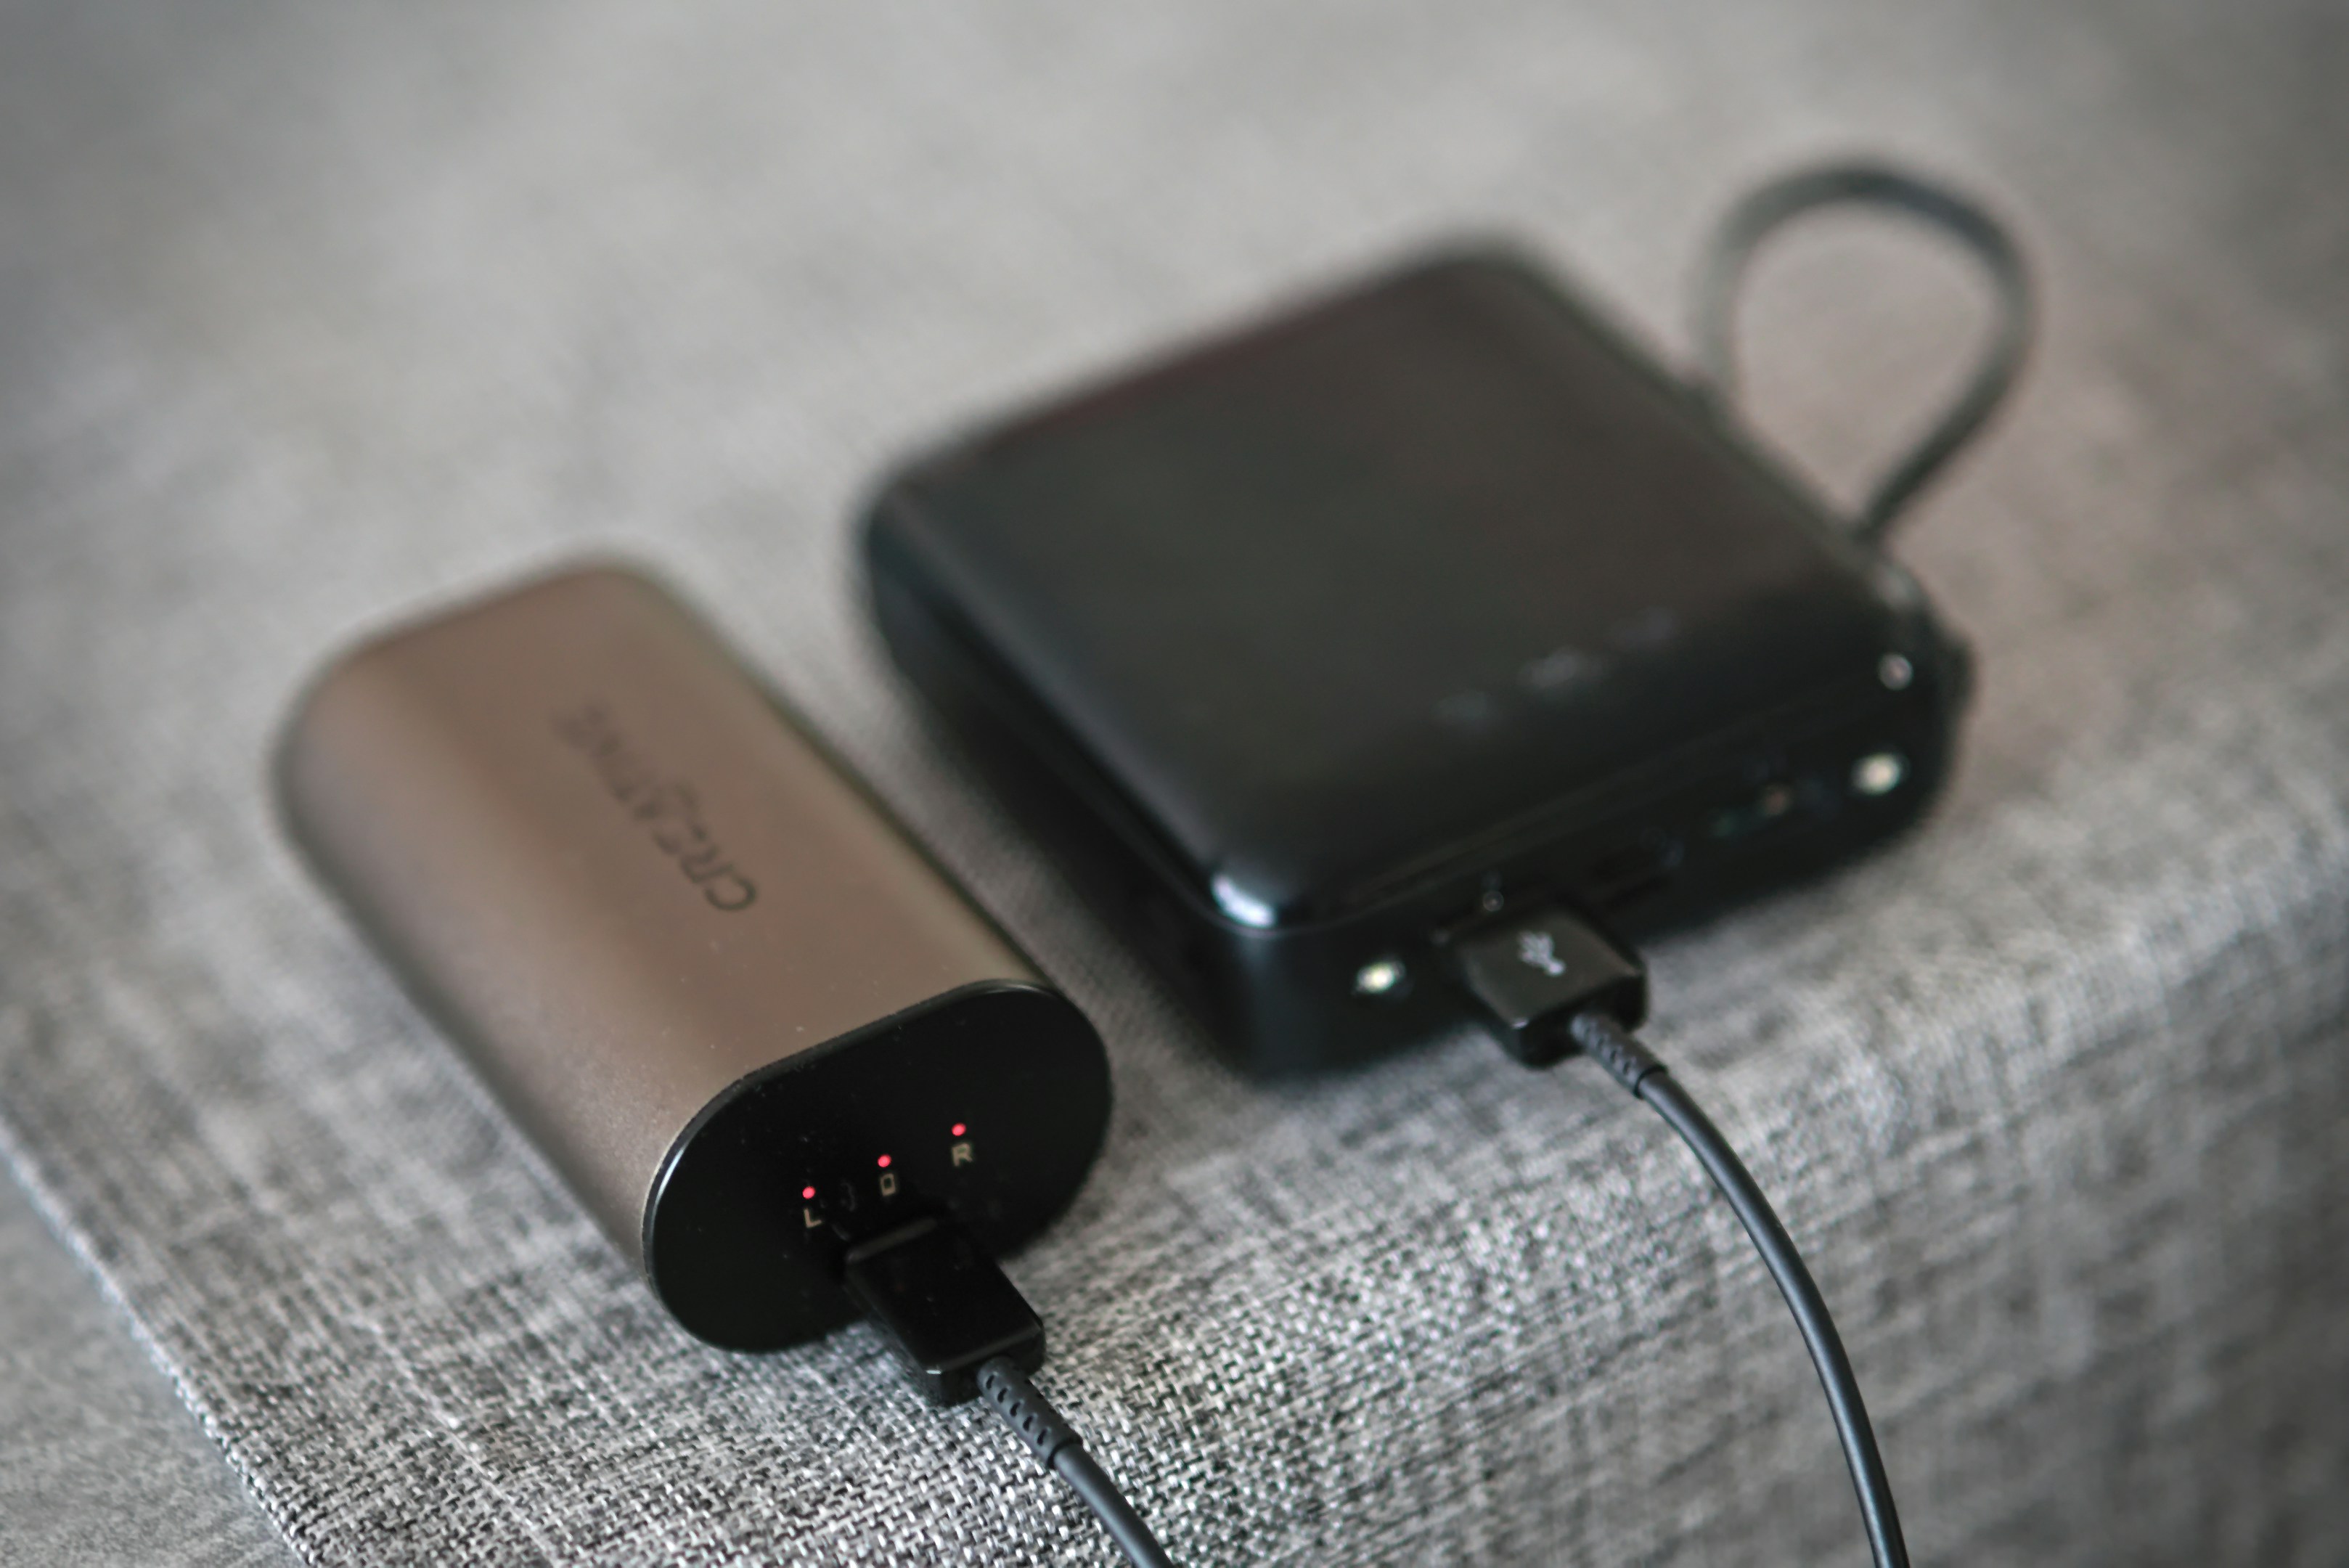
- Power bank. 20,000mAh minimum for a multi-day trip. It should charge your phone at least twice. For longer trips, a high-capacity power bank with USB-C is worth considering. Look for one with USB-C Power Delivery for faster charging.
That’s it. You don’t need an iPad, a travel router, or a battery of cables. Keep it minimal. The whole setup fits in a small pouch and weighs under a pound.
The Best Mobile Photo Editing Apps for Adventure Travel
I’ve tested most of the major apps on extended trips. Here’s how they shake out for real adventure work:
- Adobe Lightroom Mobile (free with subscription for premium features) – Best for RAW editing, masking, and presets. It’s the closest you can get to desktop Lightroom. The subscription gets you cloud sync and advanced healing tools. If you’re editing more than 20 photos a trip, it’s worth the money.
- Snapseed (free) – Ideal for quick corrections. Selective adjustments and the healing brush are excellent. No RAW support on most phones, so it’s best for JPEGs or when you need speed over control.
- Capture One Mobile (subscription) – RAW-focused and excellent for color grading. If you come from Capture One on desktop, this is familiar. The interface is less intuitive than Lightroom’s, so expect a learning curve.
- Darkroom (free with in-app purchases) – Great for batch editing and deep color tools. It’s only available on iOS, but the masking and curves are powerful.
- VSCO (free with subscription) – The presets are good for quick stylized looks, but you’re trading control for speed. Fine for social media edits, not for serious RAW work.
If you shoot RAW, use Lightroom Mobile. If you’re editing JPEGs on the fly and want fast results, Snapseed is your tool. The rest are situational. Don’t download all five; pick one that matches your workflow and learn it well.
How to Set Up a Fast Editing Workflow on Your Phone
Speed matters when you’re tired and the light is fading. Here’s a repeatable workflow:
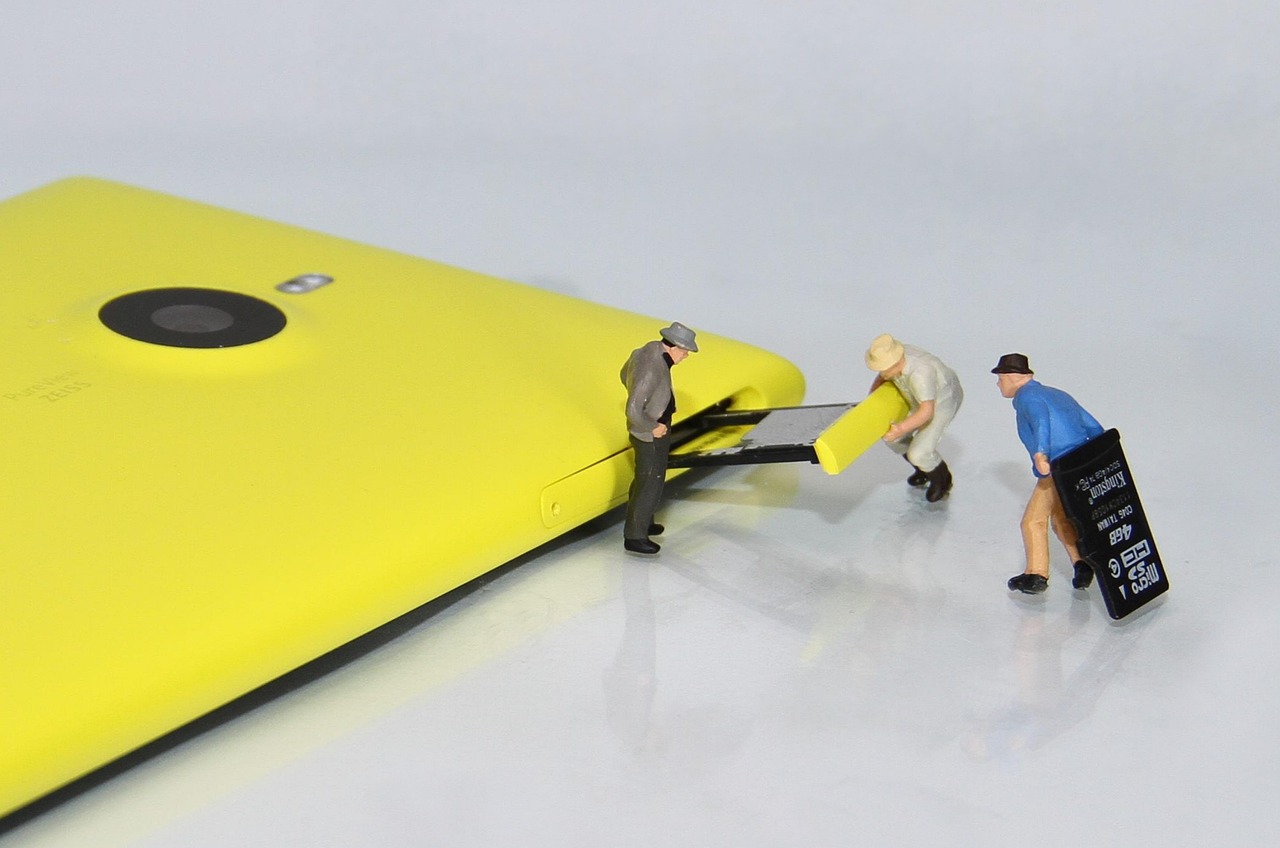
- Import. If you’re using a camera, connect the SD reader and transfer to your phone’s gallery or directly into your editing app. Avoid wireless transfers—they’re slow and drain battery. For phone photos, just shoot directly into the app’s camera or import from the camera roll.
- Cull ruthlessly. Delete the blurry, the badly framed, and the duplicates. Do this now, before you waste time editing rejects. I use Lightroom’s flagging system, but swiping left to delete in the gallery works too.
- Base adjustments. Exposure, contrast, white balance, and saturation. Do this to every photo first. It creates a consistent base that presets and fine-tuning can build on.
- Apply presets for consistency. If you have a preset pack you like, apply it now. It saves time and gives your series a cohesive look. Adjust opacity if needed.
- Export. Save as JPEG for social or cloud upload, and keep the RAW file if you want to re-edit later on a desktop. Set resolution to 2048px or 3000px for web use.
Common mistake: editing on full brightness. Your screen will look very different in daylight or in a tent. Drop brightness to about 40%, or use a calibrated monitor profile if your app supports it. This prevents you from over-sharpening and over-saturating.
Battery tip: turn off background app refresh and notifications while editing. Your phone will last twice as long.
Editing Mistake #1: Overexposing Highlights in the Field
Adventure photos often feature tricky lighting—snow, water, bright sky, or backlit subjects. The most common mistake is blowing out highlights. Once highlights are clipped to pure white, no app can recover detail from them.
Before you take the shot, check your camera’s histogram. If the graph touches the right edge, underexpose by a stop. On a phone, tap to expose for the brightest part of the scene. It’s easier to lift shadows in post than to recover blown highlights.
In editing, use the histogram in your app. If you see a spike on the right edge, pull back the highlights slider. Lightroom Mobile’s highlight recovery tool is excellent. A good rule: keep your highlights between 90–95% on the scale. That leaves room for detail without looking flat.

Editing Mistake #2: Ignoring White Balance in Mixed Light
Camping at sunset, cave interiors, or shots under tent lights all produce unnatural color casts. Auto white balance often fails here, giving you a yellow or blue mess.
In Lightroom Mobile, open the White Balance panel and use the eyedropper tool on a neutral surface—gray rock, white shirt, or snow. If there’s no neutral area, adjust the temperature and tint sliders manually until skin tones look natural and whites aren’t blue or orange.
For a consistent look across multiple shots taken in the same light, copy the white balance adjustment from one photo and paste it onto the others. This saves time and fixes the color cast at the source instead of trying to correct it later.
What to Do When You Have No Signal (Offline Editing Tips)
Being offline is the norm on multi-day adventures. Plan ahead:
- Pre-download apps and presets. Make sure your editing app is fully installed and all presets are synced before you leave town. Apps like Lightroom Mobile need an internet connection to verify subscriptions periodically, so check that yours is active and offline mode is enabled.
- Use offline presets. Create a set of presets ahead of time for common lighting scenarios: sunset, overcast, snow, and golden hour. You can apply these without a connection.
- Export to cloud when you reconnect. Queue up exports in your app and let them upload automatically when you hit a town with Wi-Fi. This saves battery and data usage.
- Battery strategy: Edit in batches—20 photos at a time—then close the app. Continuous processing drains the battery faster than burst editing. Turn off Wi-Fi and Bluetooth if you’re not using them.
If you’re going to be offline for more than three days, bring a high-capacity power bank. A 20,000mAh model will charge your phone three times and handle all your editing needs. A simple way to reduce cable clutter is to pick up a braided USB-C cable that won’t fray in your pack.
How to Keep Your Photos Safe in Harsh Conditions
Your phone and SD cards are vulnerable to water, dust, and impact. Practical protection:
- Use a waterproof phone case. Not a bulky waterproof bag. A thin polycarbonate case with good seals is enough for rain and river crossings. Many models also float, which is a bonus if you’re near water.
- Keep SD cards dry. Use a small waterproof case for SD cards. A Pelican Micro Case or a simple lock bag will do. Condensation is a real problem in damp tents—keep cards in your sleeping bag overnight.
- Backup strategy. After each editing session, copy photos to your phone and to a portable drive. If your phone breaks or gets lost, your drive is the backup. For really important trips, mail a separate drive home halfway through.
- Avoid fear-mongering. You don’t need a pelican case for your phone. A padded camera cube inside your pack and a waterproof sleeve for the phone is sufficient. The goal is to prevent the common failure points—water in the ports, dust in the buttons, and dropping the phone on rocks.
Lightroom Mobile vs. Snapseed: Which Should You Use?
This is the most common question I get. Here’s the direct comparison:
| Feature | Lightroom Mobile | Snapseed |
|---|---|---|
| RAW support | Yes, excellent | Very limited (JPEG only on most phones) |
| Masking & local adjustments | Advanced (brushes, gradients, color range) | Basic (selective adjustments only) |
| Presets | Full preset system, customizable | Limited to built-in looks |
| Batch processing | Yes, with sync | No |
| Cost | Free version limited, subscription for RAW | Free, no limitations |
| Learning curve | Moderate to steep | Low |
Use Lightroom Mobile if you shoot RAW, want full control over color and exposure, and plan to edit more than 20 photos per trip. Use Snapseed if you’re on JPEGs, want quick fixes, and don’t need masking or batch editing. There’s no universal winner—it depends on your gear and workflow. If you’re uncertain, start with Snapseed for simplicity, then upgrade to Lightroom Mobile as your editing needs grow.
The Gear I Actually Use for On-the-Go Photo Editing
Here’s my exact kit after years of testing:
- Phone: iPhone 15 Pro (USB-C makes the reader connection easy). The 256GB storage is enough for a week of RAW editing. If I had to use an older model, I’d rely on the SD reader and external drive more.
- SD card reader: Apple USB-C to SD Card Reader. It’s fast enough for large file transfers and solid build quality. The Lightning version is equally reliable.
- Portable SSD: Samsung T7 Shield 1TB. It’s waterproof, dustproof, and fits in a pocket. Transfer speed is around 1,000 MB/s, so offloading your phone takes minutes.
- Power bank: Anker PowerCore 20,100mAh. It’s not the smallest, but it’s reliable and can charge my phone twice plus the reader once. The USB-C Power Delivery port is a must for fast charging.
- Cable organizer: A simple mesh pouch. No need for a fancy roll-up. Keep a braided 1-foot USB-C cable and a Lightning cable if you need one.
- Backup: I carry a second SD card (64GB) for every trip. If I lose one, I have another. That’s my final safety net.
Honest downsides: The Apple card reader is slower than direct USB-C transfer from a camera, but it works with any SD card. The power bank is heavy, but it earns its place. The T7 Shield generates minor heat during intensive use, but it’s never been a problem in the field. Overall, this kit weighs about 1.5 pounds and fits in a small pouch.

How to Edit Raw Photos on a Phone (And Should You?)
Shooting RAW gives you more flexibility in post-processing, but it comes with tradeoffs. On the trail, RAW files are larger—a single photo can be 25–50 MB. That fills storage fast. The upside is you can recover blown highlights, adjust white balance with no quality loss, and fine-tune exposure without introducing artifacts.
In Lightroom Mobile, editing RAW is straightforward. Open the file, adjust the exposure slider, and you’ll see far more recoverable detail than with JPEG. The issue is speed. Processing multiple RAW files will heat up your phone and drain the battery faster. I shoot RAW+JPEG on my camera and edit the JPEGs for quick social uploads, then batch-edit the RAWs later when I have time and a charger.
Should you shoot RAW? Only if you’re willing to manage the storage and battery cost. For most adventure travelers, shooting RAW for key shots (golden hour, landscapes) and JPEG for everything else is the sweet spot. If you never intend to print large or do heavy post-processing, RAW is overkill. JPEG is fine for Instagram and phone screens.
Final Checklist: Your Mobile Photo Editing Kit for the Trail
- Phone with 128GB+ storage
- Reliable editing app (Lightroom Mobile or Snapseed)
- SD card reader (USB-C or Lightning)
- Portable SSD or USB-C drive for backup
- Power bank (20,000mAh or larger)
- Braided USB-C cable
- Small waterproof case for SD cards
- Waterproof phone case
- Second SD card for redundancy
This kit covers every scenario I’ve encountered. It’s minimal, practical, and field-tested. If you want to build your own editing kit, check out my recommended gear on Amazon—these are the exact items I trust on every trip.
“`
Adventure Smartphone Photography Tips: The Ultimate Guide for Travelers