Solo Hiking Safety Tips for Beginners: A Practical Guide
Why Solo Hiking Requires a Different Safety Mindset
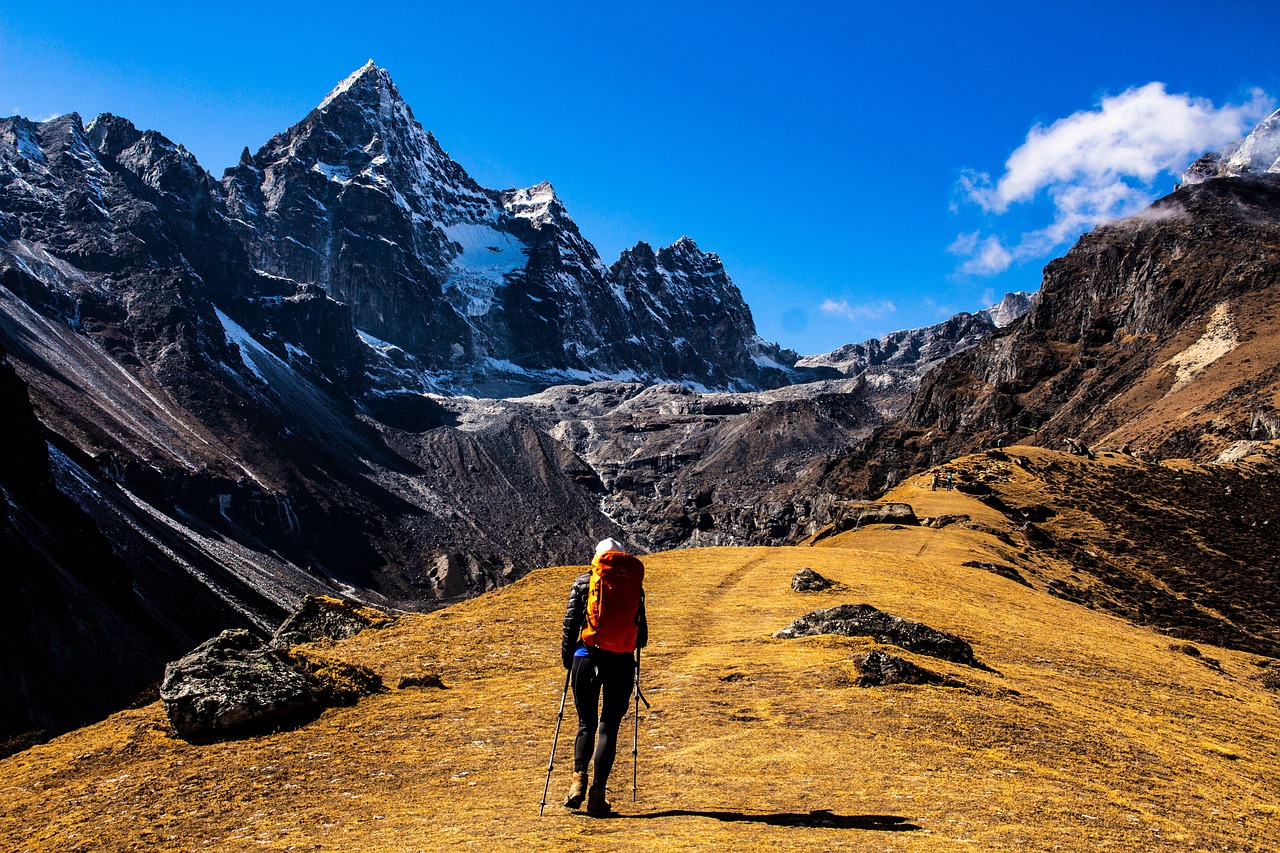
Solo hiking isn’t group hiking without the conversation. The entire risk profile shifts when you’re alone. A twisted ankle that’s an inconvenience with a partner becomes a potential emergency. A wrong turn that takes ten minutes to sort out with friends can turn into a stressful hour of self-navigation. Your margin for error shrinks, and the demands on your judgment increase.
The psychological aspect matters, too. Solitude on the trail is different from loneliness. Some people thrive on it, finding a clarity that doesn’t come in groups. Others find the quiet unsettling, especially when the sun starts to drop or the trail gets less obvious. Knowing which camp you’re in before you head out matters. If you’re not sure, start with a short, popular loop where other hikers are within earshot.
Self-reliance isn’t optional here. You are your own lookout, navigator, medic, and decision-maker. That’s not meant to scare you. It’s meant to clarify what preparation looks like. The single most important step you can take is leaving a detailed trip plan with someone who will actually check on you. That one habit, done consistently, is the difference between a delayed rescue and a fast one.

Step 1: Choose the Right Trail for Your Skill Level
The biggest mistake beginners make on solo hikes is picking a trail that looks doable on a map but isn’t. Maps don’t show loose scree, overgrown sections, or trail junctions with faded signs. They don’t tell you if the stream crossing is knee-deep in spring runoff. Start conservatively.
Look for trails that are:
- Well-traveled. You want other people around. On a solo hike, more traffic means more safety. Save the remote wilderness for later.
- Well-marked. Blazes, cairns, or clear signage. You’re still learning to read a trail, so don’t make it harder than it needs to be.
- Under 6 miles out-and-back. Start with a distance that feels easy. You can always add mileage next time.
- Under 1500 feet of elevation gain. Steep climbs on tired legs increase the chance of a fall or a twisted ankle.
- With cell service reported on recent reviews. Not a guarantee, but a good indicator. Check AllTrails and local Facebook hiking groups for condition reports from the last week.
Avoid trails with unprotected river crossings, exposed ridge lines, or sections that require scrambling. Those are for after you’ve built trail confidence, not before.
Step 2: Leave a Detailed Trip Plan
A trip plan is not a text to a friend saying “going hiking, back later.” It’s a specific document that tells someone exactly where you are and when to worry. Here’s what it should include:
- Trail name and start point (trailhead, parking lot)
- Route description (which loop, which junction turn)
- Your start time and expected finish time
- Vehicle description (make, model, color, license plate)
- Emergency contact name and phone number
- What gear you’re carrying (to help rescuers know if you can stay warm overnight)
Leave this with someone who will check if you’re late. Tell them: “If you haven’t heard from me by 6 PM, call the local ranger station or sheriff’s office.” Then follow through. Check in when you’re back. A missed check-in that triggers a search is better than a failed check-in that means spending a night out without a sleeping bag.
The 10 Essentials for Solo Hiking
The classic 10 Essentials list is good for groups. For solo hikers, every item on it becomes non-negotiable. Here’s the adapted version with why each piece matters more when you’re alone:
- Navigation (map and compass, or GPS). Your phone will die and lose signal. A paper map and a compass don’t. If you’re using a GPS app, download the map for offline use before you leave. I use Gaia, but AllTrails also works. Just know how to read it when there’s no pin for “you are here.”
- Headlamp with fresh batteries. A phone flashlight drains the battery and doesn’t leave your hands free. A good headlamp like the Black Diamond Spot lets you navigate, set up shelter, or signal for help in the dark. Test it before you go. Bring spare batteries. For a reliable option, many hikers look for a headlamp designed for hiking with multiple brightness levels and long battery life.
- Sun protection. Hat, sunscreen, and sunglasses. Sunburn on a solo hike is a misery multiplier, and heat exhaustion compounds everything else.
- First aid kit. Not the one from the drugstore. Build your own: moleskin for blisters, antiseptic wipes, ibuprofen, a small bandage roll, and an emergency blanket. Add a tourniquet if you’re going into remote terrain.
- Knife or multi-tool. For cutting cord, opening food, or emergency repairs. A lightweight Swiss Army knife is fine.
- Fire starter. A BIC lighter and some waterproof matches. Practice lighting one in the wind before you need it.
- Emergency shelter. An emergency bivvy or space blanket. Weighs almost nothing and can save your life if you’re stuck out overnight. The SOL Escape Bivvy is lightweight and breathes better than cheap mylar blankets. Those who want to be prepared often keep an emergency bivvy for solo hiking in their pack for peace of mind.
- Extra food. One more bar than you think you’ll need. Calories keep you warm and help you think clearly.
- Extra water + purification. If your hike is longer than two hours, carry more than you expect to drink. A small filter (like the Sawyer Mini) lets you refill from streams safely. Beginners hiking in areas with uncertain water sources find a portable water filter for hiking incredibly useful for staying hydrated without carrying excessive weight.
- Insulation. A puffy jacket or fleece, even on a warm day. Mountain weather changes fast. Getting wet and cold without a partner to share warmth with is dangerous.
That’s the baseline. If you’re carrying all ten, you’re in good shape for most beginner solo hikes. If you’re cutting corners, know exactly which risks you’re accepting.

Navigation Skills: How Not to Get Lost
Getting lost on a solo hike isn’t just embarrassing. It wastes time, energy, and daylight. And without someone to verify your route, the margin for error is smaller. Here’s the practical approach.
First, learn to read a trail before you rely on a phone. Trail markers come in different forms: blazes on trees (painted or metal), cairns (stacked rocks), or signposts. Know what to look for on your trail. If you haven’t seen a marker in fifteen minutes, stop and backtrack to the last one. Don’t push forward hoping it’ll appear.
Second, understand the difference between trail navigation and terrain navigation. Trail navigation is following a marked path. Terrain navigation is figuring out where you are using a map and landmarks. For your first solo hikes, stick to trail navigation. As you gain experience, spend ten minutes on a ridge with a map learning to identify peaks and valleys.
Third, use the “stop, breathe, look around” method. The moment you feel unsure, stop moving. Take three deep breaths. Then look behind you to confirm your return route. Check your map. If you still don’t recognize the spot, backtrack to the last known junction. Panic makes you walk faster in the wrong direction. Slowing down saves time.
Download offline maps on your phone. AllTrails and Gaia both allow this. But never rely on your phone alone. A paper map doesn’t run out of battery. Carry one and know where you are on it.
Solo Hiking Gear: What You Actually Need vs. What’s Overkill
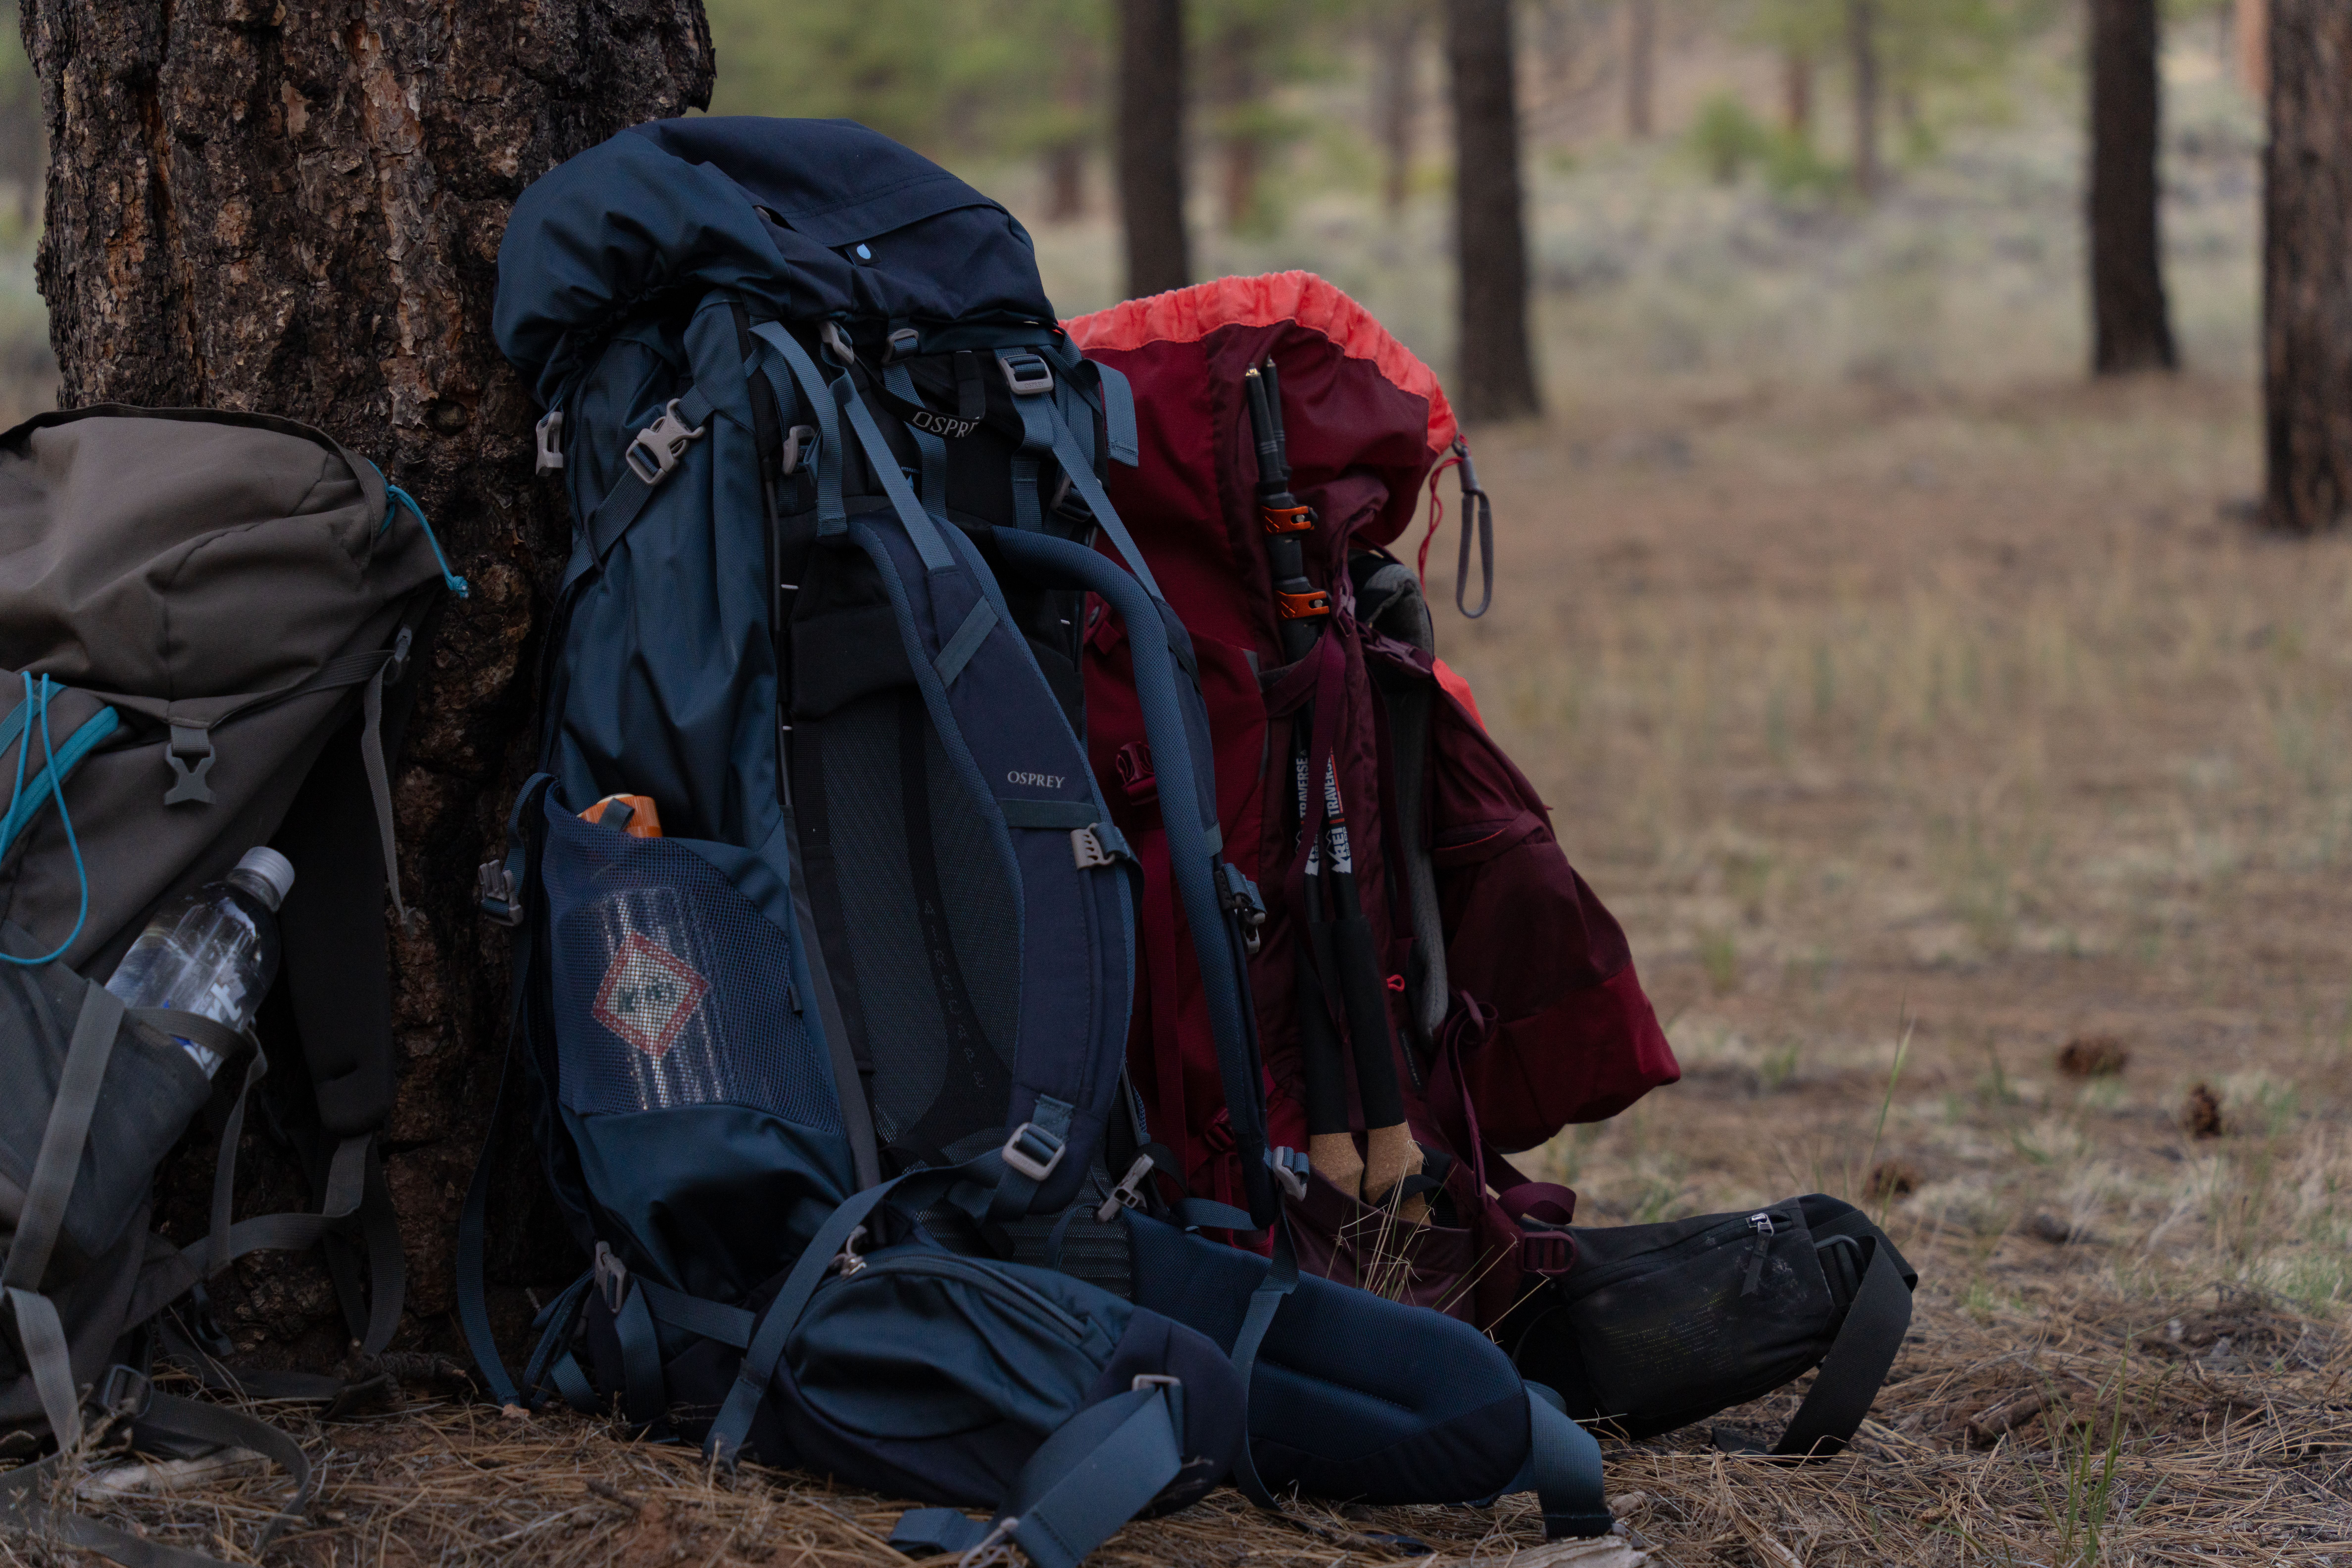
There’s a tension between carrying enough safety gear and keeping your pack light enough to enjoy the hike. For a solo beginner, the balance tips toward carrying a bit more until you know what you actually use. You’ll figure it out after a few trips. Until then, here’s the breakdown.
Essential (carry every time)
- 10 Essentials (as listed above)
- Sturdy hiking boots or trail runners with good tread
- Layered clothing (base layer, mid layer, shell)
- Water bottles or hydration bladder
- Poles (they reduce knee strain and improve balance on uneven ground)
Recommended for solo hikes
- Personal locator beacon (PLB) or satellite messenger. The Garmin inReach Mini is popular because it allows two-way messaging. A PLB like the ACR ResQLink sends an SOS signal but no communication. For a beginner on popular trails, a PLB is probably overkill. For remote trails, it’s a lifesaver. If you’re hiking alone in an area without cell service, carry one. Rent one if you don’t want to buy it.
- Whistle. Cheap, light, and loud. Three blasts is the universal signal for help. A whistle carries farther than a shout and doesn’t tire your voice.
Best for day hikes / Best for overnight trips
- Day hike: small pack (20-25L), minimal extra layers, one liter of water
- Overnight: larger pack (40-50L), extra food, stove, sleeping bag, insulation layers
The gear you buy should solve a real problem you’ve already encountered, not a hypothetical one from a blog post. Start with the essentials and add as you learn what you’re missing.

Wildlife Encounters: Stay Calm and Know What to Do
Most wildlife encounters on well-traveled trails are unremarkable. The animal hears you, sees you, and moves away. But knowing what to do in specific situations keeps you from making things worse.
- Bears. Black bears are common in many areas. Grizzlies in the Rockies and Alaska. For black bears: make yourself look big, make noise, and back away slowly. Do not run. For grizzlies: play dead (lay flat on stomach, hands behind neck) if attacked. Carry bear spray (like Counter Assault or UDAP) in an accessible holster on your belt, not in your pack. Know how to deploy it before you need it.
- Mountain lions. Rare, but they’re territorial. Do not crouch or turn your back. Make yourself as large as possible and maintain eye contact. Speak firmly. If attacked, fight back with rocks, poles, or your knife.
- Moose. They look slow but can run up to 35 mph. Keep a huge distance. If one charges, get behind something solid like a tree or boulder. Do not try to outrun it.
- Snakes. Most are non-venomous. Step over them, not on them. If you hear a rattle, freeze and locate the snake, then give it a wide berth. Step on rocks, not into brush where your hand or foot might land on one.
- Ticks. Check yourself thoroughly after every hike. Tuck pants into socks. Use permethrin on clothing. Do a full body check when you’re home, including your scalp, armpits, and groin.
The golden rule: don’t approach or feed any wild animal. They don’t want to be near you. Give them space and they’ll leave.
Weather and Trail Conditions: How to Make Smart Go/No-Go Decisions
The weather forecast is not a suggestion. On a solo hike, you don’t have a partner to point out the darkening sky or to argue for turning back. That decision is entirely on you. And it’s the easiest mistake to make: thinking you can beat the storm, that the forecast is wrong, or that you’re tough enough to handle a little rain.
Here’s a simple decision framework:
- Check the forecast from a mountain-specific source. General city forecasts are not reliable for the trail. NOAA’s Mountain Point Forecast is solid. So is the National Weather Service for your specific mountain area.
- Look for these specific conditions:
- Lightning risk (if your trail goes above tree line, cancel the hike. Being the tallest object on a ridge is deadly.)
- High winds (above 30 mph, especially in exposed sections)
- Rain or snow that will turn the trail slippery (wet rock, mud, and loose dirt are dangerous)
- Afternoon thunderstorms (start early and be below tree line by noon)
- Know your turnaround time. If the weather is supposed to deteriorate at 2 PM, set your turnaround for noon, not 1:30. Make that decision before you leave.
- Be willing to cancel or turn back. There is no shame in aborting a hike because the weather is bad. Pride doesn’t keep you warm. A survivor makes good decisions, not the one who pushes through.
For a beginner solo hiker, the threshold for a no-go should be low. If you’re uncertain, stay home. Do a local walk instead. The trail will be there tomorrow.
Physical Preparation and Pacing for a Solo Hike
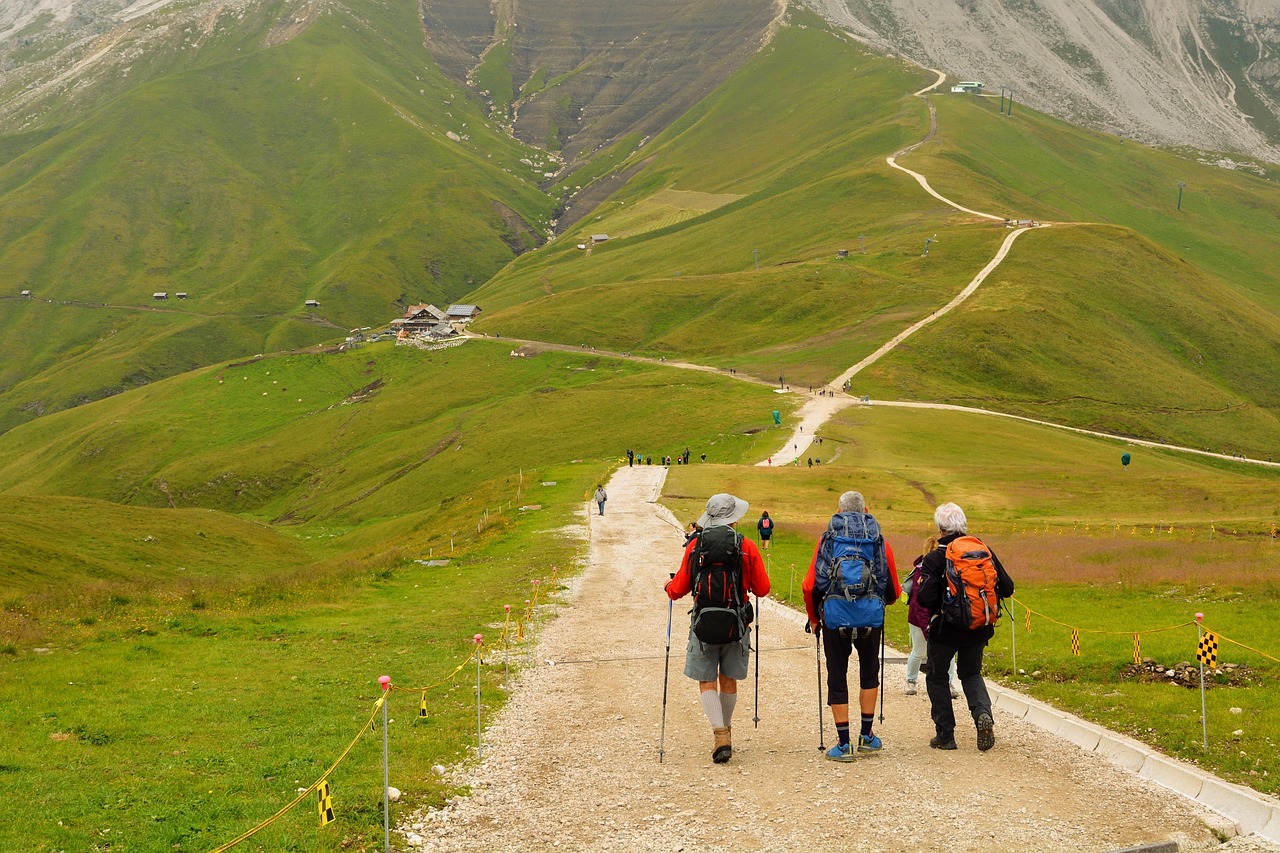
Hiking alone means you set the pace. That’s both freeing and dangerous. Without someone to slow you down, you might push too hard. Without someone to encourage you, you might stop too often. The key is finding a sustainable rhythm.
Start early. A 7 AM start gives you hours of daylight for the uphill section, plenty of time for breaks, and an early finish. If you’re delayed by scenery, navigation confusion, or fatigue, you have the cushion. Starting at noon on a solo hike with a 5-mile route is asking for trouble.
Set a pace where you can hold a conversation with yourself—or sing, or hum. That’s basically zone 2 effort. You should not be breathing so hard that you can’t think clearly. Fatigue makes you skip water stops, forget to eat, and make bad decisions about route changes.
Take breaks, but think about where you stop. A spot visible from the trail is safer than one tucked behind a boulder. If you’re resting for more than ten minutes, put on a layer to stay warm while you sit.
Trekking poles are worth it. They reduce impact on your knees, especially on downhill sections, and they help with balance on uneven ground. They also give you something to swing at a snake or use as a probe on loose terrain.
Common Mistakes Beginners Make on Solo Hikes
Here are the specific mistakes I see most often from solo hikers just starting out. Avoid these and you’ll stay ahead of the curve.
- Overestimating ability. The most common error. A trail looks short on a map, but the elevation gain, trail surface, and summer heat make it twice as hard as you expected. Start with hikes that feel easy on paper. You can always add more.
- Underestimating water needs. In hot weather, you need about a liter per hour of hiking. Most beginners carry half that, then ration water, which leads to dehydration and bad decisions. Carry more water than you think you’ll drink, and know where you can refill.
- Ignoring small blisters. A hot spot at mile two becomes a torn-open blister at mile five. Stop at the first sign of friction and apply moleskin or leukotape. The five minutes you take now will save you an hour of misery later.
- Not telling anyone the plan. This is the one that gets people into serious trouble. If no one knows where you are, no one searches for you. Even if you’re only going out for two hours, leave a trip plan. Always.
- Relying solely on a phone. A phone is a navigation device, a headlamp, a spare water bottle, and a camera. It does none of those things well once the battery hits 10%. Carry the real stuff: a paper map, a headlamp, and an emergency whistle.
Each of these mistakes is avoidable with a little up-front planning. The cost of prevention is almost nothing. The cost of the mistake can be high.
What to Do If Something Goes Wrong: Emergency Protocols
If something happens on a solo hike, you need a mental plan. Here’s a structured response.
Step 1: Stop and assess. The moment you realize something is wrong—injury, lost, weather change—stop moving. Sit down. Take inventory: are you bleeding? Can you stand? Do you know where you are? Do you have shelter and warmth for the night? Breathe for a full minute before you act.
Step 2: Administer first aid or stabilize the situation. Bleeding needs pressure and a bandage. A sprained ankle needs a compression wrap and rest. A blister needs moleskin. Once the immediate issue is managed, move to step three.
Step 3: Signal for help. Three short whistle blasts is the universal distress signal. Repeat every few minutes. A whistle carries farther than a shout. If you have a mirror or reflective surface, use it to flash for help. If you’re carrying a PLB or satellite messenger (like a Garmin inReach), use it. Send the SOS immediately if you’re seriously injured or unable to self-rescue. Do not wait until it’s too late.
Step 4: Shelter in place vs. self-rescue. If you’re injured, lost, or the weather is deteriorating, shelter in place. Build a windbreak, get into your emergency bivvy, and stay warm. If you know exactly where you are and you’re close to the trailhead, you can self-rescue by walking out slowly. If you are unsure, stay put. Moving in the wrong direction makes it harder to find you.
A well-stocked first aid kit with the knowledge to use it is worth more than any gear you can buy. A lightweight kit that includes a wound bandage, blister treatment, ibuprofen, and a space blanket is enough for the most common solo hiking emergencies. Carry a small guidebook or have the basics memorized. In an emergency, you don’t want to be fumbling through a Facebook group post.
Building Confidence: Your First Solo Hike Route Idea
Here’s a model first solo hike: a 4-5 mile out-and-back on a well-marked, popular trail with stable conditions and cell service reported on recent reviews. You want a trail that gives you a chance to practice the skills from this guide: leaving a trip plan, navigating with a map and your phone, taking a break in a safe spot, and administering first aid for a blister—even if you don’t need to.
Choose a route with a clear midpoint landmark like a lake, viewpoint, or waterfall. This gives you a goal and a clear turnaround point. Plan to be back at the trailhead within four hours, even if the hike itself is shorter. That leaves time for breaks, navigation errors, and unexpected beauty.
Use the trip plan template from this article. Leave it with someone who will check on you. Download the offline map. Pack your 10 Essentials. Then go, and enjoy the solitude.
This first hike is about building confidence, not proving anything. The skills you use here will carry into every solo hike after this one.
Final Checklist: Solo Hiking Safety Quick Reference
Before you head out, run through this list. Print it or screenshot it.
- [ ] Trail selected for your skill level (well-marked, under 6 miles, under 1500 feet gain)
- [ ] Detailed trip plan left with someone reliable
- [ ] 10 Essentials packed and checked (navigation, headlamp, sun protection, first aid, knife, fire, shelter, extra food, extra water, insulation)
- [ ] Navigation method confirmed (map downloaded or paper map in hand)
- [ ] Weather forecast checked from a mountain-specific source
- [ ] Emergency contacts known (ranger station, sheriff’s office)
- [ ] First aid kit customized for solo use
- [ ] Bear spray carried if in bear country, accessible on your belt
- [ ] Whistle on your pack or person
- [ ] Start time set for early morning
- [ ] Check-in time confirmed with your contact
Solo hiking is rewarding because it requires self-reliance. The preparation is the price of admission. Do it right and every solo hike builds skills and confidence. Do it wrong and it teaches a hard lesson. Use this guide, start small, and enjoy the quiet of the trail.
Adventure Travel Emergency Guide: How to Handle Crises on the Road
Solo Female Adventure Travel Safety: 15 Essential Tips for Women Traveling Alone