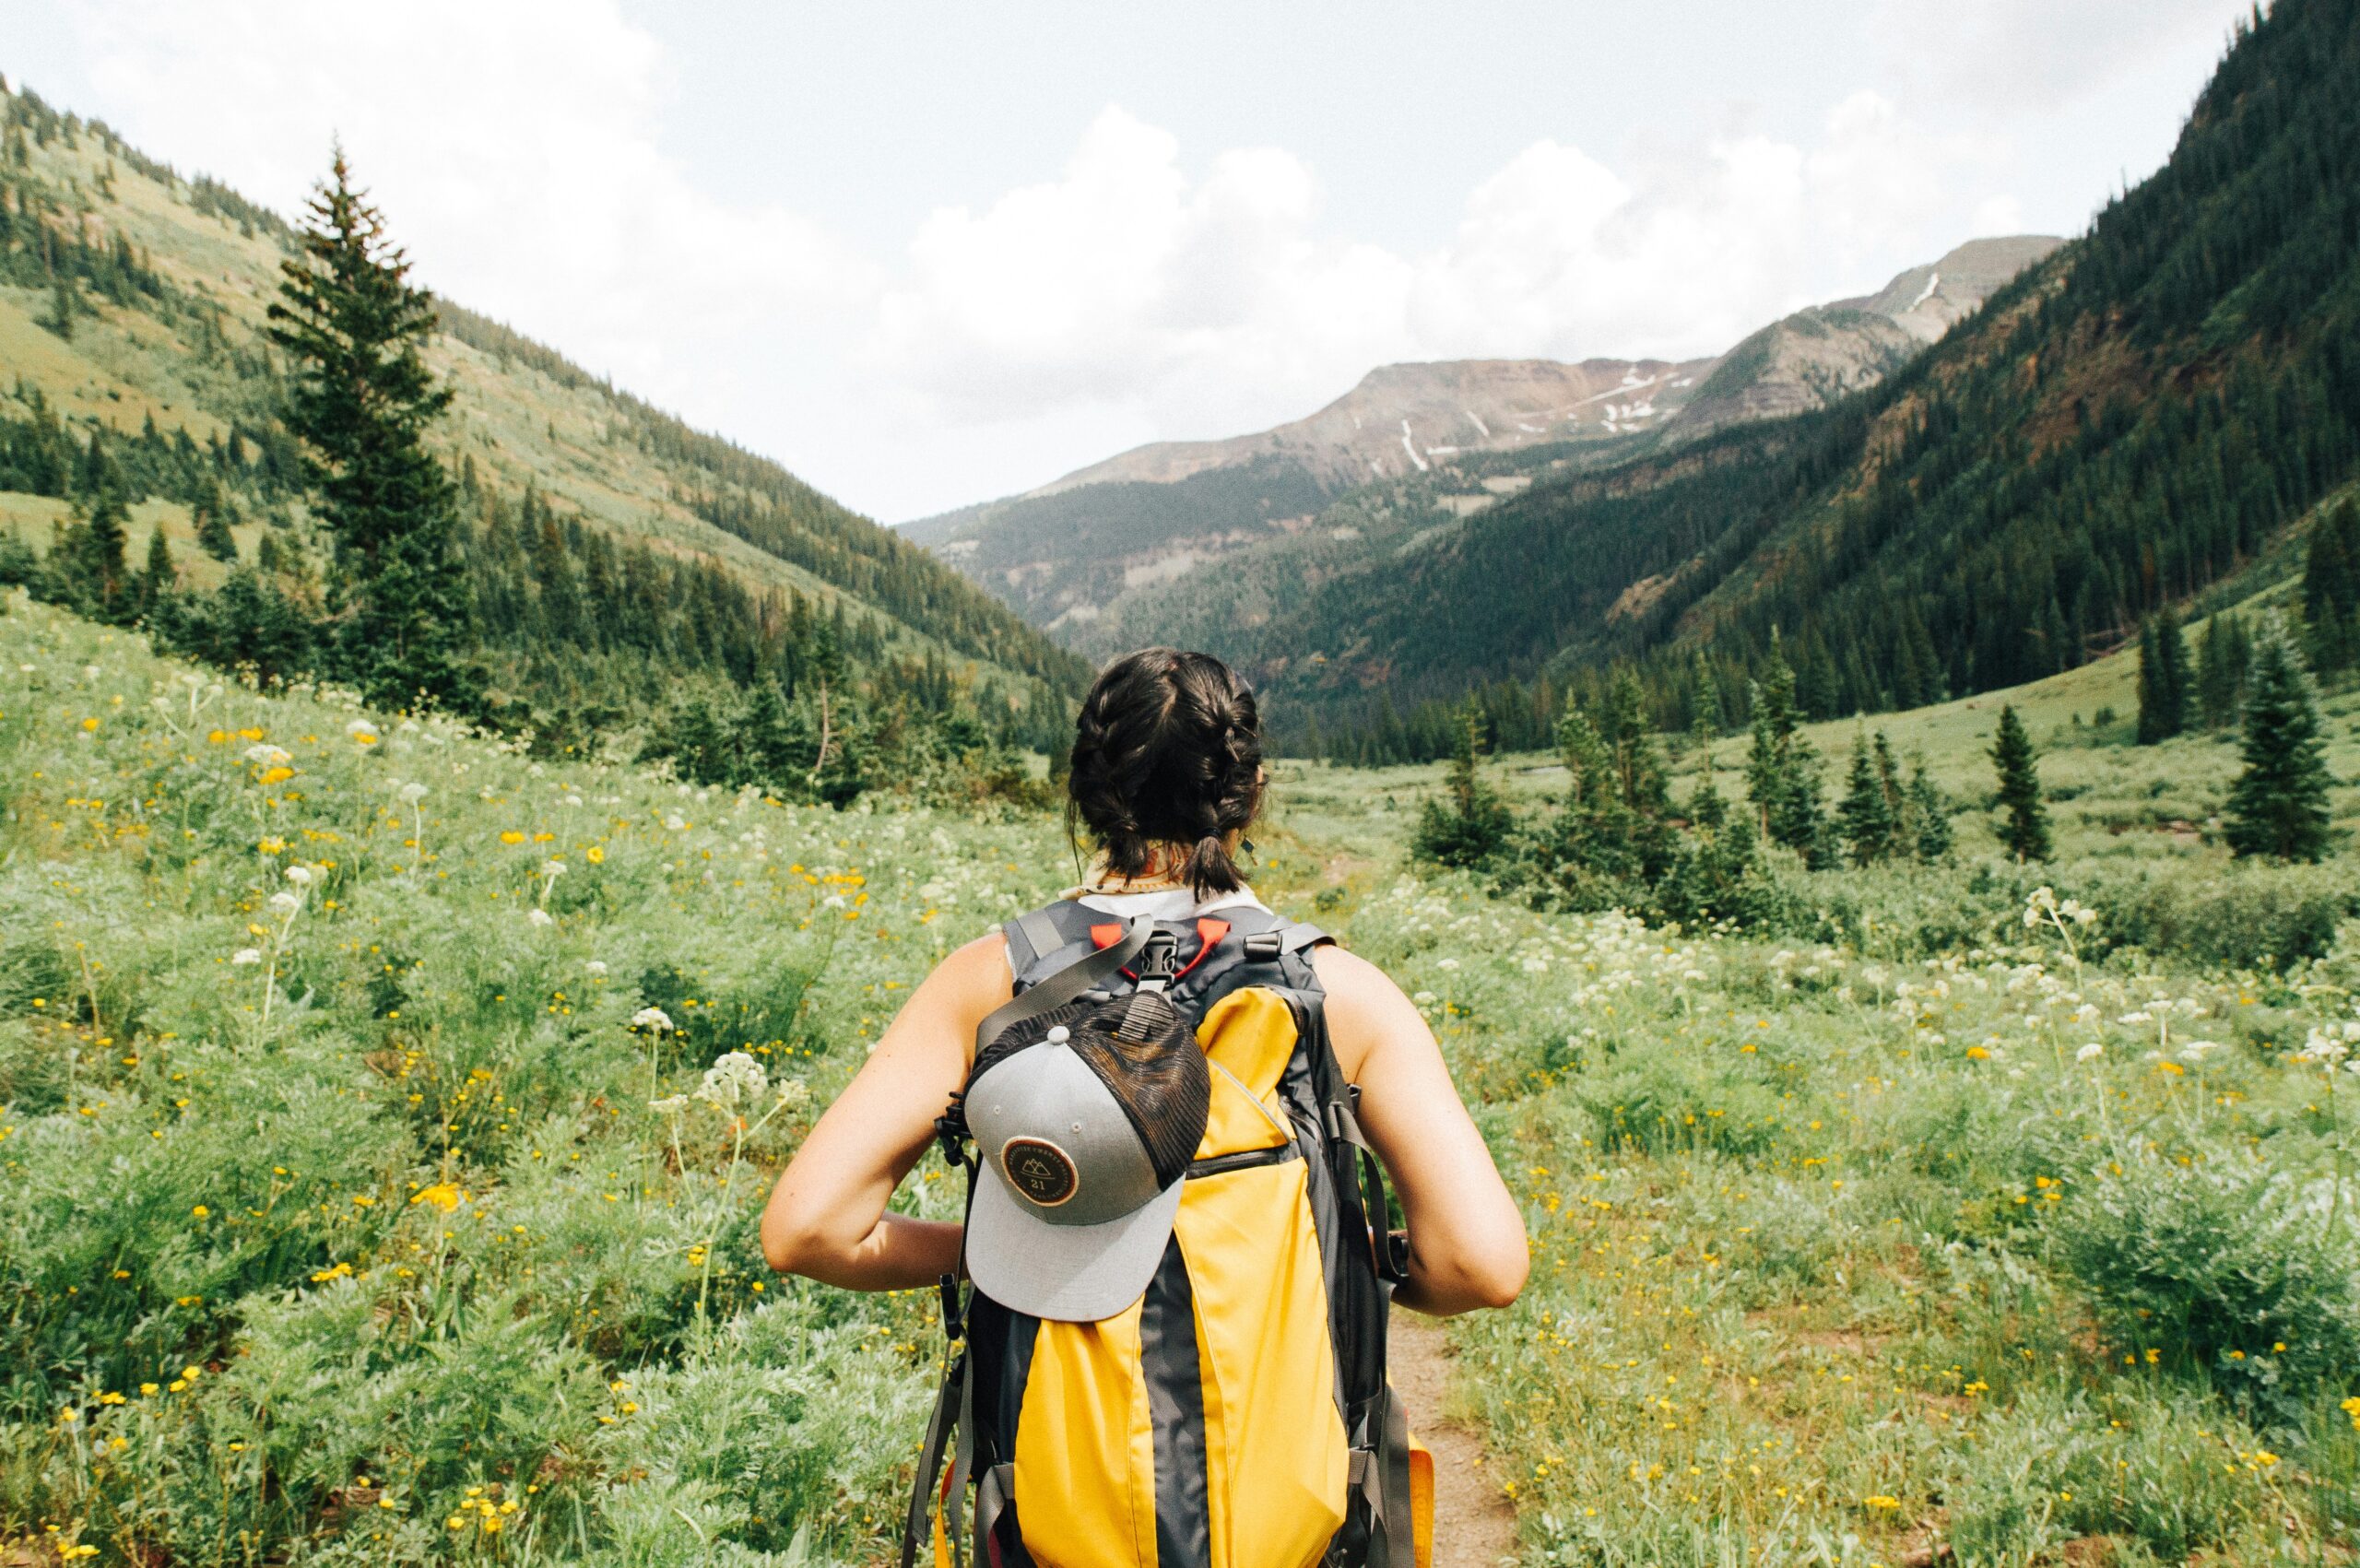
The Essential Adventure Travel First Aid Kit: What to Pack and Why
Introduction
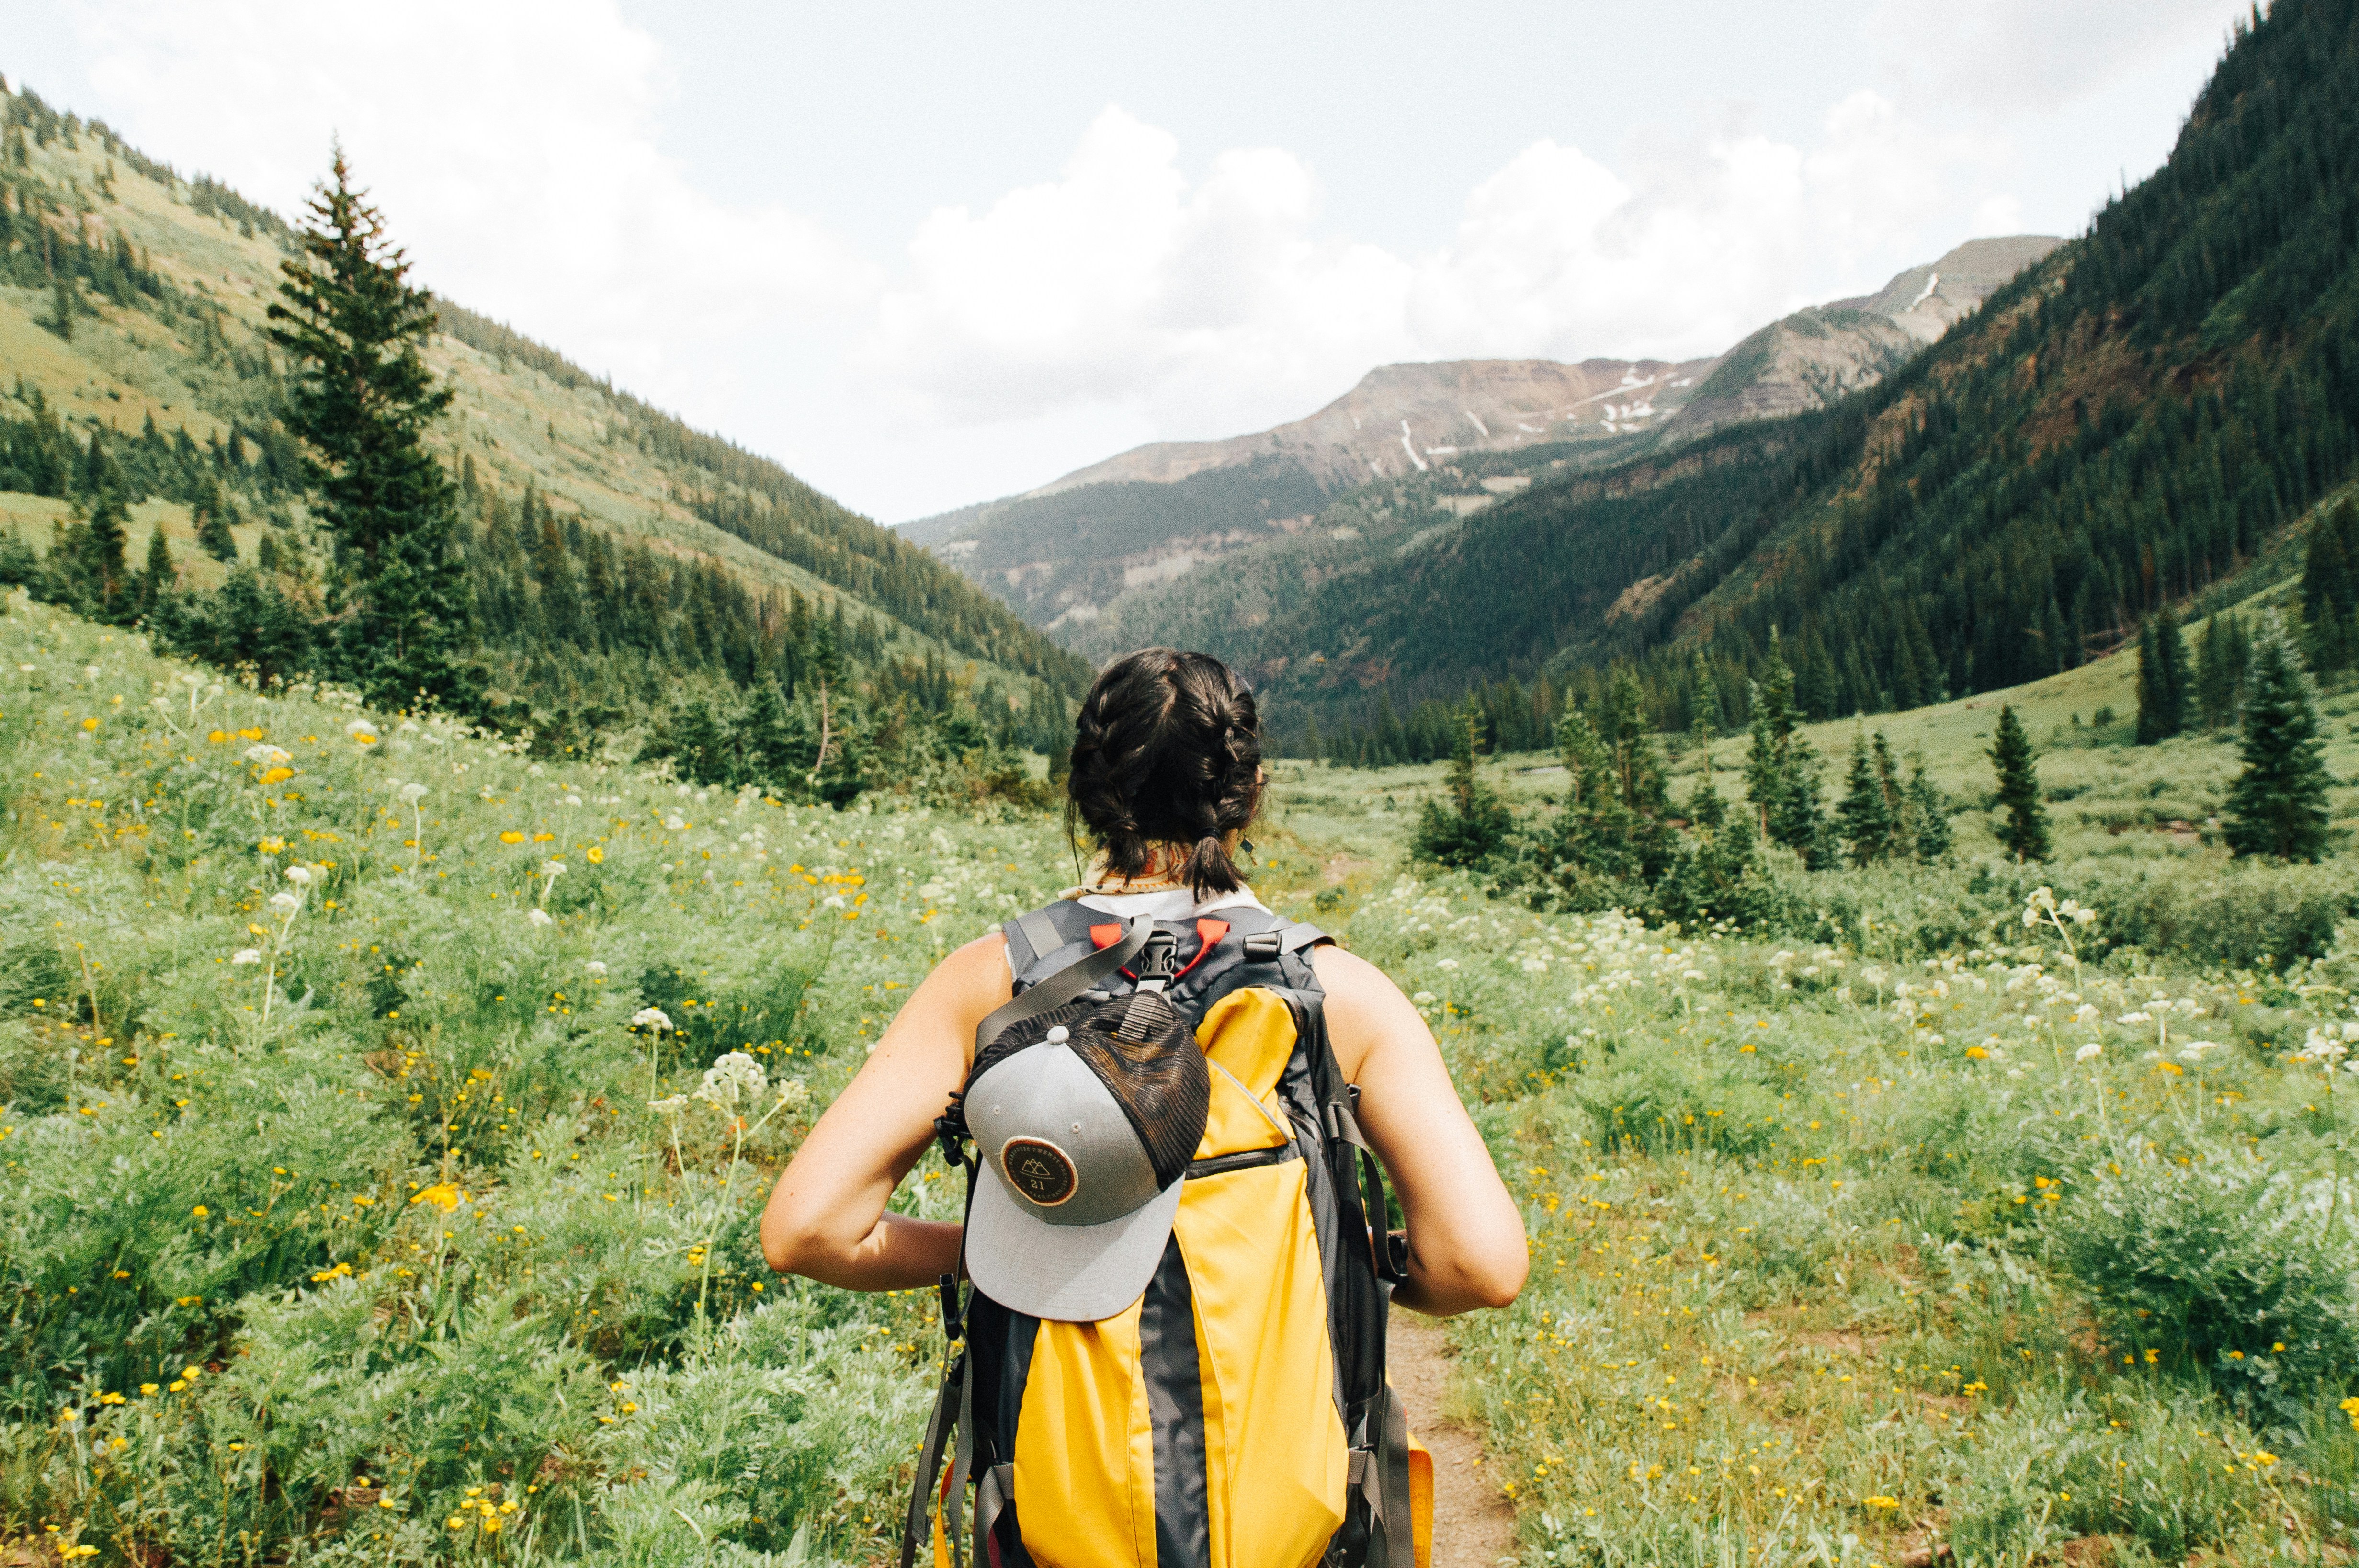
You’re heading into the backcountry with a plan. But if your “first aid” plan is a dusty, store-bought pouch full of stuff you’ve never opened, you’ve already got a problem. The right essential adventure travel first aid kit isn’t about being ready for everything. It’s about being ready for what actually goes wrong: a blister forming three miles from camp, a deep cut that won’t stop oozing, an allergic reaction from brushing against something you didn’t see. Most adventurers I know—hikers, climbers, backpackers—overpack for unlikely disasters and underpack for the real nuisances that end a trip early. This is a practical guide to building a kit that’s lightweight, affordable, and actually useful. It’s not a survival medicine manifesto. It’s a field-tested framework for staying safe and comfortable without carrying a full pharmacy on your back.

Why Most Adventure First Aid Kits Miss the Mark
The biggest mistake is buying a pre-packaged kit and never opening it. Walk into any outdoor store and you’ll see rows of bright nylon pouches claiming to cover everything from splinters to fractures. Open them up, and you’ll find a lot of junk: adhesive bandages in sizes you’ll never use, tiny tubes of ointment that dry out after one trip, and instructions that could double as a doorstop. These kits are built for the mass market, so they have to appeal to a generic “outdoors person.” That means they’re rarely tailored to a specific trip or activity. You end up carrying a heavy roll of gauze you don’t need while missing blister plasters that are critical for a long hike.
Another common oversight is ignoring weight and bulk. A full-sized trauma kit with a tourniquet, trauma shears, and multiple rolls of tape might make you feel prepared, but it’s overkill for a weekend trek. It’s dead weight. Conversely, a kit that’s too small forces you to improvise with dirty gear or skip treatment altogether. The real flaw isn’t the kit itself—it’s the lack of customization. You need a system that makes sense for your activity, your group size, and your own medical history. A store-bought kit is a starting point, not a solution.
The Core Philosophy: Build Your Kit Around the Trip
There’s no such thing as an all-purpose first aid kit that works for every adventure. A day hike on a well-marked trail in a national park has different needs than a multi-day, off-trail expedition in the alpine zone. You don’t need blood-clotting agents and a splint for a three-hour loop. On the other hand, a group of four on a five-day trek without cell service absolutely needs a more comprehensive set of supplies. Before you start packing, answer three questions: How remote is the trip? How long are you going? How many people are in your group?
For a single-day hike, a small pouch with blister care, pain relievers, and basic wound dressing is plenty. For a multi-day expedition, you need redundancy, more medication, and items for more serious scenarios—like a moderate laceration or an allergic reaction. The key word here is modularity. Build a core kit—your base set of essentials that works for almost any trip. Then, for each adventure, add a “trip module” that covers specific risks: extra water purification for dry climates, insect sting treatment for areas with bees or hornets, or altitude sickness medication for high passes. This way, you’re not overpacking or underpreparing. You’re matching your gear to the environment, which is the most practical approach to staying safe.

Wound Care Essentials: Cuts, Scrapes, and Blisters
You’re going to get cut. It happens. The trick is handling it before it becomes a problem. Here’s what you actually need for wound care.
Antiseptic Wipes or Small Bottles
Start with a few single-use antiseptic wipes. They’re light, don’t leak, and clean a wound immediately. I prefer ones with benzalkonium chloride over iodine—they sting less and don’t stain your skin. Avoid bringing a full bottle of hydrogen peroxide. It’s heavy, degrades quickly, and can damage tissue if overused. Stick with wipes. Travelers looking for compact, sterile options can consider a pack of single-use antiseptic wipes for convenience.
Bandages and Gauze
Adhesive bandages in a variety of sizes are fine, but don’t go overboard. A half-dozen in mixed sizes covers most situations. For larger wounds or ones that need compression, add a couple of sterile gauze pads and a roll of medical tape. Gauze pads are great for packing a deep cut or as a buffer between a blister and tape. Keep them in a sealed plastic bag to stay sterile and dry.
Blister Plasters and Moleskin
If you’ve ever had a blister pop on day one of a week-long hike, you know this is the single most important category in your kit. Don’t mess around here. Blister plasters like Compeed or Band-Aid hydrocolloid dressings are excellent—they stay on for days, provide cushion, and don’t require retaping. Moleskin is still useful for hotspots or areas that rub, but it can shift when wet. Best practice: apply a blister plaster at the first sign of a hotspot. Don’t wait until it’s a full blister. By then, you’re just managing damage. Carry at least five plasters for a three-day trip, more if you’re going longer or are prone to blisters. A reliable option is to buy blister plasters online for quick shipment before your trip.
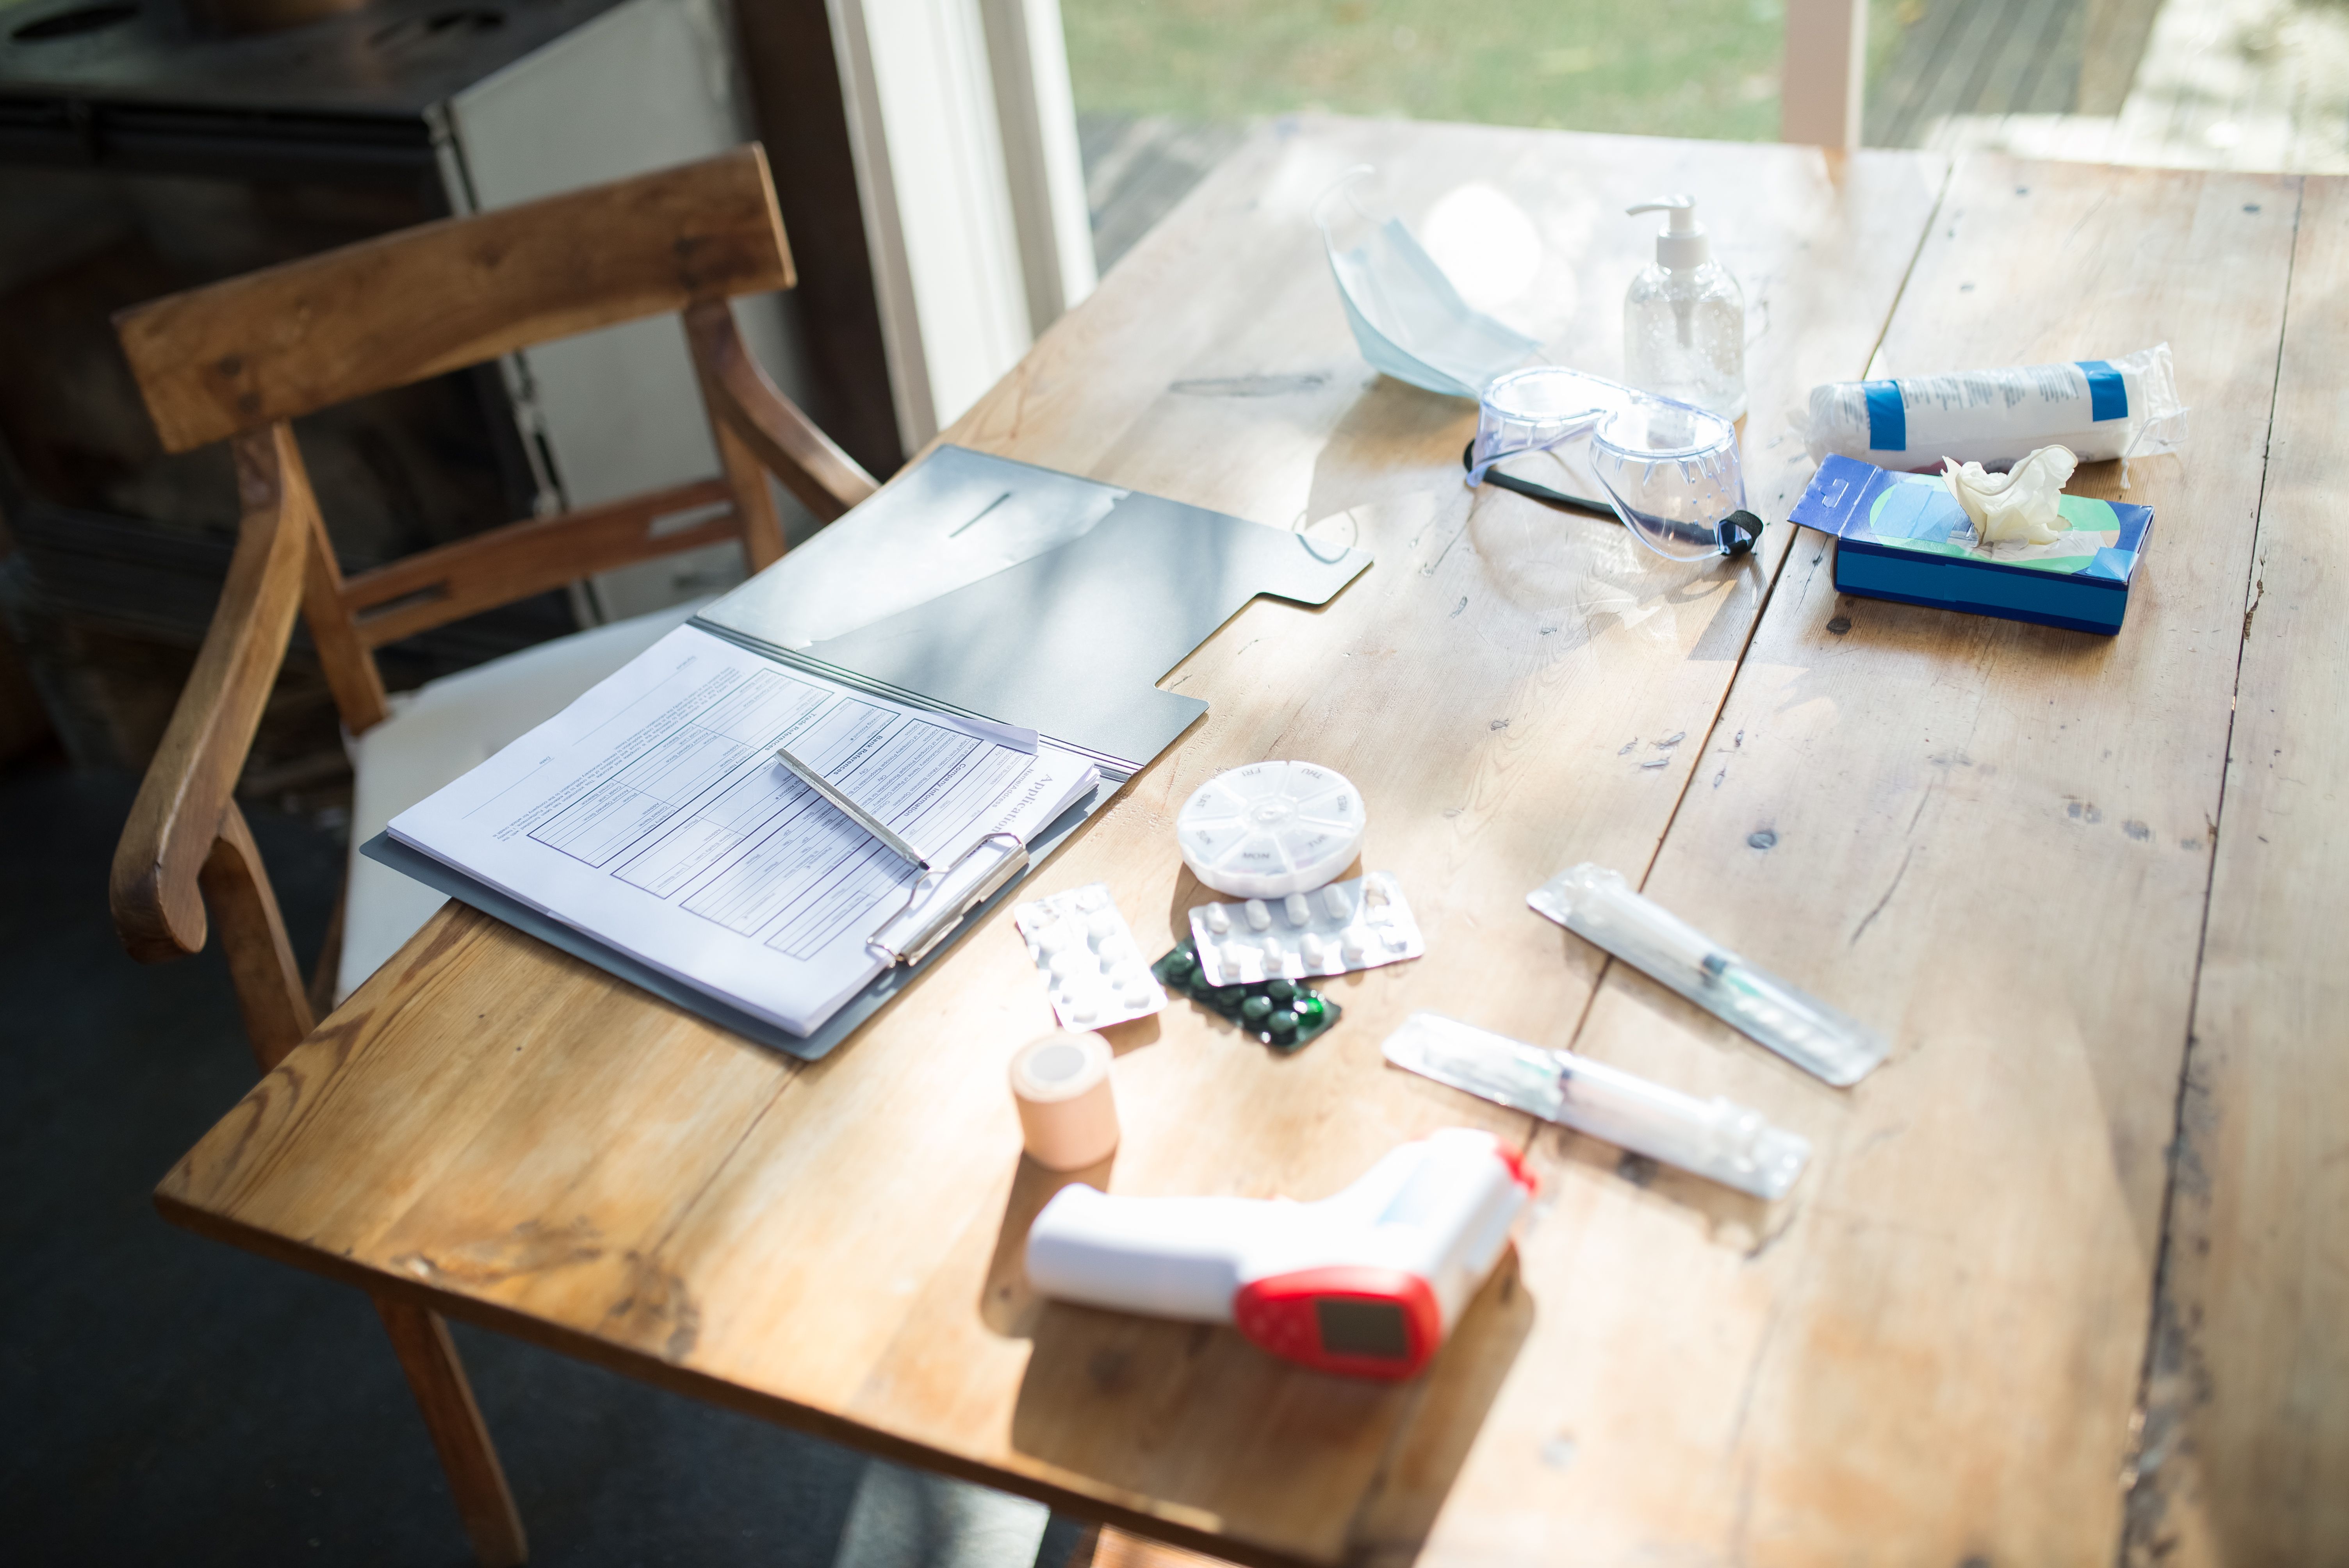
For compact and portable medical tape, a small roll of medical tape fits easily in any first aid pouch.
Medication and Pain Management: What Actually Belongs
This is where I see the most waste. People bring entire blister packs of medication or heavy glass bottles. Your medication kit should be lightweight, compact, and targeted. Here’s my standard list for any backcountry trip beyond a few hours.
Pain Relievers: Ibuprofen and Acetaminophen
Ibuprofen is the workhorse. It handles inflammation from ankle rolls or muscle soreness, and helps with headaches and minor body pain. I carry a small zip-close bag with ten 200-milligram tablets. Acetaminophen is better for pain without inflammation—like a headache or minor fever—and doesn’t bother the stomach as much. I carry about a half-dozen tablets. Keep them in a mini pill organizer or a labeled bag. Important note: Never mix ibuprofen with other NSAIDs, and avoid it completely if you’re dehydrated or have kidney issues. Know your limits before you head out.
Antihistamines
Benadryl (diphenhydramine) is essential for allergic reactions and insect bites. I always carry at least six 25-milligram tablets in my medication bag. Drowsiness is a concern with Benadryl, so for daytime use, I sometimes swap in loratadine (Claritin) as a non-drowsy alternative. But for a severe reaction, Benadryl is the right tool. If you have a known severe allergy to bee stings or food, talk to your doctor about an EpiPen. That’s a prescription item and belongs in your kit if needed.
Anti-Diarrheal and Altitude Sickness
Loperamide is a must. It stops diarrhea quickly, which can ruin a trip and lead to dangerous dehydration. Carry four to six tablets. For high-altitude hiking above 8,000 feet, acetazolamide can help prevent acute mountain sickness, but it requires a prescription. Talk to your doctor if you’re heading to high mountains. For all other scenarios, stick with the core meds. A compact pill organizer or a simple labeled bag is all you need. Don’t bring full bottles.
Tools and Accessories: Beyond the Bandage
Your first aid kit isn’t complete without a few tools that aren’t medications. These are the things that solve problems you didn’t predict.
Tweezers and a Small Blade
Tweezers are for splinters, ticks, and tiny pieces of debris in a wound. Get a good pair—cheap tweezers won’t grip. A small blade on a multi-tool or a dedicated mini knife is essential for cutting tape, trimming a bandage, or opening a stuck package. A Swiss Army Knife or a small Leatherman works perfectly here. If you’re looking for a durable set, a precision tweezers set is a worthwhile investment.
Safety Pins and Duct Tape (Small Roll)
Safety pins are completely overlooked. They can secure a sling, fasten a ripped pack strap, or hold a bandage in place if you run out of tape. Wrap a few strips of duct tape around an old credit card or a pencil. It works for blister prevention, gear repair, splinting a finger, or patching a small hole in your tent. A mini roll of duct tape is another option.
Nitrile Gloves
Always. If you need to dress a stranger’s wound or your own, gloves prevent infection and keep fluids off your hands. A single pair in a sealed bag takes zero space. Add a second pair for multi-day trips with a group.
Emergency Blanket (Mylar)
A lightweight mylar blanket adds minimal weight and can be a lifesaver if someone goes into shock, gets hypothermic, or you need a shelter signal. It’s rarely used, but when it’s needed, there’s no substitute. It’s not a sleeping bag—it’s a tool for emergency heat retention.
Water, Sanitation, and Hygiene in the Field
Bad water and poor hygiene cause more backcountry emergencies than any injury. If you get sick from giardia or a bacterial infection, you won’t be able to hike or help anyone else. This section isn’t about comfort—it’s about preventing a first aid situation from becoming a medical emergency.
Water Purification
I always carry a backup method for water treatment, even if I have a filter. A few water purification tablets—like Aquatabs or Katadyn Micropur—are small and weigh almost nothing. They’re a safety net if your filter breaks or you can’t boil water. They also disinfect water for cleaning a wound. I also like the Sawyer Mini as a lightweight filter that doubles as a reliable water source. It’s not strictly first aid, but it’s tied to preventing illness that requires first aid.
Hand Sanitizer and Wet Wipes
Hand sanitizer is the single best thing you can carry to avoid infections. Use it before eating and after touching anything dirty. I also bring a small pack of ten wet wipes. They’re for cleaning skin before applying a bandage, wiping off a wound area, or basic hygiene between water sources. Don’t skip this.
Waste Bag
A small zip-close bag or dedicated waste bag is for used bandages, wipes, and medication wrappers. Pack out everything. It’s not just Leave No Trace—it also prevents contamination of water sources and other travelers. Keep your first aid kit clean.
Prepackaged Kits vs. DIY: Which Should You Choose?
If you’re a beginner or don’t want to spend time sourcing individual items, a prepackaged kit is a fine starting point. Companies like Adventure Medical Kits and SOL make solid, well-organized kits for day hikes and lightweight backpacking. They usually include a basic set of supplies and a clear instruction booklet, which is helpful if you’re not yet confident in your skills. The main downside is cost—you’ll pay a premium for convenience, and you’ll still remove about half the items. The pouch is often larger than what you’d build on your own.
For experienced hikers and backpackers, a DIY kit is far superior. You control the quality of every item. You choose the container—a small, lightweight dry bag from Sea to Summit or Zpacks instead of a bulky nylon case. You carry exactly what you need for your trip. The cost is usually lower, and you gain a deeper understanding of each item’s purpose. The tradeoff is the time investment and a steeper learning curve. If you’re new to the backcountry, my advice is to start with a reputable lightweight pre-made kit. Take it on a few day trips. Learn what you use and what you don’t. Then, replace the pouch with a custom kit as you get more experience. Either way, don’t cheap out on the individual components. Bad supplies are worse than having none.

Common Mistakes I See in the Backcountry
After enough trips, you start to recognize patterns. Here are the mistakes I see most often, and what to do about them.
Mistake 1: Fifteen Band-Aids, Zero Blister Care
It’s almost universal. People pack a dozen adhesive bandages of various sizes and have nothing for a blister. Blisters are the most common hiking injury after minor cuts. You’ll use a blister plaster ten times more often than a large bandage. Fix this by carrying a dedicated blister kit with at least five plasters and a small strip of moleskin.
Mistake 2: Ignoring Expiration Dates
Ibuprofen goes bad. Antiseptic wipes dry out. Even sterile gauze can get contaminated if the packaging is torn. Check your kit every six months. Replace anything that’s expired, crusty, or lost its seal. Medicine that doesn’t work is just dead weight.
Mistake 3: Not Knowing How to Use an Item
I’ve seen people pull out a pack of saline wound wash and try to use it as eye drops. You need to know the basic function of every item in your kit. If you carry a tourniquet, you must be trained in how to apply it. If you carry an EpiPen, you have to know its expiration date and how to inject it. Spend thirty minutes with your kit before a trip. It’s not a static object—it’s a tool you need to be able to use at night, in the cold, under stress.
Mistake 4: Glass Bottles and Heavy Packaging
Don’t bring a glass bottle of anything. Transfer medication into small, labeled plastic bags or containers. Cut down the cardboard packaging on bandages. Every ounce matters, and glass breaks in a pack. Repackage for weight and safety.
How to Store and Maintain Your Kit Between Trips
Your kit needs a home that’s not just your backpack. I use a small, lightweight dry bag from Sea to Summit that seals completely. It keeps everything dry, organized, and accessible. Inside, I use small clear zip-close bags to group items by category: wound care, medication, tools, sanitation. When you get home from a trip, don’t just shove the used kit in a closet. Open it up, check what you used, and replace those items immediately. If you used a blister plaster, put a new one in. If the ibuprofen is gone, refill the bag. Check expiration dates on meds and replace anything close to expiry. Then, store the dry bag in an accessible location inside your main gear. I keep mine in the top pocket of my pack so I can grab it quickly without digging. A well-maintained kit is something you can trust. A neglected one is just more weight.
Final Checklist: What Goes in a 3-Day Hiking Kit vs. a 2-Week Expedition
Here are two quick-reference lists to help you pack for different trip lengths. These are based on my own standard kit and assume a group of one or two people. Adjust size and quantity if you’re with a larger party.
3-Day Hiking Kit (Lightweight)
- 4 antiseptic wipes
- 5-6 adhesive bandages (mixed sizes)
- 2 gauze pads (4×4 inch)
- 1 small roll of medical tape
- 5 blister plasters
- 6 ibuprofen tablets, 6 acetaminophen tablets
- 4 antihistamine tablets (Benadryl)
- 4 anti-diarrheal tablets
- 1 pair nitrile gloves
- Small tweezers
- Mini multi-tool with scissors
- Emergency blanket (one person)
- Hand sanitizer (small bottle)
- Wet wipes (5)
2-Week Expedition Kit (Moderate Weight, More Supplies)
- 10-15 antiseptic wipes
- 10 adhesive bandages (various sizes)
- 6 gauze pads (4×4 inch)
- 1 full roll medical tape
- 10 blister plasters
- 1 small strip moleskin
- 10 ibuprofen tablets, 8 acetaminophen tablets
- 12 antihistamine tablets (Benadryl + one non-drowsy alternative)
- 8 anti-diarrheal tablets
- Acetazolamide if going to high altitude (prescription)
- 2 pairs nitrile gloves
- Small scissors or trauma shears (mini)
- Tweezers
- Small roll duct tape
- Safety pins (2-3)
- Emergency blanket (one per person or one group)
- Water purification tablets (backup row)
- Hand sanitizer (larger bottle)
- Wet wipes (15-20)
- Waste bag
Frequently Asked Questions About Adventure First Aid Kits
Do I need a tourniquet?
For the vast majority of hikers and backpackers, no. A tourniquet is a high-risk tool for severe arterial bleeding and requires proper training to use without causing permanent damage. If you’re not trained in tactical medicine or don’t have an extremely high-risk activity (like climbing with sharp gear in remote terrain), you don’t need one. Focus on direct pressure and packing a wound with gauze. Those skills work for 99% of scenarios.
How do I handle severe allergic reactions without an EpiPen?
If you don’t have an EpiPen or known severe allergies, your next best option is diphenhydramine (Benadryl) in a high dose. For an adult, 50 milligrams (two 25-mg tablets) can buy you time while you evacuate. This isn’t a total solution—if you know you have a severe allergy, carry an EpiPen. If you don’t, Benadryl is a reasonable stopgap. Always have an emergency plan for rapid evacuation if someone develops anaphylaxis.
Should I bring a first aid manual or guide?
Yes, but keep it small. A printed pocket guide—like the one from NOLS or a small waterproof card—is a great addition for beginners or situations where you might need to reference something. I also recommend a first aid app on your phone that works offline, like the Red Cross First Aid app. It’s easy to read on a phone screen and doesn’t add weight. Just remember that your phone battery is a finite resource. A waterproof card is always reliable.