Adventure Smartphone Photography Tips: The Ultimate Guide for Travelers
Introduction
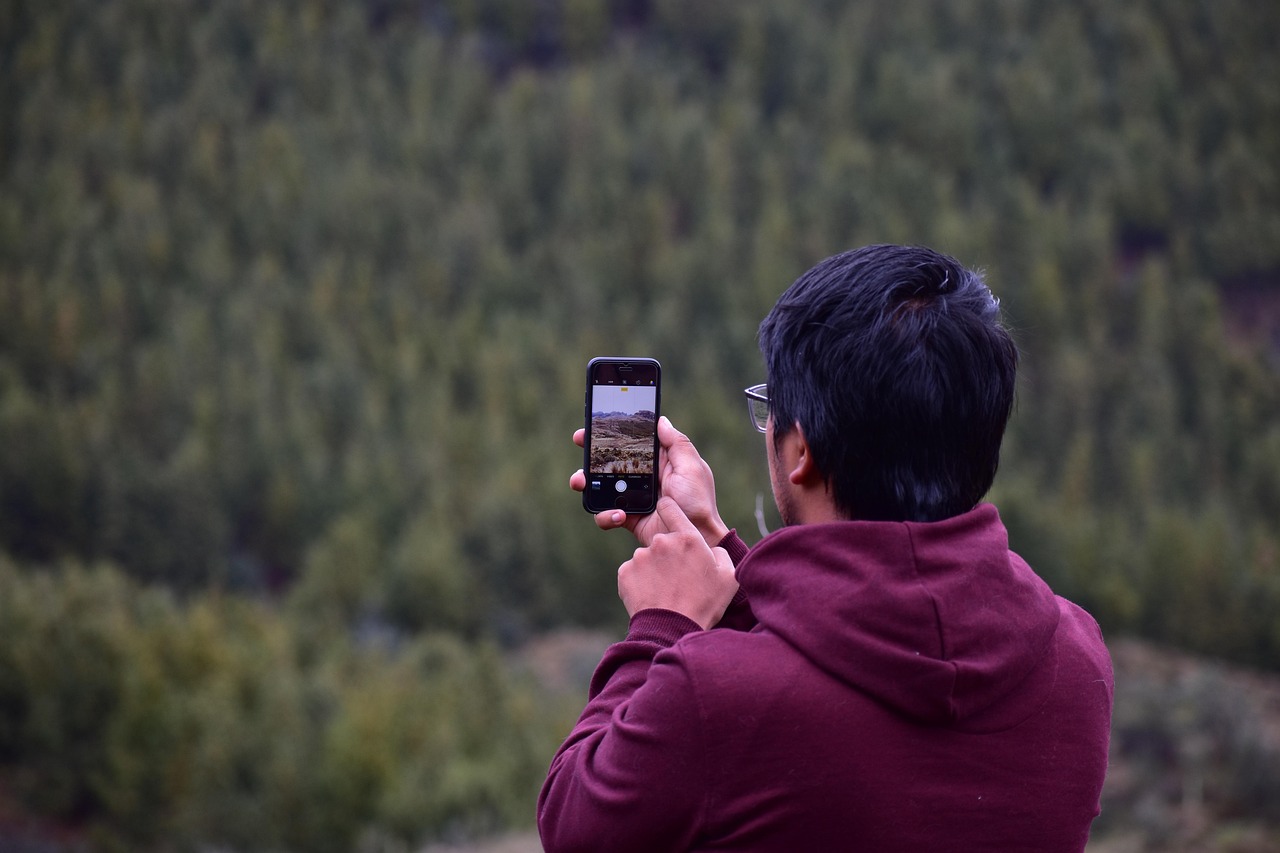
You’re standing on a ridge at sunset, the kind of light that makes landscapes look like they’re on fire. Your phone is in your pocket. The DSLR is back at the hostel because it weighs three kilograms and you had a four-hour climb ahead of you. This is the reality of adventure travel photography. You want the shot, but you don’t want to carry a camera bag that doubles as gym equipment.
Smartphone photography has evolved to a point where adventure smartphone photography tips aren’t just about making the best of a bad situation anymore. They’re about getting genuinely good results in environments that push both you and your gear. Low light at dawn, rain on a mountain trail, dust in a dry canyon, and limited battery access for three days — these are the real challenges. This guide covers the specific techniques, settings, and gear choices that actually make a difference when you’re moving fast and conditions are rough.

Why Smartphone Photography Works for Adventure Travel
Here’s the honest tradeoff. A dedicated camera gives you better image quality in ideal conditions. But ideal conditions rarely exist on an adventure trip. You’re hiking in drizzle, kayaking with splash, or scrambling up a ridge where every gram matters. A smartphone, especially a modern flagship, handles these situations with a significant advantage in portability and convenience.
The weight difference alone changes how you move. A phone with a good camera system weighs about 200 grams. A mirrorless body with a standard zoom lens is closer to 800 grams. That difference compounds over a 20-kilometer day. You also get water resistance, dust sealing, and the ability to pull out your phone, take a shot, and tuck it away in seconds. That speed matters when you’re trying to capture a moment without stopping the group.
The main compromises are control and zoom quality. You don’t get a physical zoom ring, and cropping in post is limited compared to a high-resolution sensor with a proper telephoto lens. But for the vast majority of adventure scenarios — landscapes, portraits of your travel partners, action shots with good light — a modern smartphone delivers results that are hard to distinguish from a dedicated camera.
The Best Smartphones for Adventure Photography in 2025
Not all phones are built the same for adventure photography. Here’s a breakdown of the top contenders and why you’d choose one over another.
iPhone 15 Pro
The iPhone 15 Pro packs a versatile triple-lens system (main, ultrawide, and 3x telephoto) with excellent computational photography. The Photonic Engine handles high-contrast scenes well, and the ProRAW format gives you flexibility in editing. The titanium frame is lighter than previous models and surprisingly durable. Travelers who prioritize reliability and seamless ecosystem integration often find this model a solid choice.
Best for: Anyone already in the Apple ecosystem who wants consistent, reliable results without fiddling with settings. The video stabilization is also top-tier if you shoot footage alongside photos.
Samsung Galaxy S24 Ultra
The S24 Ultra has a 200MP main sensor, a 10x optical telephoto lens, and a dedicated Night Mode that performs well in low light. The S Pen integration is useful for quick edits in the field. The build is robust with an IP68 rating and Gorilla Glass Armor.
Best for: Users who want maximum zoom capability for wildlife or distant landscape details, and those who prefer Android’s flexibility with file management and Pro mode controls.
Google Pixel 8 Pro
Google’s strength is computational photography. The Pixel 8 Pro produces some of the best straight-out-of-camera images with accurate colors, excellent dynamic range, and a Night Mode that rivals dedicated camera sensors. The Tensor chip enables features like Magic Eraser and Best Take, which are genuinely useful for travel group shots.
Best for: Users who prioritize image quality over hardware specifications and want a phone that handles tricky lighting situations automatically.
OnePlus 12
The OnePlus 12 offers a strong camera system with a 50MP main sensor and a 64MP periscope telephoto. It charges fast — 100W wired — which matters when you have limited time between locations. The Hasselblad color tuning gives images a natural look.
Best for: Budget-conscious travelers who still want flagship-level camera performance and fast charging.
Essential Accessories to Carry (and What to Skip)
The right accessories can make a real difference. The wrong ones just add weight and clutter. A good starting point is to look for a reliable phone tripod that can handle uneven terrain.
Portable Tripod
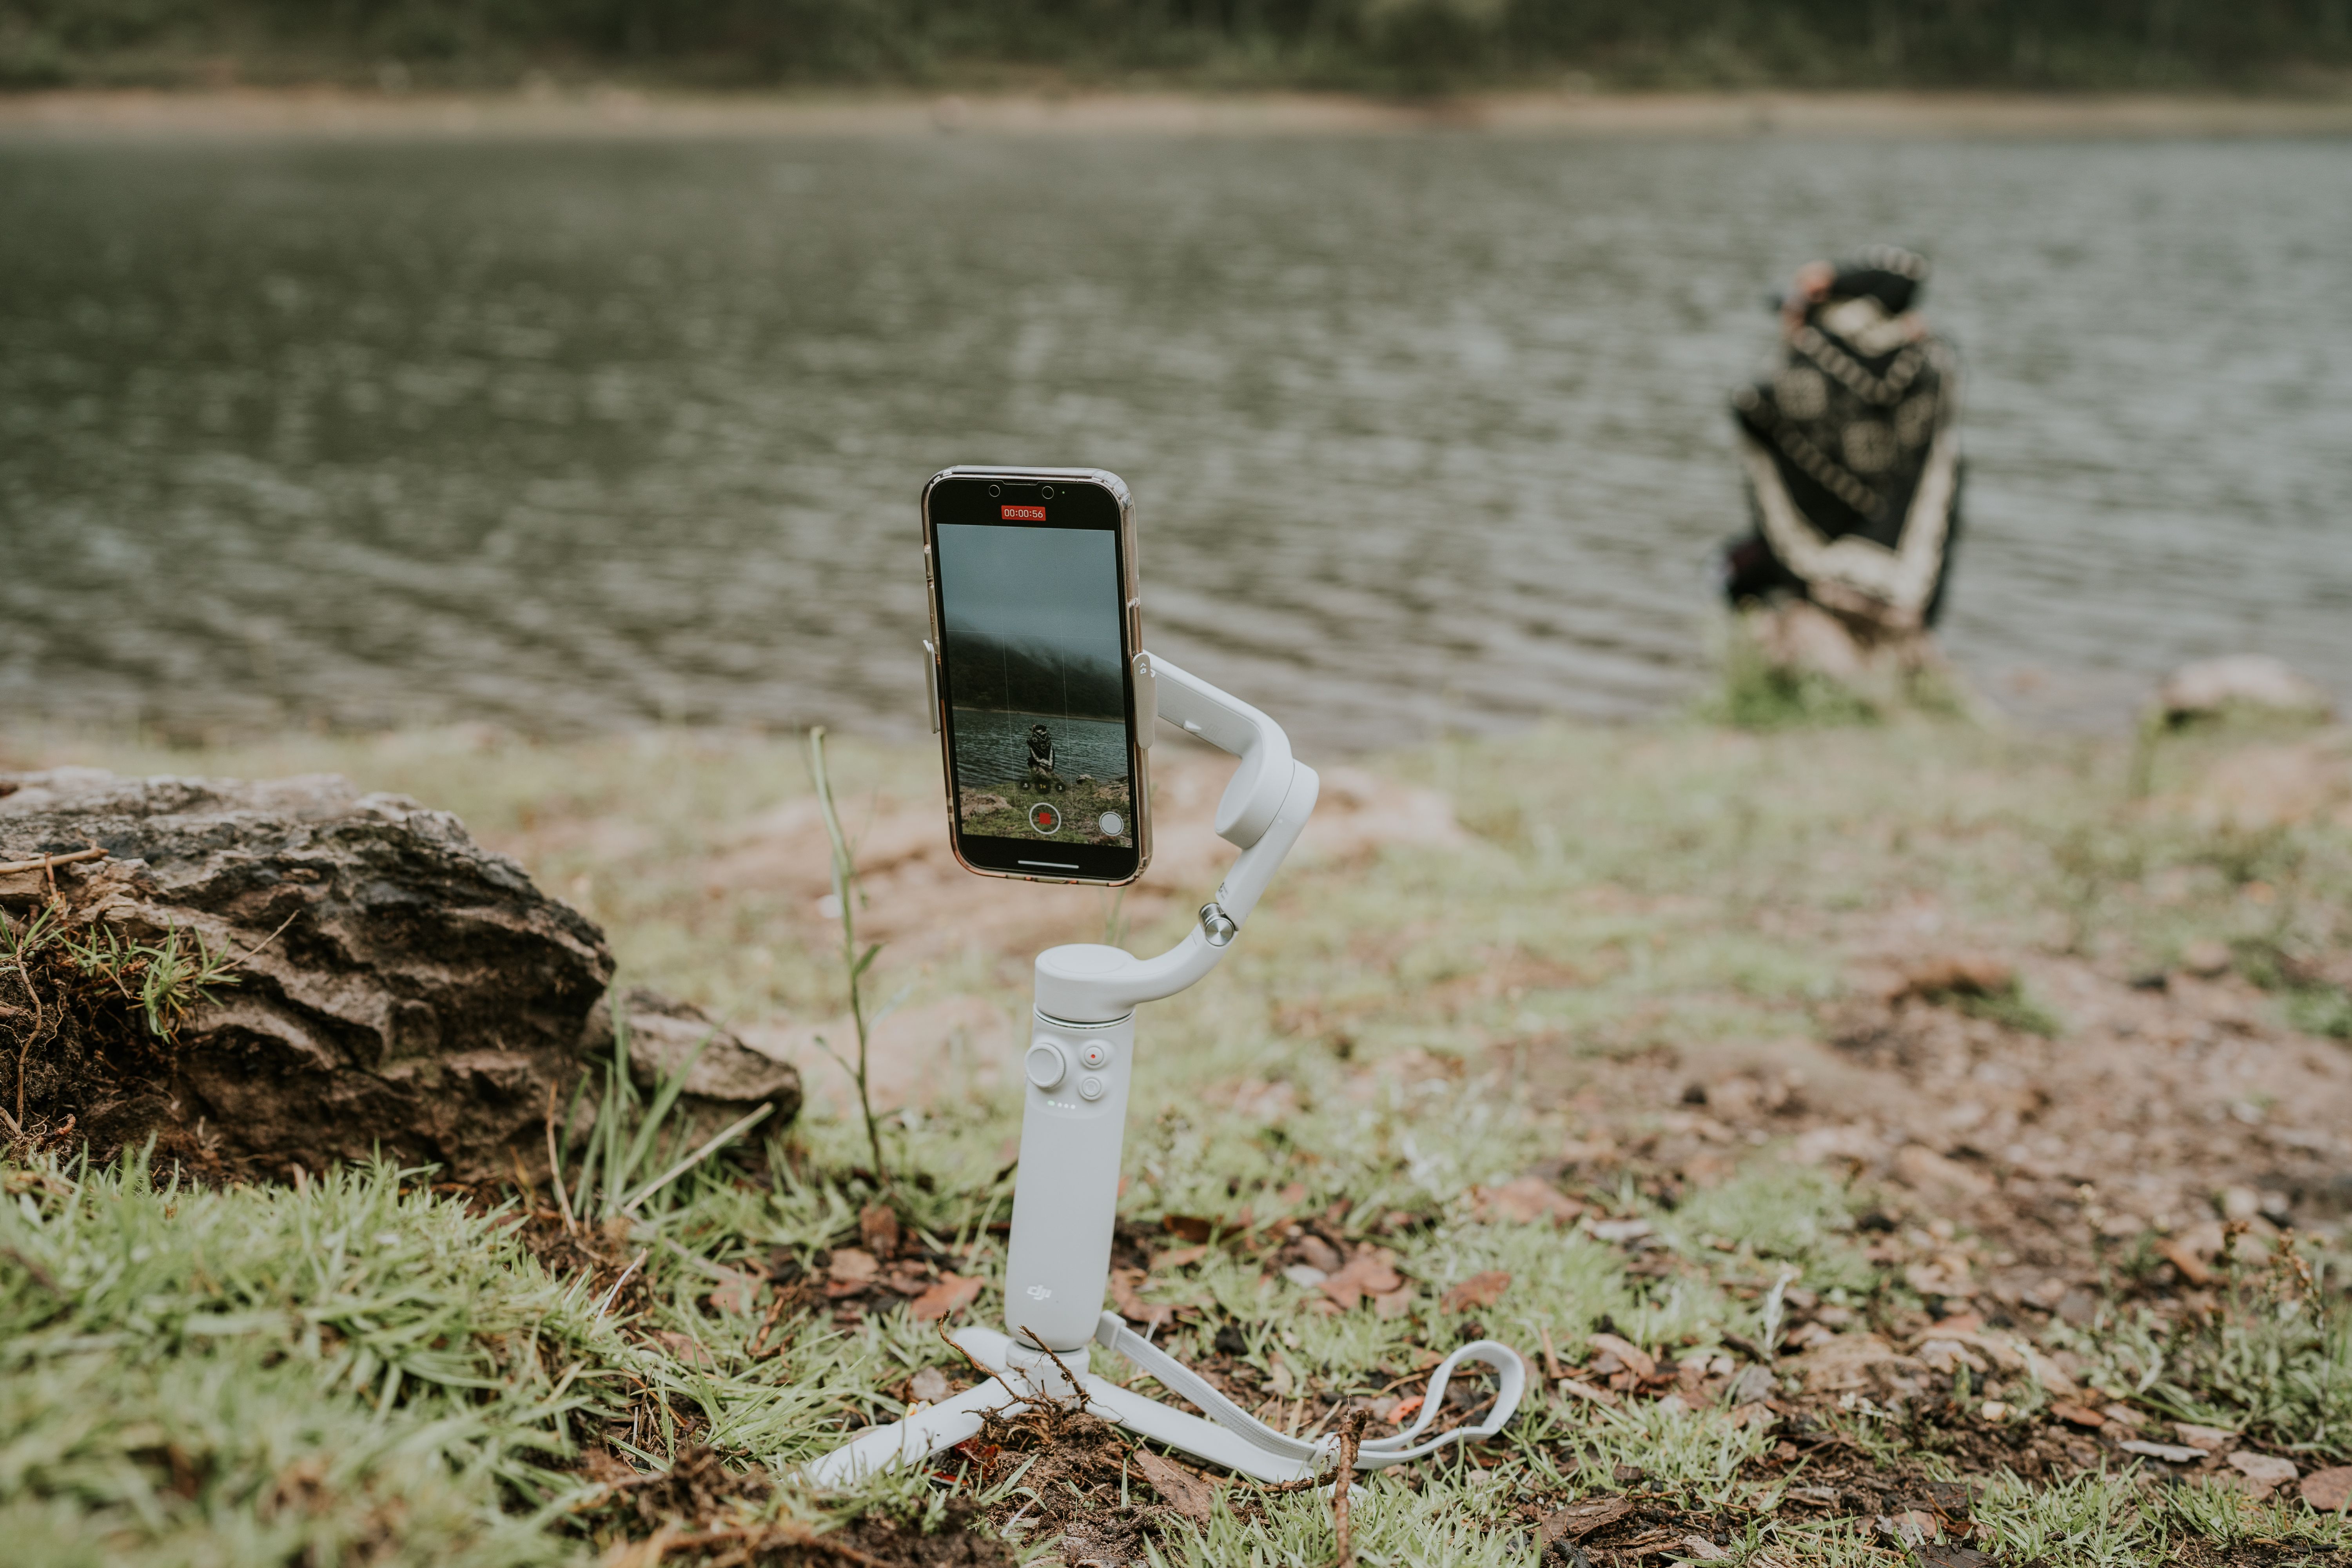
A small, flexible tripod like the Joby GorillaPod is worth its weight. It lets you do long exposures for waterfalls, night skies, or group shots where everyone is included. It wraps around a tree branch or sits on uneven ground without slipping. Skip the full-size tripod — you won’t carry it. If you need a compact option, consider a portable flexible phone tripod for versatility.
Waterproof Case or Dry Bag
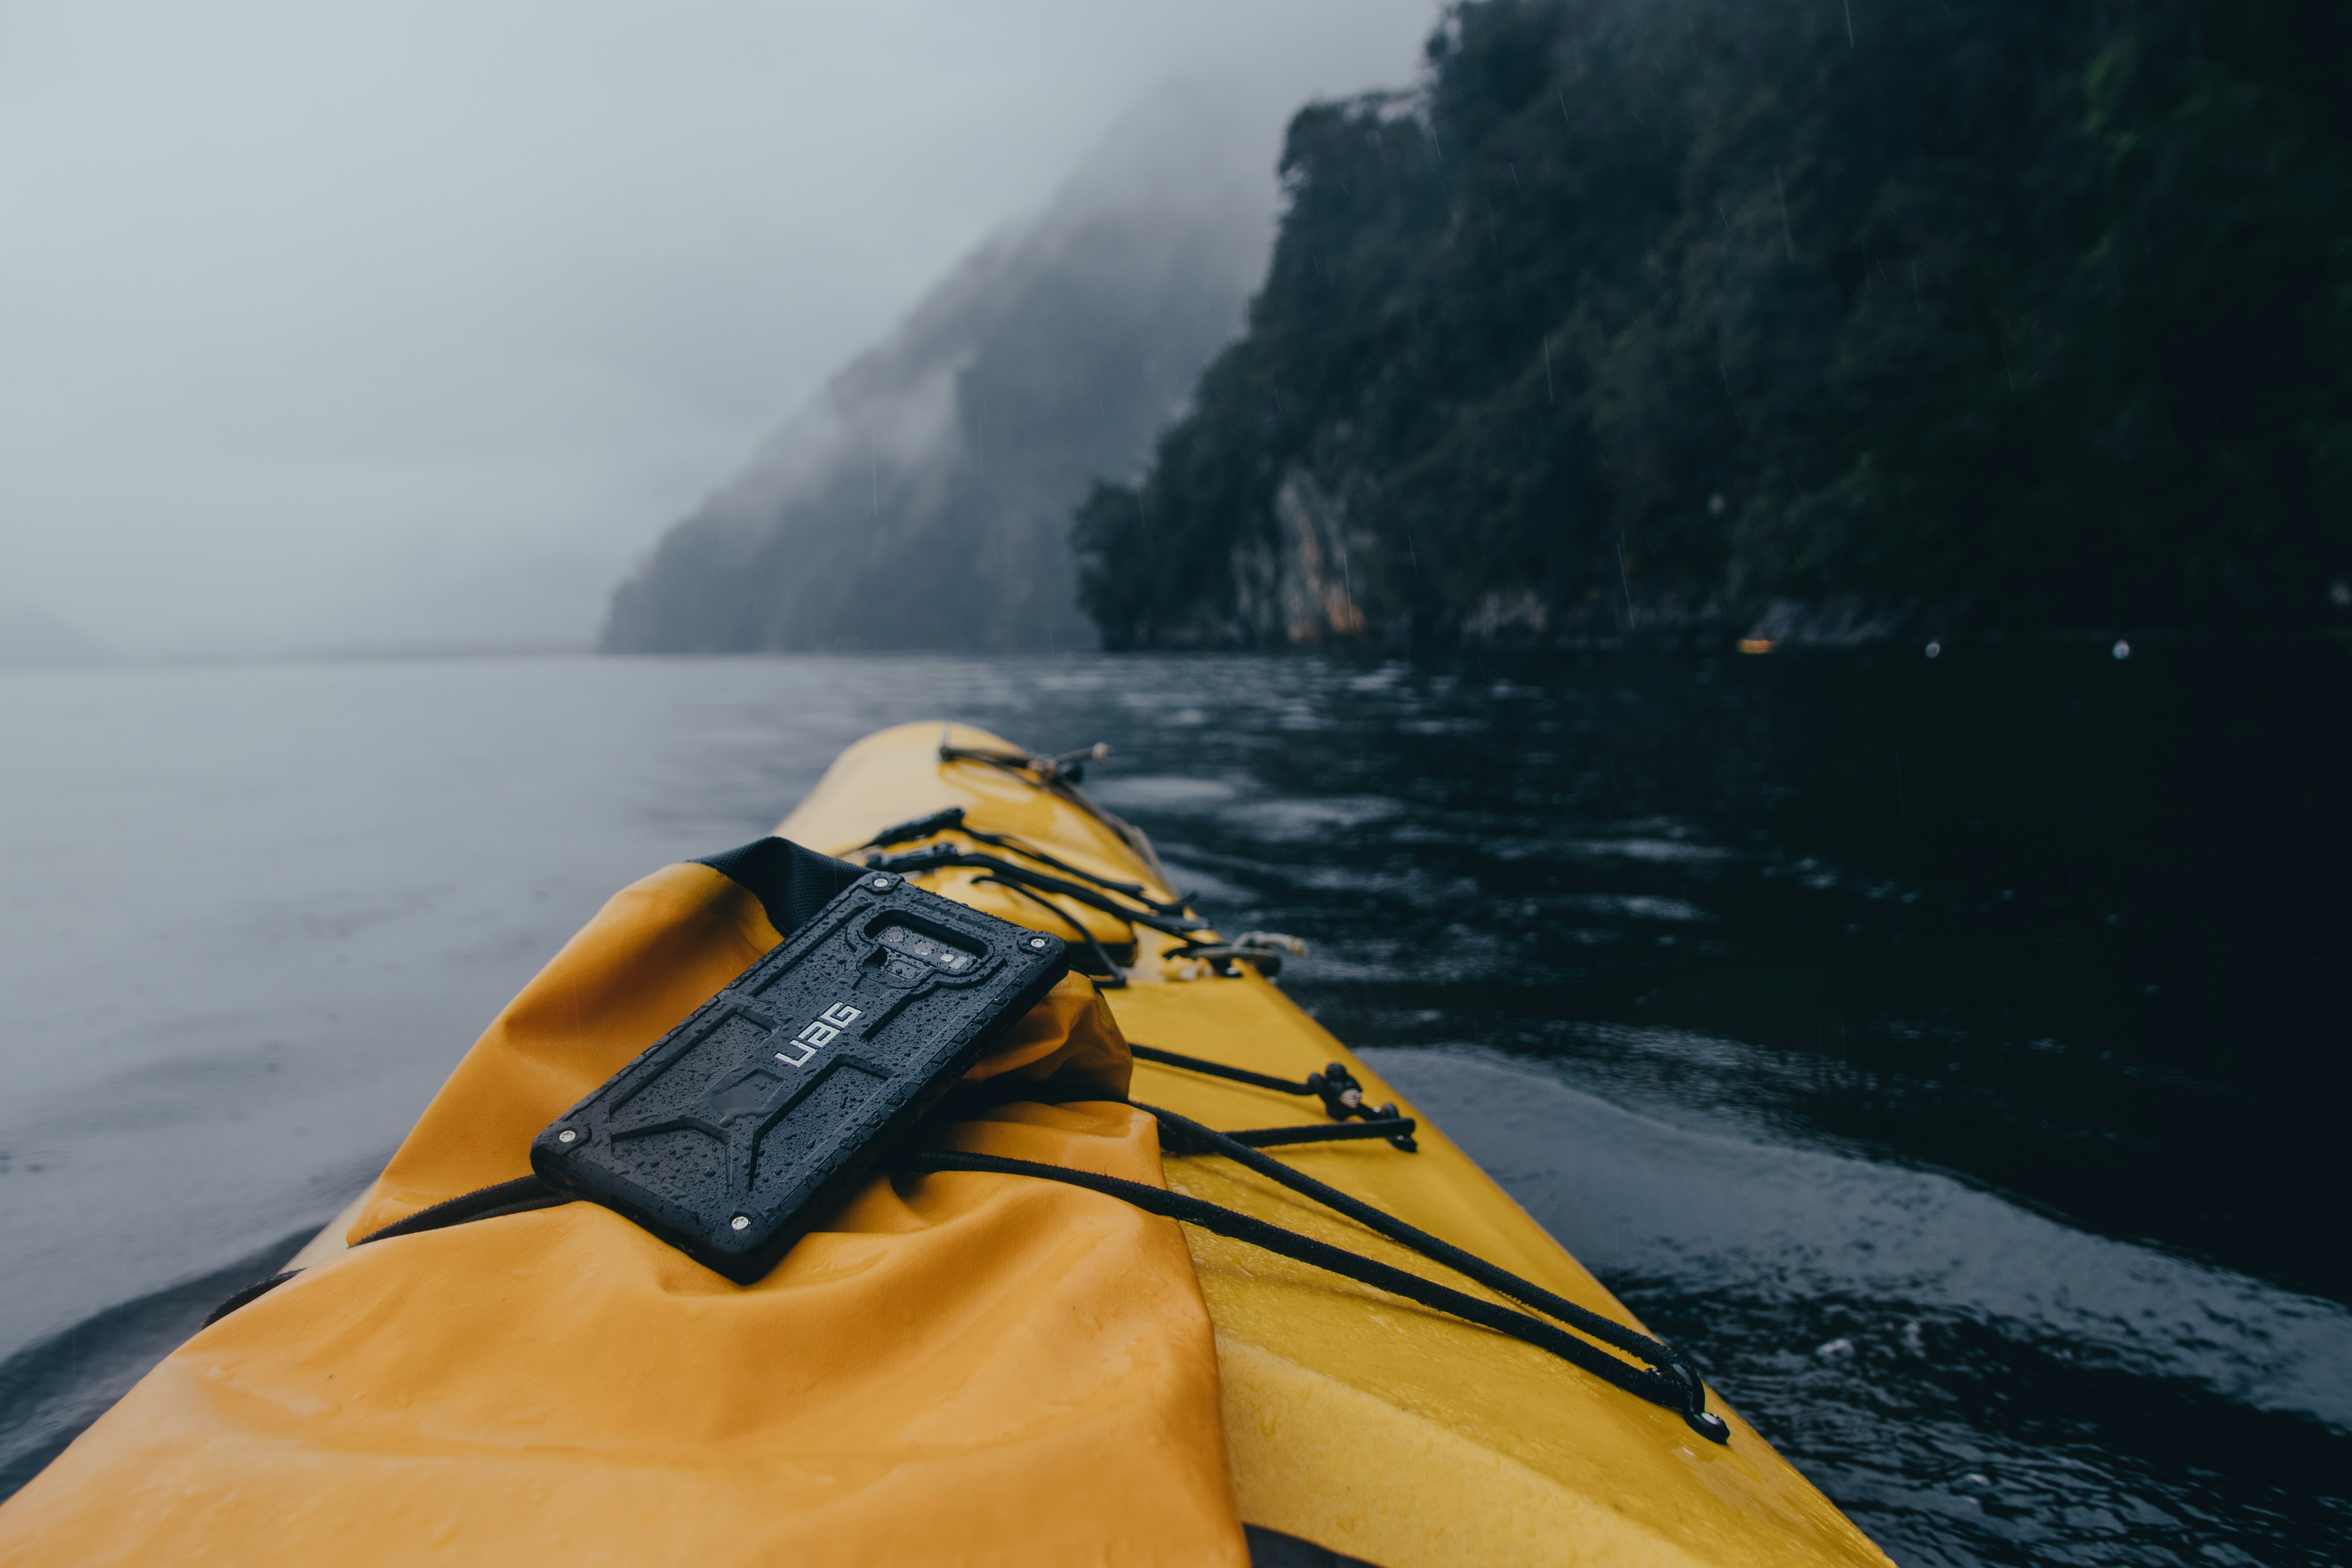
Even with an IP68 rating, saltwater and fine dust can damage a phone. A simple dry bag or a dedicated waterproof case like the LifeProof Fre gives you peace of mind during kayaking or rainy hikes. If you’re on a budget, a heavy-duty Ziploc bag works in a pinch.
Power Bank
Phones drain fast when you’re shooting and navigating simultaneously. A 20,000mAh power bank gives you 3-4 full charges. Look for one with USB-C Power Delivery for fast charging. Anker and RAVPower make reliable options. For those planning longer trips, a high-capacity power bank with fast charging is worth considering.
Lens Cleaning Cloth
This is the most overlooked accessory. Your phone’s lens gets fingerprints, dust, and moisture from being in and out of your pocket. A microfiber cloth in a small pouch costs nothing and prevents hazy, low-contrast images.
Clip-On Lenses (Skip Unless Needed)
Clip-on wide or macro lenses add optical versatility, but they also add bulk and can degrade image quality if they’re cheap. If you specifically need wider shots than your phone’s ultrawide provides, a high-quality option like the Moment series is worth it. For most people, the built-in lenses are sufficient.
Camera Settings Every Adventure Photographer Should Know
Good settings separate a usable photo from a throwaway. You don’t need to be a technician, but understanding these controls matters when conditions are not cooperating.
HDR (High Dynamic Range)
HDR combines multiple exposures to retain detail in shadows and highlights. Keep it on Auto for most landscapes and high-contrast scenes. Turn it off if you want a more dramatic mood with strong shadows.
Exposure Compensation
This lets you adjust brightness without changing the overall metering mode. On iPhone, tap the screen and swipe down. On Android, look for the slider icon in the camera interface. Use it to darken bright scenes (snow, sand) or lighten dark subjects (a person in shadow).
Focus and AE Lock
Tap and hold on your subject to lock focus and exposure. This prevents the camera from adjusting when you recompose. Essential for backlit portraits or moving subjects where you want both focus and brightness consistent.
Pro Mode Controls
On Android phones, Pro Mode gives you manual control over ISO, shutter speed, and white balance. Use a low ISO (50-200) for clean landscapes when you’re on a tripod. Use a fast shutter speed (1/500 or faster) for moving subjects. Adjust white balance manually under mixed lighting (like sunrise or tungsten lamps) to avoid color casts.
For iOS: The native camera app lacks Pro Mode, but apps like Halide or Camera+ offer manual controls. Worth downloading if you shoot consistently in challenging light.
Shooting in RAW
RAW files contain all the sensor data without in-camera processing. This gives you more flexibility to fix exposure, white balance, and sharpness in post-processing. The tradeoff is file size — a single RAW can be 30-50 MB. Use it for important shots, not for every casual photo. On iPhone, enable ProRAW in settings. On Samsung and Google phones, turn on RAW in the Pro Mode or Expert RAW option.

Composition Techniques for Dynamic Travel Photos
Good composition makes a snapshot into something you want to share. These techniques don’t require extra gear and work immediately.
Rule of Thirds
Enable your phone’s grid lines in the camera settings. Place key elements along the intersecting lines rather than dead center. For a landscape, put the horizon on the top or bottom third, not in the middle. For a portrait, place the subject’s eye on an intersection.
Leading Lines
Use natural lines in the environment to draw the viewer’s eye into the frame. A trail curving through trees, a ridge line, a river cutting through a valley. Position yourself so these lines start from the bottom corner and move inward.
Framing
Use elements in the foreground to frame the main subject. A rock arch framing a mountain, tree branches framing a lake, a cave opening framing a sunset. This adds depth and directs attention.
Symmetry and Reflections
Perfectly symmetrical scenes like a still lake reflecting a peak, or a winding road leading to a distant structure, create strong visual impact. Stand directly in front of the center and use the grid to ensure alignment.
Common mistake: Centering everything. It makes photos static and less interesting. Also, don’t ignore negative space. A vast empty sky or a calm sea can be the subject itself if you frame it intentionally. Avoid cluttered edges where distracting elements pull the eye.
How to Handle Low Light and Night Shots
Adventure travel often means early starts or late finishes. Low light is the enemy of smartphone sensors, but modern phones handle it better than you might expect.
Night Mode is the default solution. It captures multiple frames over a few seconds and combines them into a brighter, cleaner image. On the iPhone 15 Pro, it activates automatically in low light. On the Samsung S24 Ultra and Pixel 8 Pro, you can control the exposure length manually. Use a tripod for the best results — hand-held Night Mode works, but longer exposures (3+ seconds) need stability. The table below shows approximate Night Mode behavior on these phones.
- iPhone 15 Pro: Activates at 1-3 seconds handheld, up to 30 seconds on tripod. Consistent results with good detail.
- Galaxy S24 Ultra: Up to 10 seconds handheld, excellent in extremely low light. Slightly more aggressive noise reduction.
- Pixel 8 Pro: Up to 5 seconds handheld, exceptional dynamic range and color accuracy. Best for astrophotography mode (up to 4 minutes on tripod).
- OnePlus 12: Up to 5 seconds handheld, solid performance, slightly warmer color balance.
Avoid using flash. It creates harsh shadows, red-eye, and an unnatural look. Instead, find ambient light sources or rely on Night Mode. If you’re shooting in RAW, you can recover more detail from shadows in post-processing, but the base image needs to be reasonably exposed — underexposing by more than a stop creates noise that’s hard to fix.
Action Shots and Moving Subjects: What Works
Capturing motion during adventure activities — a hiker cresting a ridge, a cyclist descending a trail, a raft shooting through rapids — requires specific technique.
Burst mode: Hold the shutter button on iPhone (or tap and hold on Android) to capture a rapid sequence. This increases your chance of getting the exact frame where the action peaks. Sort through them later and delete the rest.
Selective focus: Tap to lock focus on your subject before they move. The camera will track focus for a moment, giving you time to frame and shoot. For faster subjects, pre-focus on a spot where you expect the action to happen, then wait for them to enter the frame.
Fast shutter speed: In Pro Mode, set the shutter speed to 1/500 or faster for moving subjects. This freezes motion without blur. In auto mode, increase the exposure compensation to brighten, which forces a faster shutter if there’s enough light.
Panning: For lateral motion (a runner or cyclist crossing your view), follow the subject with your phone as you shoot. This creates a sharp subject against a blurred background, conveying speed. Practice a few times — it takes coordination.
Common error: Using too slow a shutter speed and ending up with blurry photos. If your shot is blurry despite a steady hand, the shutter speed is likely too slow. Increase it in Pro Mode or move to brighter conditions.
Editing on the Go: Best Apps and Techniques
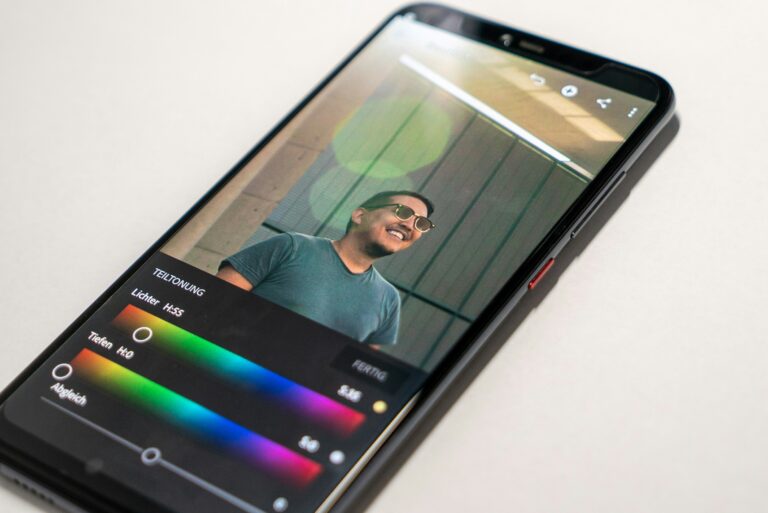
Editing is where you turn a decent raw file into a great image. You don’t need a laptop or a subscription to expensive software. Mobile apps are powerful enough.
Adobe Lightroom Mobile
Free version covers basic adjustments: exposure, contrast, highlights, shadows, white balance, and sharpening. The premium version adds selective edits and healing brush. For adventure photos, it’s the most capable free option.
Snapseed
Google’s app is intuitive and quick. The Selective Adjust tool lets you brighten or darken specific areas without masking. The Tune Image tool handles overall exposure well.
VSCO
Best for applying consistent presets (filters) that can give your photos a cohesive look across a trip. The free version has enough presets to make a difference.
Simple three-step workflow for adventure photos:
- Step 1: Adjust exposure and contrast. Pull up shadows slightly if the foreground is too dark. Reduce highlights if the sky is blown out.
- Step 2: Correct white balance. If the image looks too blue (cold) or too orange (warm), adjust the temperature slider toward neutral.
- Step 3: Apply subtle sharpening and crop. Sharpen at 20-30% to avoid artifacts. Crop to remove distracting edges and improve composition.
Avoid over-editing: clarity above 30% creates an artificial HDR look, and saturating colors makes them look unnatural. Less is more when you’re dealing with natural landscapes.
Battery and Storage Management for Multi-Day Trips
Nothing ends a photography session faster than a dead phone. Here’s how to stretch your battery and protect your files.
Battery management: Turn on airplane mode when you’re not actively using your phone. It disables cellular searching, which is a major battery drain in remote areas. Reduce screen brightness to around 30%. Close background apps that use GPS or push notifications. If your phone supports reverse wireless charging, use it sparingly — it’s slow and inefficient.
Storage strategy: Shoot in a mix of JPEG and RAW. Use JPEG for casual shots, RAW for the ones that matter. Backup photos daily if you have internet access — Google Photos and iCloud sync automatically if enabled. If you’re offline for multiple days, carry a portable hard drive with an SD card slot or a USB-C SSD like the Samsung T7. An OTG cable lets you transfer directly from phone to drive. Alternatively, the WD My Passport Wireless can backup wirelessly.
Power bank recommendation: A 20,000mAh or 26,800mAh power bank is the sweet spot for multi-day trips. Anker PowerCore and RAVPower both offer models with multiple output ports and fast charging. For ultralight backpacking, a 10,000mAh bank gives about two charges and weighs under 200 grams.
Common Mistakes Adventure Photographers Make with Phones
These mistakes are easy to make and easy to fix.
- Relying solely on digital zoom: Digital zoom is just cropping the image. It reduces quality. Instead, get closer physically or use the optical zoom range your phone has (2x, 3x, or 5x depending on model). Accept that beyond optical zoom, you’re better off cropping in post.
- Forgetting to clean the lens: A dirty lens creates a hazy, low-contrast image that no editing can fully fix. Wipe it with a microfiber cloth before every important shot. Your pocket can be surprisingly dusty.
- Shooting in JPEG when RAW is available: If your phone supports RAW and you have storage space, use it. JPEGs are processed in-camera, and you lose the ability to recover highlights or adjust white balance without artifacts. RAW gives you the original data to work with.
- Not using grid lines: Enabling grid lines helps you apply the rule of thirds and keep horizons straight. Without them, it’s easy to end up with crooked horizons or poorly composed shots.
- Ignoring orientation (portrait vs landscape): Vertical shots work well for social media, but wide landscapes and group shots often look better in horizontal orientation. Think about how you’ll use the photo before you shoot.
How to Protect Your Phone in Harsh Environments
Your phone is the most important piece of gear for photography. Keep it working.
A rugged case is the first line of defense. OtterBox Defender and LifeProof Fre offer drop protection and sometimes water resistance beyond the phone’s rating. They add bulk, but the tradeoff is worth it for adventure use. If you kayak or raft, a dedicated dry bag with a floating capability is smart — the phone floats if it goes overboard. A practical solution is to look for a rugged waterproof phone case designed for outdoor activities.
In dusty environments (deserts, dirt trails, volcanic areas), keep the phone in a sealed Ziploc bag when not in use. Fine dust can get into charging ports and speaker grills, causing permanent damage. A lanyard or wrist strap is cheap insurance against accidental drops from a kayak or a cliff edge.
Avoid extreme temperatures. A phone left in direct sun in a dark case can overheat and shut down camera functions. An exposed phone in freezing temperatures drains battery rapidly and can stop working. Keep it close to your body in cold weather — an inner jacket pocket works well.
The balance is between protection and accessibility. A case that’s too bulky makes taking quick shots difficult. A bare phone is vulnerable. Find a mid-range option that allows for quick extraction while offering reasonable drop and water resistance.

Is It Worth Bringing a Dedicated Camera Along?
This depends on your priorities. Here’s a straightforward breakdown.
Best for ultralight packers: A smartphone alone. You can achieve excellent results with the right techniques and accessories. The weight savings are significant. If you’re covering long distances on foot, every gram matters.
Best for photography as a priority: A lightweight mirrorless camera (like a Sony A6400 or Fujifilm X-T30) plus one versatile lens (a 16-55mm f/2.8 equivalent) gives better image quality, faster autofocus for wildlife, and true optical zoom. You’ll notice the difference in low light and when printing large. The tradeoff is the extra weight and the need to manage two devices.
Best for underwater shots: An action camera like a GoPro or DJI Osmo Action is better than any phone in a waterproof case. The wide-angle lens, rugged build, and simple operation are made for water activities. A phone in a case can work, but the results are usually less reliable.
If you’re going on a trip where photography is the main goal (a dedicated photography trip), bring the dedicated camera. If the trip is about the adventure itself and photos are a bonus, the phone is more than enough.
Final Thoughts
Great adventure photos come from knowing your gear, understanding the environment, and making deliberate choices — not from spending more money on equipment. Focus on learning the settings that matter: exposure compensation, focus lock, RAW format, and Night Mode. Practice composition techniques until they become second nature. Carry a small tripod, a power bank, and a cleaning cloth. That’s the core setup.
If you’re upgrading your phone or adding accessories, the recommendations in this guide have been tested across multiple trips and conditions. Before your next adventure, review the phones, tripods, power banks, and cases listed here. Investing a little in the right gear will pay off in photos you’ll want to keep for years.