Best Camera Straps for Hiking and Adventure Photography: The Complete Guide
Introduction
 camera&tag=patstravels-20″ target=”_blank” rel=”nofollow sponsored”>camera&tag=patstravels-20″ target=”_blank” rel=”nofollow sponsored”>camera&tag=patstravels-20″ target=”_blank” rel=”nofollow sponsored”>camera on brown sand” width=”1200″ height=”800″ loading=”lazy” />
If you hike with a camera, the strap that came in the box is a liability. It’s too narrow to distribute weight, the material soaks up sweat and turns into sandpaper, and every time you lean forward the camera swings off your shoulder or smacks a rock. I’ve been shooting adventure photography—and hiking with a camera—for over a decade, and I’ve gone through a lot of straps. Some worked great, some broke mid-trail, and some taught me exactly what to avoid. This article covers the best camera straps for hiking, what specific features matter when you’re miles from the car, and how to choose the right setup for your gear and your style. Every strap listed below has been field-tested, and these are the ones that earned their place in my pack.

Why a Standard Camera Strap Isn’t Enough for Hiking
A standard neck strap—the one your camera came with—is designed for walking around the city or shooting an event. It’s not designed for miles of uneven trail, scrambling over boulders, or carrying a camera in front of your chest while you swing trekking poles. Here’s where they fail.
First is load distribution. That quarter-inch strip of nylon concentrates all the weight of your camera into a narrow line across your neck or shoulder. After a few hours, that line starts to burn. After a full day, your trapezius will be screaming. Second is bounce and swing. A standard strap lets the camera flop around with every step. On technical terrain, that means the camera is slapping your hip, catching on branches, or dangling precariously when you bend over. Third is sweat. Most standard straps are made from synthetic webbing or thin rubber that holds sweat, gets slippery, and chafes. In a humid climate or a fast climb, you’ll be adjusting the strap constantly. Finally, there’s security. Standard strap attachment loops are just plastic clips that can fail or slip. On the trail, I’ve seen a photographer’s camera hit the ground because a cheap clip popped open in a scramble.
These aren’t minor inconveniences. They’re trail-ending problems that ruin your focus, fatigue your body, and risk your gear. A proper hiking camera strap is designed for exactly this environment. It distributes weight evenly, stays put, breathes, and keeps the camera accessible when you need it and secure when you don’t.
What to Look for in a Hiking Camera Strap
Before you buy, understand the specific job a hiking camera strap has to do. It’s not just about clamping the camera onto a piece of webbing. Every feature solves a real problem on the trail. Here’s the checklist I use when evaluating a strap.
Load Distribution and Width
Wider does not automatically mean better, but it matters. A strap around two inches wide spreads the weight of a mirrorless kit or DSLR across your shoulder in a way that a half-inch strap never can. For lightweight bodies (mirrorless without a heavy lens), a 1.5-inch strap can be fine. For full-frame DSLRs or telephoto lenses, lean toward straps that are at least two inches wide at the shoulder contact point. Some straps use a tapered design—wider at the shoulder, narrower at the camera—to balance comfort and flexibility. Travelers who need a wider strap for heavier gear may want to check options for hiking camera straps with good load distribution.
Material: Breathable, Non-Slip, and Weather-Resistant
On a hot day, you will sweat. A strap made of neoprene or perforated silicone is better in the heat. Neoprene gives you some cushioning and dries faster than standard nylon. Some straps use a rubberized backing against the shoulder to prevent sliding. That matters when you’re wearing a rain jacket or a slick synthetic shirt. For wet environments, avoid materials that soak up water and hold it. A strap that gets heavy with moisture is no fun to carry.
Attachment Method: Anchors, Clips, and Security
There are three common attachment methods. The first is a permanent anchor system where a small metal or plastic piece stays permanently attached to your camera’s strap lugs. You clip the strap onto that anchor. Peak Design’s Anchor Links are the most famous example. They’re quick and reliable but require you to trust the anchor. The second is a built-in quick-release clip that attaches directly to the camera’s strap ring. These are common on sling-style straps. The third is a traditional fixed loop with a metal buckle. This is the least convenient but the most secure. For hiking, I prefer the anchor system because it allows rapid detachment when I need to mount the camera on a tripod or slide it into a pack. But I also check that the anchor is metal or very high-quality plastic—cheap plastic clips are a hard pass.
Adjustability
You need the ability to quickly shorten or lengthen the strap without stopping and unbuckling. On trail, sometimes I need the camera tight against my chest while I bushwhack, and other times I need it hanging lower for easier access. A good strap has a simple one-hand adjustment mechanism. Look for a sliding buckle or a cam lock that you can slide while the camera is still strung. Avoid straps that require double-D rings or complicated threading to adjust. You will not stop on a steep climb to rethread webbing.
Compatibility with Your Camera and Lenses
If you shoot with a heavy telephoto lens, a standard strap attachment at the camera body will make the lens point straight down—and every step will swing that lens into your thigh. For those setups, look for a strap system that includes a lens attachment or a secondary anchor. Some straps come with a tripod-mount anchor that fits into the lens collar’s foot, allowing you to balance the weight. If you frequently switch between lenses, make sure the system is compatible with both your body and your heavier glass.
Best Camera Straps for Hiking: My Top Picks
These are the straps I’ve used on real hikes, in real conditions, over multiple days and seasons. Each one has a specific use case, and I’ll tell you exactly who it’s best for.

Peak Design Slide Lite
The Peak Design Slide Lite is my go-to for most day hikes with a mirrorless kit. It’s a sling-style strap that uses the company’s excellent Anchor Link system. The attachment is fast—you can snap the camera on or off in one second, which is ideal for mounting it on a tripod or stuffing it into a bag. The strap itself is 1.5 inches wide and has a synthetic material that doesn’t grip too hard on a cotton t-shirt but stays put on a rain jacket. It comes with two sets of anchors, so you can leave one set on the camera and one on a lens mount. The adjustment mechanism is smooth and easy to operate one-handed. Downside: it’s not as comfortable as wider straps for heavy glass. If you’re carrying a full-frame DSLR with a 70-200mm lens, look at the regular Peak Design Slide (the wider version). Best for: mirrorless, light DSLR kits, day hikes, and anyone who values quick access over maximum stability.
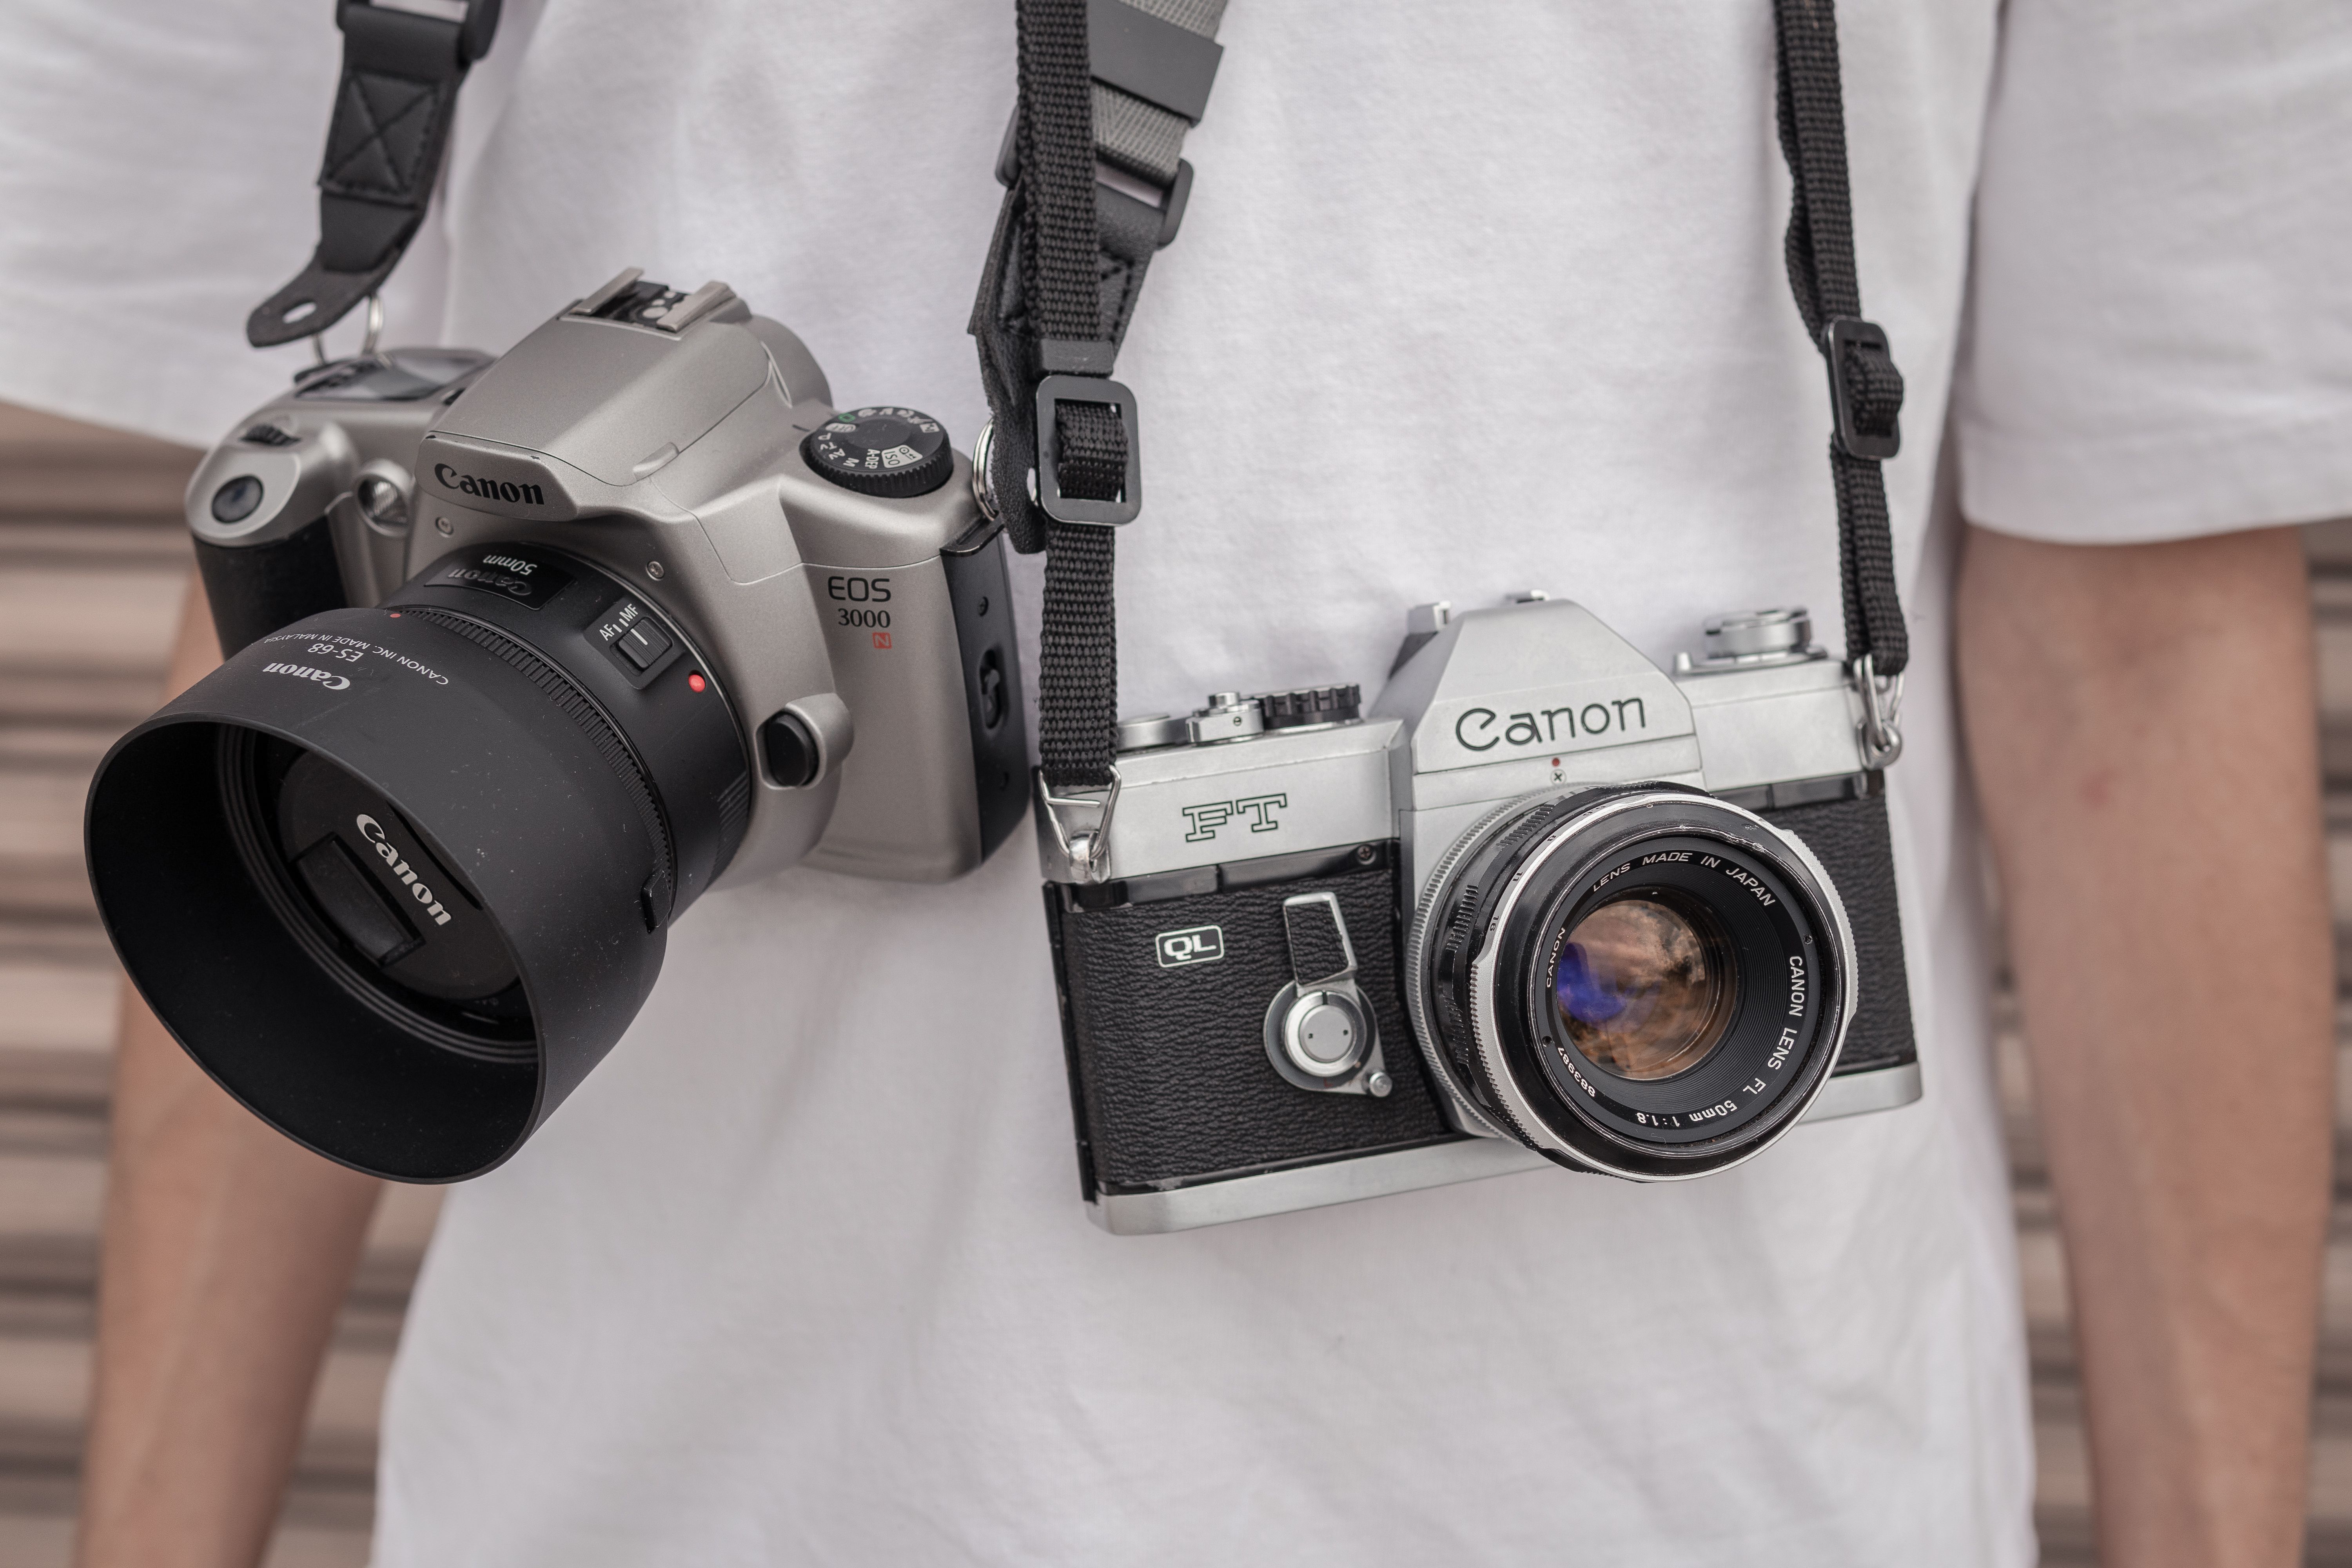
Peak Design Slide (Standard Width)
The big brother of the Slide Lite. It’s two inches wide, so it distributes weight better for heavier setups. Other than the width, it’s the same system: Anchor Link attachments, smooth adjustment, and the ability to go from neck to sling to cross-body. I use this when I’m carrying a full-frame body plus a 24-105mm f/4 or something similar. It keeps the camera secure on my hip and I can slide it into position for a shot without a second thought. The downside is the same as the Lite: it doesn’t have a dedicated sternum strap or harness system. For really bouncy terrain, you’ll still get some swing. Best for: full-frame DSLRs, heavier mirrorless bodies, travel trips where you need one strap to do it all.
Op/Tech USA Pro Loop Strap
This is a budget option that punches well above its price. The Op/Tech Pro Loop Strap uses a unique sling design with a padded neoprene section that sits on your shoulder. The pad is removable and washable, which is a nice bonus for sweaty hikes. It attaches to your camera with a quick-release clip that feels sturdy, and the strap has some elastic built in—it absorbs some of the camera’s bounce, which helps on uneven terrain. It’s not as sleek as the Peak Design system, and it takes a little longer to detach the camera fully. But for the price, it’s a comfortable, durable strap that handles moderate hiking well. Best for: budget-conscious hikers, lightweight to medium cameras, day trips where you don’t need micromanagement of the strap.
BlackRapid Sport Breathe
The BlackRapid Sport Breathe is a sling-style strap with a heavy focus on breathability and stability. It uses a padded shoulder strap that’s perforated with air channels, so your shoulder stays cooler in hot weather. The strap comes with a built-in stabilizer—a secondary elastic loop that you can attach to your belt or your pack’s waist belt. That stabilizer is the killer feature for technical hiking. It locks the camera in place even when you’re leaning forward on a steep climb or scrambling over rocks. The attachment system uses a metal carabiner that clips onto a rotating eyelet on your camera’s tripod mount. That means you don’t have to install strap lugs. However, it also means you can’t use the camera on a tripod without removing the strap. Best for: technical hikes, scrambles, heavy DSLR setups, and photographers who need the camera to stay put.
SpiderLight Hand Strap + SpiderPro Holster
This is not a standard strap, but it’s the best solution I’ve found for hikers who also climb, scramble, or run. The SpiderLight is a hand strap that attaches to your camera’s bottom plate. You keep one hand looped through it, and the camera is always ready without being attached to your body. For parts of the trail where you need both hands free, you can clip the camera into a SpiderPro Holster on your belt. The system is modular. It’s not as fast as a sling for quick shooting, but it’s incredibly secure. I use this when the trail gets technical and I’m worried about the camera swinging into a rock. Best for: climbers, scramblers, fastpackers, and shooters who prioritize security and hands-free activity over instant access.
Minimalist: Peak Design Clutch
For ultralight or minimalist setups, the Peak Design Clutch is worth considering. It’s a hand strap that always stays on the camera. You tighten it around your hand and the camera is literally attached to your palm. There is no shoulder strap, so the camera is either in your hand or in your pack. For day hikes where I’m carrying only one lens and shooting constantly, this eliminates the bounce and swing issue entirely. The downside is that your hand is always occupied. If you need to grab a water bottle or check a map, you put the camera away. Best for: ultralight backpacking, fast shooting, and single-lens setups.
Neck Straps vs. Sling Straps vs. Harness Systems
These three designs serve fundamentally different needs. Here’s the breakdown based on real trail use.
Neck Straps are the simplest. They hang the camera from your neck. They’re easy to adjust, cheap, and intuitive. But they concentrate weight on your neck and upper spine, which becomes painful within a few miles. They also allow the camera to swing forward when you lean, putting it at risk. I only recommend neck straps for quick day hikes with very light cameras (think a small mirrorless with a pancake lens) where you’re rarely leaning forward. For anything heavier, avoid them.
Sling Straps (like the Peak Design Slide and BlackRapid Sport Breathe) are the most common solution for hiking. They go across your body—over one shoulder and under the opposite arm. This distributes weight more evenly and keeps the camera close to your body. You can slide the camera along the strap for quick access. The camera will still swing when you bend forward, but a stabilizer strap (like BlackRapid’s) or a quick one-hand grab will control it. Sling straps are ideal for most hikers. They’re comfortable enough for all-day wear and fast enough for spontaneous shots.
Harness Systems are the most stable. They use two shoulder straps (like a backpack) that spread weight across your whole upper body. Some even incorporate a chest plate to secure the camera. These are common among professional wildlife photographers who carry massive gear. The benefit is zero swing and excellent weight distribution. The downside is bulk. You’re essentially wearing a second pack. For most day hikers, a harness is overkill. For technical treks with heavy telephoto lenses, it’s the only safe option. If you need a harness, look at options from Think Tank or Cotton Carrier.
Quick-Release vs. Fixed Straps: Which Is Safer on the Trail?
Quick-release systems let you detach the camera from the strap in seconds. Fixed straps require unbuckling or slipping the camera out. The question of safety comes down to how you use the system and where you are.
On the trail, a quick-release system is useful when you need to mount the camera on a tripod, fit it into a small camera cube in your pack, or hand it to someone else. Peak Design’s Anchor Links are the gold standard here. The release mechanism is a spring-loaded button. When it’s locked, it’s locked. I’ve never had one pop open accidentally. But the weak point is the anchor itself. They’re small pieces of nylon webbing and plastic. Over time, the webbing wears and the plastic can crack in extreme cold. Peak Design says the anchors are rated for 200 pounds, and I’ve never seen one fail in normal use, but I do check them every few months for fraying.
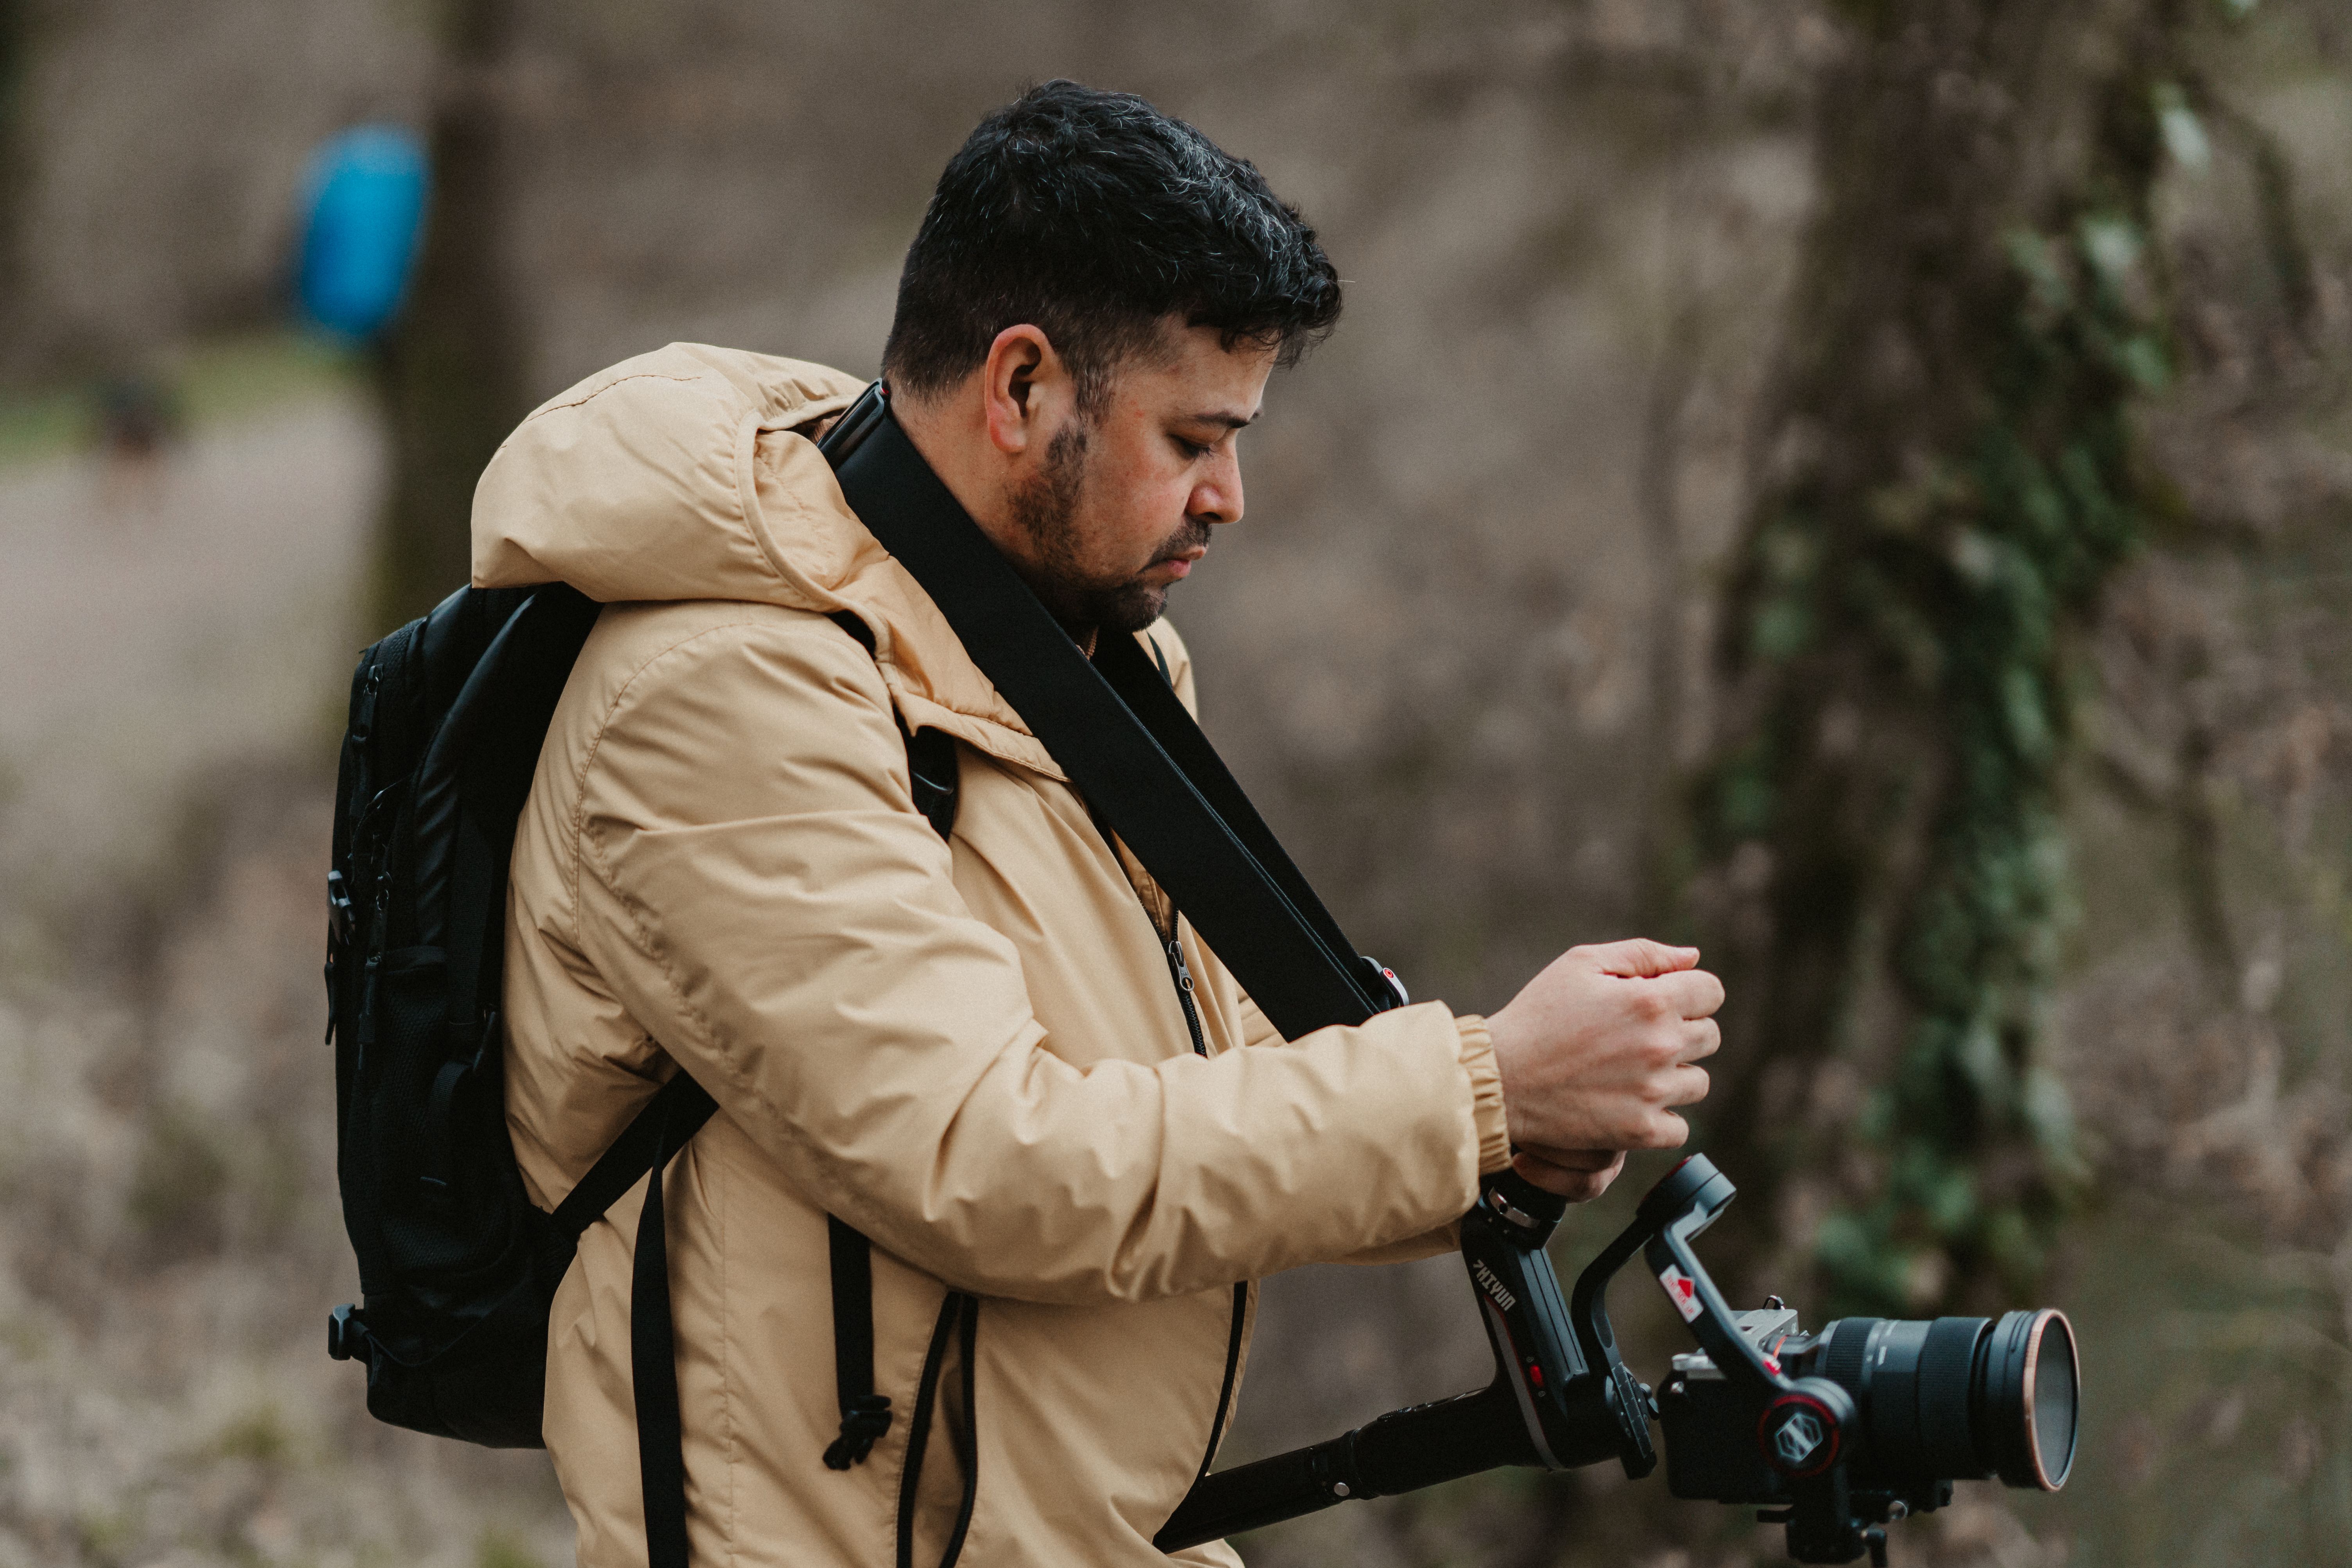
Fixed straps are simpler and literally have no mechanism to fail. The downside is convenience. If you need to take the camera off to pack it, you have to thread the strap through a buckle or slide it off the lugs. That takes time. I prefer fixed straps for heavy cameras where the weight puts constant stress on the attachment point. I prefer quick-release for cameras I’m constantly switching between bag and trail.
For safety, the real risk isn’t the quick-release mechanism—it’s using a strap that isn’t rated for your gear’s weight. A flimsy clip on a cheap strap will fail regardless of whether it’s quick-release or not. Stick with reputable brands and inspect your attachment points regularly.
Mistakes to Avoid When Choosing a Hiking Camera Strap
I’ve made most of these mistakes myself. Here are the ones I see most often.
Mistake 1: Prioritizing style over function. A leather strap looks great in a coffee shop but will chafe in the rain, stretch when wet, and be impossible to clean after a muddy hike. Stick with synthetic, weather-resistant materials.
Mistake 2: Buying a strap that’s too long. Many sling straps are adjustable to over sixty inches, which is excessive for most body types. A strap that’s too long will let the camera hang too low, where it swings more and catches on brush. Adjust it so the camera sits at your hip or lower rib cage, not your waist.
Mistake 3: Ignoring the attachment system. I’ve seen people buy an expensive sling strap and then use the flimsy plastic clips that came with their camera to attach it. The strap is only as strong as its weakest link. If the attachment point on your camera is plastic, replace it. If your camera lugs are metal, make sure the strap clip is compatible.
Mistake 4: Not considering the tripod mount. If your heavy lens has a tripod collar, use it. Attaching a sling strap to the camera body with a 300mm lens will make the whole setup unstable and fatigue your neck. Some straps (like the BlackRapid Sport Breathe) attach to the tripod mount, which is ideal for heavy gear. If your strap attaches only to the camera body, and you shoot with a big lens, you’re making a mistake.
How to Set Up Your Camera Strap for Maximum Comfort
Getting a good strap is only half the equation. The way you set it up makes a huge difference on a long hike. A simple way to reduce bounce is to look into camera strap stabilizers that attach to your belt or pack.
Position the strap across the body, not around the neck. Even a neck strap can be worn diagonally across your torso, which is more stable and more comfortable. The camera rests on your hip, and the weight is carried by your shoulder and back, not your neck. Most sling straps are designed for this. If you’re using a standard neck strap, try wearing it cross-body instead.Adjust the length for the terrain. On flat trail, I set the camera to hang at my hip. On a steep climb, I shorten the strap so the camera sits high on my chest. That prevents it from swinging when I lean forward. On uneven ground, you want the camera close to your body to avoid snagging.Use a sternum strap or stabilizer. If your pack has a sternum strap, clip it across your chest. It helps hold the camera still by keeping the strap from sliding off your shoulder. Some straps (like the BlackRapid Sport Breathe) include a dedicated stabilizer strap that attaches to your belt or pack waist belt. This is the single best upgrade for reducing camera bounce on technical terrain.Balance weight with your pack. If your camera is on one side and your water bottle is on the other, the load is uneven. On a long hike, that imbalance fatigues your back. I try to keep my camera side lighter by offsetting it with a water bottle on the opposite strap or by wearing a hip belt that balances the load.
Budget-Friendly Options That Still Hold Up
Not everyone needs a premium strap, and there are affordable options that work well for moderate hiking. The Op/Tech USA Pro Loop Strap (mentioned above) is a solid choice. It’s under $30, the pad is comfortable for day hikes, and the elastic construction reduces bounce. Another option is the Neewer Camera Sling Strap. It’s a clone of the Peak Design system but with less refined materials and a simpler slide mechanism. It works, but the attachment clips feel less secure, and the adjustment isn’t as smooth. I’d only recommend it for light mirrorless kits on short hikes. There’s also the Altura Camera Quick-Release Strap. It uses an anchor-style system similar to Peak Design’s. The anchors are thicker and the webbing is less supple, but it gets the job done for around $25. The tradeoff is durability. These budget straps will not last as long as the premium options. But if you only hike a few times a year, they’re worth considering.

Final Recommendations: Which Strap Should You Buy?
Here’s my advice based on your specific needs.
Best all-around for most hikers: Peak Design Slide or Slide Lite. The system is fast, secure, and comfortable. The Slide is better for heavier kits; the Slide Lite is better for mirrorless and day hikes. This is the safest recommendation if you’re not sure what you need.Best for heavy gear and technical terrain: BlackRapid Sport Breathe. The built-in stabilizer is excellent for scrambles and steep climbs. If you carry a heavy DSLR with a telephoto lens, this is the most secure option.Best value: Op/Tech USA Pro Loop Strap. It’s comfortable and durable and costs less than $30. For moderate hiking with a medium-weight camera, it’s a no-brainer.Best for ultralight hiking: Peak Design Clutch hand strap. It eliminates bounce entirely and keeps the camera in your hand. Only for shooters who don’t need both hands free.
If I had to pick one strap to recommend for most adventure photographers, it would be the Peak Design Slide. It balances comfort, security, and speed better than anything else I’ve used. Check the Peak Design Slide price on Amazon to see the latest deal. It’s a piece of gear you don’t realize you needed until you’re on a ten-mile hike and your neck isn’t hurting.