The Best Adventure Travel Water Bottles: Unfiltered Picks for Real Trips
Why Your Regular Water Bottle Won’t Cut It on an Adventure
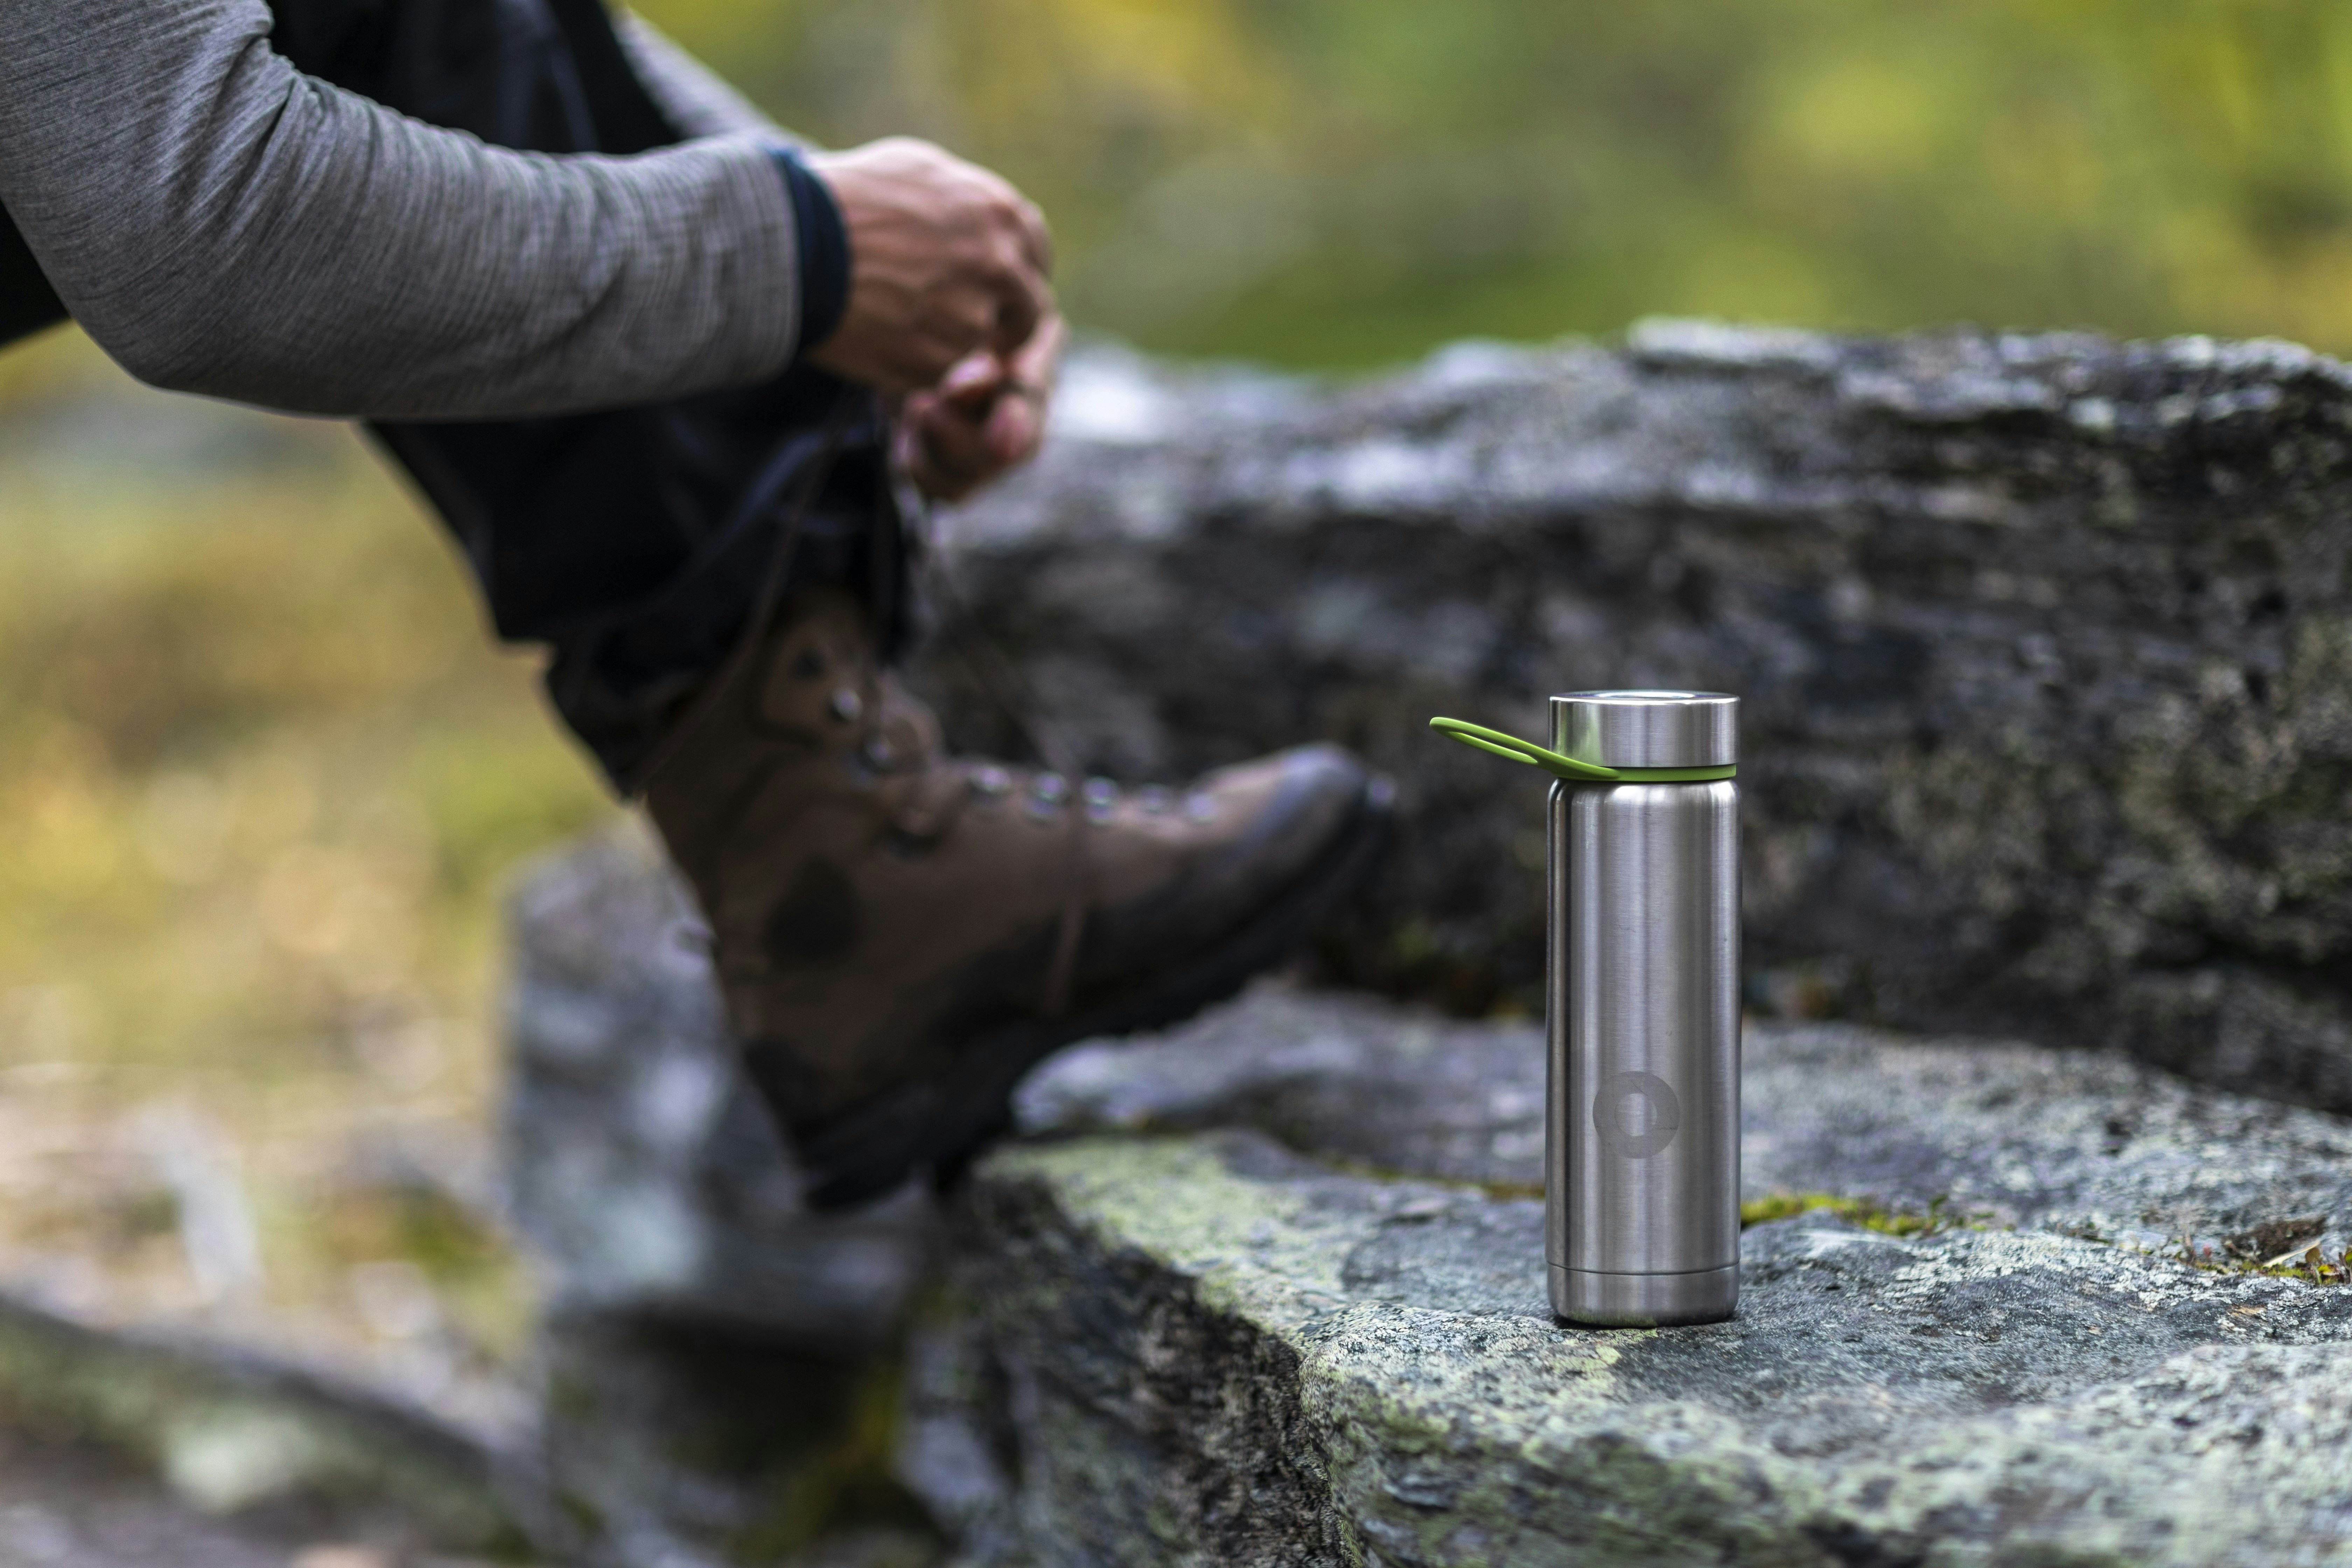
I’ve learned this the hard way. That standard plastic bottle from the grocery store? Fine for a desk job, but it’s a liability on the trail. Here’s what tends to go wrong:
- Leaks: Backpacks move. Bottles get jostled. A cheap cap pops open and your sleeping bag, electronics, or dry socks get soaked. A wet bag is a miserable bag, and in cold conditions, it can be dangerous.
- Dents and Damage: Single-wall aluminum bottles dent easily. Drop one on a rock and you’ve got a sharp crease that compromises the whole bottle and can even puncture the interior lining.
- Poor Insulation: A non-insulated bottle in direct sun turns your water into hot tea within an hour. In freezing conditions, that water can freeze solid before lunch.
- Narrow Openings: Try cleaning a standard narrow-mouth bottle after a week of trail dust and electrolyte powder. You’ll be scrubbing for twenty minutes and still find slime growing in the threads. That’s a recipe for a stomach ache.
- No Filter Compatibility: Most basic bottles can’t attach to a water filter. If you’re hiking through a region with questionable tap water or dipping from a stream, you’re stuck boiling or carrying heavy pre-filtered water.
A real adventure water bottle solves these specific problems. It’s not about looking cool. It’s about staying hydrated without ruining your gear or getting sick. This list comes from field tests, not marketing copy.

What to Look for in an Adventure Travel Water Bottle
Before we get to specific bottles, here’s a practical breakdown of what actually matters.
Material
- Titanium: The holy grail for weight and durability. Extremely light, strong, and no metallic taste. The catch? It’s expensive. Worth it for ultralight backpackers who really hate heavy gear.
- Stainless Steel: The industry standard for durability and insulation. Heavy, but virtually indestructible. A 1L stainless bottle can last a decade. Look for 18/8 food-grade steel for best taste and rust resistance. Travelers wanting a rugged option might check out insulated stainless steel bottles.
- Plastic (Tritan or Polypropylene): Lightweight, cheap, and often dishwasher safe. Modern Tritan plastic is BPA-free and doesn’t hold flavors as badly as older plastics. The downside? It can crack under extreme cold or a bad drop. Good for budget-conscious travelers and road trip car camping.
- Collapsible (Silicone or TPU): Perfect for packing empty and filling when you reach water. The lightest option by far. The trade-off: harder to clean, can leak at the cap, and no insulation. Best as a backup or for ultralight day hikes.
Weight and Capacity
For most day trips, a 1L bottle is the sweet spot. For longer hikes without reliable water sources, consider a 1.5L or even 2L bottle. Every liter of water weighs about 2.2 pounds (1 kg). Don’t carry water you won’t drink. Plan your route and know your refill points.
Insulation
Vacuum-insulated bottles keep cold water cold for 24 hours and hot drinks hot for 12 hours. They’re heavier and bulkier. Non-insulated bottles are lighter, cheaper, and fit in more pack side pockets. The choice depends entirely on your environment.
Lid Type
- Wide Mouth: Easiest to clean, add ice cubes, and use with a filter. Bulkier to drink from and can spill if you’re not careful.
- Straw Lid: Convenient for driving or sipping while hiking. Harder to clean and prone to mold in the straw mechanism. Not ideal for freezing conditions.
- Sport Cap: Good for cycling or running where you need one-handed drinking. Usually leaky and hard to clean thoroughly.
- Flip Top: A decent compromise for walking. Still harder to clean than a wide mouth.
My advice: Start with a wide mouth. It’s the most versatile and easiest to maintain. If you find you need a straw for the car, buy a separate straw lid as an accessory.
Cleaning Ease
This is the most overlooked feature. A bottle you can’t clean well will eventually make you feel off. Look for bottles with wide mouths (at least 2.5 inches) or removable lid components. Avoid bottles with internal crevices, tight corners, or complicated drinking mechanisms that can’t be taken apart.
Compatibility with Filters and Tablets
If you’re traveling to areas with questionable water, your bottle needs to work with a purification system. Many adventure bottles now have threads that fit standard water filters (like the Sawyer Squeeze or Katadyn BeFree). Bottles with built-in filters are a different category, which we’ll cover later.
The 7 Best Adventure Travel Water Bottles for 2025
These are bottles I’ve used on trips from Patagonian treks to Southeast Asian heat. They’re ranked by overall utility for travel, not just price.
1. Hydro Flask Wide Mouth (32 oz)
Best for: All-around durability and temperature control. This is the bottle I grab when I’m not sure what I’ll face. The TempShield insulation keeps ice water cold for 24 hours. The wide mouth makes cleaning easy. The powder coating grips well even with wet hands. Pro: Excellent customer warranty. Con: Heavy and bulky. Doesn’t fit in standard backpack side pockets without a special adapter. Verdict: A premium choice for road trips, car camping, and any trip where weight isn’t the main concern.
2. Nalgene Ultralite (32 oz)
Best for: Budget-conscious backpackers. At under $15, it’s the value king. Made from lightweight Tritan plastic, it’s nearly indestructible and BPA-free. The wide mouth fits most water filters. Pro: Lightweight, cheap, and dishwasher safe. Con: No insulation. Plastic can crack in extreme cold. Verdict: A reliable, no-nonsense bottle for casual hiking and travel where temperature isn’t critical.
3. Grayl Geopress (24 oz)
Best for: Filtering questionable tap water and backcountry streams. This is a two-in-one bottle that purifies water as you press down. It removes viruses, bacteria, and protozoa. Pro: Fast, field-proven filtration without pumping or waiting. Con: Heavy (especially when full) and expensive. The filter needs replacing after about 150 uses. Verdict: Essential for anyone who can’t afford to get sick on the road. Worth every gram if you’re traveling off the grid.
4. Platypus DuoLock (1L)
Best for: Ultralight packing and day hikes. This soft-sided collapsible bottle weighs next to nothing when empty. The DuoLock cap is genuinely leak-proof. Pro: Packs flat in a pocket. Con: Harder to clean than a hard bottle. Some silicone taste at first. Verdict: A brilliant backup bottle or primary for short, well-planned treks. Not for extended multi-day use without boiling or filtering.
5. Yeti Rambler (26 oz)
Best for: Extreme durability and heavy use. This bottle is built like a tank. The double-wall vacuum insulation is top-tier. The Chug Cap is fast and leak-resistant. Pro: Virtually indestructible. Keeps ice water cold for over 24 hours. Con: Very heavy. The wide mouth is still not as easy to clean as a true wide-mouth bottle. Verdict: A luxury item for those who value toughness above all else. Overkill for most adventures.
6. Vapur Element (1L)
Best for: Packing light and city exploring. This flexible plastic bottle hooks onto a belt loop or carabiner and folds flat when empty. Pro: Extremely lightweight and space-efficient. Con: Can leak if the cap isn’t tight. Not insulated. Plastic taste can linger. Verdict: A practical backup for urban travel or short jaunts where weight matters. Not for rugged conditions.
7. Lifestraw Go (22 oz)
Best for: Single-person emergency filtration and casual hiking. The built-in straw filters bacteria and parasites. Pro: Simple to use and affordable. Con: Slow flow rate. The filter lasts about 150 gallons. Doesn’t remove viruses. Verdict: Fine for day hikes where you’re not sharing water. Not for serious backcountry travel where virus removal matters.
Quick Comparison: At a Glance
| Bottle | Capacity | Weight (empty) | Insulation | Best Use Case |
|---|---|---|---|---|
| Hydro Flask Wide Mouth | 32 oz (1L) | 1.08 lbs (490g) | Yes (vacuum) | All-around durability & temperature |
| Nalgene Ultralite | 32 oz (1L) | 0.55 lbs (250g) | No | Budget & simple use |
| Grayl Geopress | 24 oz (710ml) | 1.2 lbs (544g) | Yes (double-wall) | Water filtration & backcountry |
| Platypus DuoLock | 32 oz (1L) | 0.11 lbs (50g) | No | Ultralight packing |
| Yeti Rambler | 26 oz (770ml) | 1.3 lbs (590g) | Yes (vacuum) | Heavy-duty durability |
| Vapur Element | 32 oz (1L) | 0.1 lbs (45g) | No | Packing light & city travel |
| Lifestraw Go | 22 oz (650ml) | 0.7 lbs (320g) | Yes (partial) | Emergency filtration & day hikes |

The Biggest Mistake Travelers Make with Hydration (and How to Avoid It)
It’s not about picking the wrong bottle. The biggest mistake is not planning for water availability. I see it all the time: someone buys a heavy insulated bottle, fills it before a flight, and has to dump it at security. Or they hit the trail without knowing where the next safe water source is, carrying 4 liters unnecessarily for 10 miles.
Here’s how to fix this:
- Know your refill points: Before you go, research where you can refill. Trails have known streams, towns have public taps or grocery stores. Mark them on your map. Adjust your bottle capacity based on the gap between sources. Don’t guess.
- Handle airport security: Never fly with a full bottle. Carry it empty and fill it after security. Most airports have water fountains or bottle refill stations. If you’re stuck, ask a coffee shop to fill it for free or a small fee. Saves weight and frustration.
- Use purification tablets as a backup: Even if you have a filter, carry a few iodine or chlorine dioxide tablets. They’re tiny and weigh nothing. If your filter clogs or you find yourself in a pinch, you can still drink from a stream or tap. Cheap insurance. For convenience, consider a small pack of water purification tablets.
I once spent a night dehydrated because I assumed a mountain hut would have potable water. It didn’t. Wrong bottle, no backup plan. Don’t be that person.
Insulated vs. Non-Insulated: When to Choose Which
This is a common gear dilemma. Here’s a practical breakdown to help you decide.
Choose an insulated bottle if:
- You’re hiking in hot climates (deserts, tropics). Cold water stays cold for 12-24 hours. It’s not just a luxury; it’s a safety tool to prevent heat exhaustion.
- You’re spending time in cold weather. Insulated bottles prevent water from freezing as quickly. A frozen bottle is useless until you thaw it, which can take hours in the snow.
- You want hot drinks on the trail. Many insulated bottles can hold hot tea or coffee for hours. It’s a morale booster on a cold morning.
Choose a non-insulated bottle if:
- Weight is your top priority. A non-insulated 1L bottle weighs half as much as its insulated cousin. For ultralight backpackers, that’s a big deal.
- You’re carrying the bottle in a side pocket of your pack. Insulated bottles are wider and often don’t fit standard water bottle pockets. Non-insulated bottles are slimmer.
- You’re on a budget. Non-insulated bottles cost a fraction of the price. A Nalgene is $15. A comparable Hydro Flask is $45.
One more thing: Cold water inside an insulated bottle can help keep your phone or battery pack cool in extreme heat. If you’re trying to keep your power bank warm in the cold, don’t put it next to a freezing bottle. Simple but useful.
How to Clean Your Bottle on the Road (Without Grossing Yourself Out)
Mold and bacteria love dark, damp places. Your water bottle is the perfect spot. Here’s how to keep it clean without a full kitchen setup.
- Use denture tablets: Drop one in warm water, let it fizz for 10 minutes, then rinse and dry. It’s an effective, travel-friendly disinfectant that requires no scrubbing. A pack of tablets is small and lasts for months.
- Carry a bottle brush: A dedicated bottle brush is worth the space. Use it with dish soap (or even just hot water) to scrub the interior and threads every few days. Focus on the lid gasket and straw, where mold loves to hide. A bottle cleaning brush set is a practical addition for those who use a hydration bladder.
- Vinegar soak: For stubborn stains or smells, fill the bottle with a solution of 1 part white vinegar to 3 parts water. Let it sit overnight. Rinse thoroughly. It’s more environmentally friendly than bleach and works just as well.
- Dry it completely: After cleaning, leave the bottle open upside down until it’s bone dry. Mold can’t grow without moisture. If you’re packing up a damp bottle, leave the cap off until the last minute.
I once bought a used Nalgene from a thrift store. After a vinegar soak and a bottle brush session, it was like new. Proper cleaning is not negotiable.
What About Filtration? Bottles That Do Double Duty
If you’re heading somewhere the tap water is unsafe or you’re going deep into the backcountry, a bottle with a built-in filter saves you from carrying a separate pump or boiling water.
The Grayl Geopress is my top pick here. It uses a two-stage filter that removes viruses (including norovirus and rotavirus), bacteria, and protozoa. The pressing action is fast (about 8 seconds per liter) and doesn’t need batteries. The downside? It’s heavy and the filter can be slow in cold water.
The Lifestraw Go is a lighter, cheaper alternative. It filters to 0.2 microns, removing bacteria and parasites. It’s fine for day hikes where you’re drinking from clear streams. But it does not remove viruses, which are common in human sewage-contaminated water. The flow rate is also slower, which can be frustrating on a hot day.
Katadyn BeFree is worth considering for ultralight setups. The bottle itself is a soft flask, and the filter screws onto the opening. It’s incredibly light and has a good flow rate. The filter lasts for about 1000 liters. Best for solo trekkers who don’t need virus removal.
There’s a tradeoff: built-in filtration means a heavier bottle, and the filter has a finite lifespan. But for anyone spending significant time in places with bad water, it’s a lifesaver.
Top 3 Hydration Accessories Worth Packing
These are low-cost items that solve common problems. Don’t overcomplicate it, but these three have proven their worth for me.
- Collapsible Water Pouch (Dromedary bag or Platy bag): For carrying extra water when you know you’re crossing a dry stretch. They fold flat when empty and hold up to 2 liters. You don’t drink directly from them; you transfer water to your main bottle. I use a 2L pouch for desert treks.
- Wide-Mouth Adapter (for filtration): If your bottle has a narrow opening, a wide-mouth adapter lets you screw a water filter directly onto it. It’s a $5 piece of plastic that turns a standard bottle into a filtration system. Worth it if you carry a filter like the Sawyer Squeeze.
- Carabiner or Bottle Clip: A simple metal clip lets you attach your bottle to your backpack’s daisy chain or a belt loop. Fastest way to get to water without taking off your pack. I use a locking carabiner to keep it from falling on steep terrain.
My Personal Packing Setup: What I Actually Carry
For a multi-day trip with moderate water availability (e.g., a 3-day trek in the Andes), here’s what I bring:
- 1L Nalgene Ultralite (non-insulated): My primary bottle for camp and cooking. Light, durable, easy to clean. I use it for boiling water for dinner too.
- 0.5L Platypus DuoLock (collapsible): My hiking bottle. I fill it from the Nalgene at the start of a hike. It weighs almost nothing when empty.
- 1L Grayl Geopress: My emergency and dubious-water bottle. I use it when refilling from streams or questionable taps. It’s heavy, so it stays in my pack until I need it.
- 2L water pouch: For dry stretches. I fill it at the last reliable source and transfer to my bottles as needed.
This gives me 3.5 liters of carrying capacity with redundancy. If one bottle fails (leak, crack, lost cap), I still have the others. Sounds like a lot, but I’ve been burned before.
Frequently Asked Questions About Adventure Water Bottles
Can I take a metal bottle through TSA?
Yes, but it must be empty at security. You can take stainless steel or metal bottles in your carry-on. Fill them after you pass through security. Some airports have bottle refill stations. If not, ask a food vendor to fill it for you. TSA agents will ask you to dump any remaining liquid.
How do I stop my bottle from leaking in my bag?
Most leaks come from the lid or gasket. First, inspect the gasket for cracks or misalignment. For threaded caps, tighten until snug but don’t overtighten. For straw or flip-top lids, check that the locking mechanism is engaged. Store the bottle upright in an external pocket. If you’re still worried, put it in a waterproof dry bag inside your main pack.
Is plastic safe for hot climates?
Yes, if it’s BPA-free Tritan or polypropylene. These plastics don’t leach harmful chemicals when heated. Avoid polycarbonate bottles (harder to find now). The real issue is that plastic can become brittle in extreme heat (like a car dashboard in summer). Keep the bottle out of direct sunlight when possible, and don’t leave it in a hot car for long periods.
How often should I replace my water bottle?
For stainless steel: indefinitely as long as it’s not dented or rusted. Replace if the vacuum seal is compromised (bottle sweats on the outside). For plastic: replace every 2-3 years depending on use. Scratches and cracks harbor bacteria. If you see any structural damage, buy a new one.

Final Verdict: Which Bottle Should You Buy?
If I had to pick one bottle for most travelers, it would be the Hydro Flask Wide Mouth (32 oz). It’s versatile, durable, and keeps your water cold all day. The weight is a trade-off, but for most adventures (car camping, road trips, moderate day hikes), it’s worth it. You can get it on Amazon and you’ll use it for years.
If you’re on a tight budget, buy the Nalgene Ultralite (32 oz). It’s cheap, nearly indestructible, and works great. Just understand that you’ll be drinking warm water in the heat.
For anyone heading into the backcountry with questionable water sources, the Grayl Geopress is non-negotiable. It filters viruses and bacteria without effort. It’s expensive and heavy, but it’s the best insurance policy you can carry.
No matter what you choose, remember: the best bottle is the one you’ll actually carry and use. Don’t overthink it. Get a practical bottle, plan your refill stops, and stay hydrated on the trail.
Best Hydration Packs for Hiking: Expert Picks for Every Adventure
Best Adventure Travel Cameras : The Complete Guide to Choosing the Right Camera for Your Next Trip
The Essential Adventure Travel First Aid Kit: What to Pack and Why