Best Skydiving Spots for First Timers: Where to Jump Safely and Confidently
Introduction
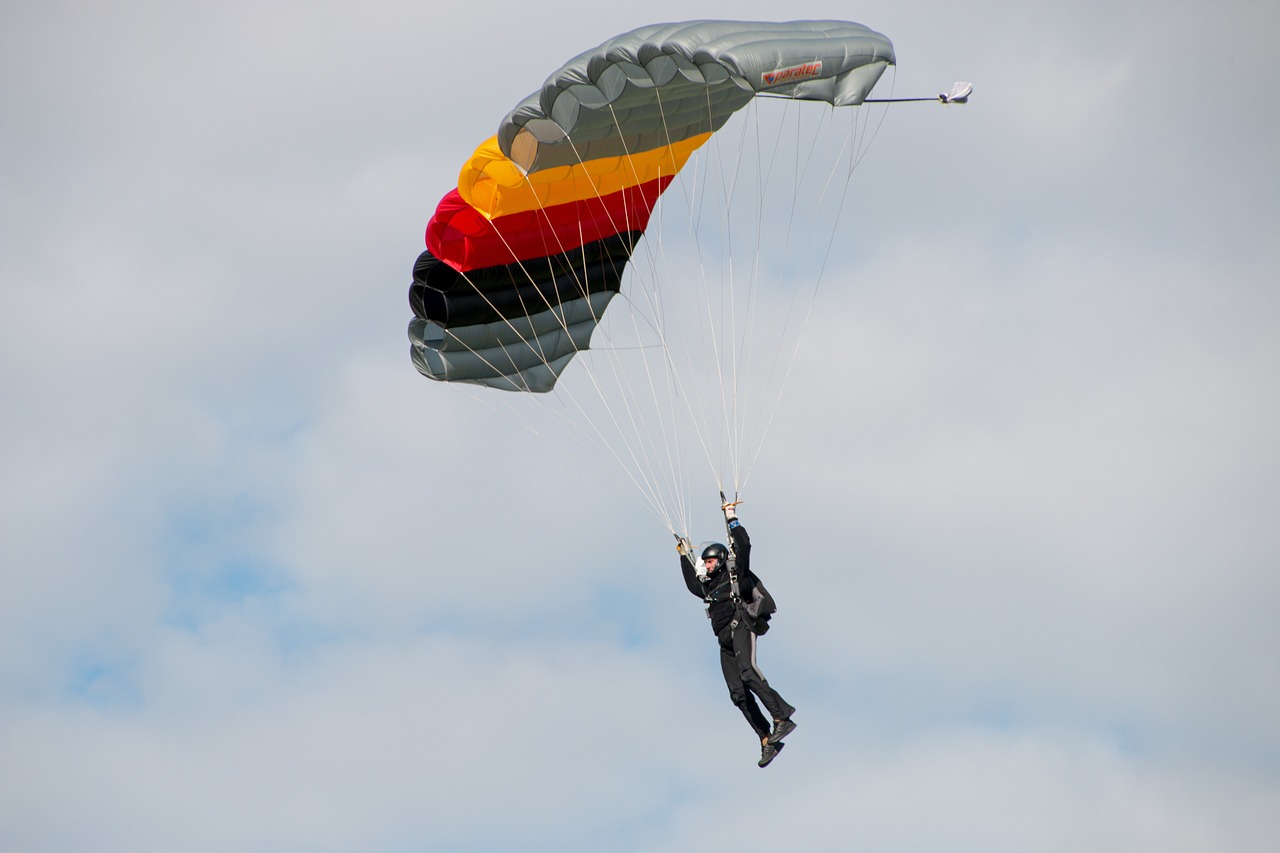
So you’ve decided to jump out of a plane. Good call. Your first skydive sticks with you long after the adrenaline fades, and picking where you do it matters more than most people realize. This article covers the best skydiving spots for first time jumpers, whether you’re booking a tandem or thinking ahead to an AFF course. I’ve jumped at drop zones across several continents, and I can tell you straight: a solid view and a strong safety culture make a huge difference between a trip you laugh about and one you just get through.
A good drop zone for a beginner isn’t just about altitude or scenery. It’s about how they train you, what their aircraft is like, how consistent the weather is, and whether they have instructors who actually want to teach. A cheap jump over a boring field with a rushed briefing will still get you to the ground, but it won’t make you want to do it again. This guide is here to help you avoid that and to point you toward spots that balance safety, instruction, and the kind of experience that makes first-timers fall in love with the sport.

What to Look for in a First-Time Skydiving Location
Before I get into specific destinations, here’s how to evaluate a drop zone when you’re looking for your best skydiving spots for first time options. This is the stuff that matters more than Instagram potential.
Safety and Certification
Look for a drop zone that operates under the United States Parachute Association (USPA) or an equivalent like the FAI or the Australian Parachute Federation. This means they follow standardized safety procedures, maintain equipment, and have insurance. Ask if their tandem instructors are rated through these bodies. A rating isn’t just a piece of paper; it means they’ve completed a specific number of jumps, passed written exams, and demonstrated teaching ability. If the first person you talk to can’t answer these questions easily, move on.
Instructor to Student Ratio and Experience
A good drop zone assigns one tandem instructor per student. Period. Some places try a ‘two students per instructor’ setup, which is a hard no. Also ask how many jumps your instructor has. More than 500 jumps is standard for a tandem pro. Over 1,000 is better. That experience translates directly into how comfortable you’ll feel in the air and how smoothly the jump goes.
Aircraft and Landing Area
You want a drop zone that uses a turbine-powered aircraft (like a Cessna Caravan or a King Air). These climb faster, fly higher, and are more reliable than old piston-engine planes. The landing area should be large, open, and free of obstacles like power lines or lakes you didn’t plan to land in. Ask about landing area size before you book. A small strip next to a busy road is a red flag.
Weather Consistency
Skydiving is weather-dependent. Coastal areas can be windy, and inland deserts can have heat thermals that make canopy flight rough. Look for locations with predictable, mild weather during the season you’re traveling. Summer mornings are typically best for calm winds. If a drop zone has a reputation for frequent cancellations due to weather, factor that into your schedule. You don’t want to fly halfway around the world to have your jump called off.
Logistics and Hidden Costs
Check how far the drop zone is from the nearest airport or your accommodation. Some great spots are in remote areas and require a rental car or a shuttle. Also, ask what’s included in the base price. Many places charge extra for video, photos, higher altitudes, or gear rental. A $200 jump can quickly become $400 if you add everything. Budget for these extras and ask upfront so there are no surprises. For example, travelers who want to record their jump might look into a chest mount for an action camera to capture the freefall hands-free.
A common mistake beginners make is choosing a location based solely on price or a viral photo. The cheapest jump in the world won’t be fun if the training is rushed or the pilot has to cancel due to wind. Scenery alone doesn’t make a safe jump. Pick based on safety first, then views, then budget.
1. Interlaken, Switzerland – The Classic Alpine Experience
If you want your first jump to be visually stunning, Interlaken is hard to beat. Drop zones like Skydive Switzerland sit right in the middle of the Swiss Alps, giving you views of the Eiger, Mönch, and Jungfrau as you descend. This is a classic choice for a reason.
They offer tandem jumps up to 14,000 feet, and the training is thorough. The instructors are English-speaking and come from a strong European skydiving tradition. The safety culture here is intense, which is exactly what you want as a beginner. You’ll go through a detailed ground school covering body position, exit procedures, and canopy control. It’s not a five-minute briefing; it’s a proper session.
Pros: Unmatched alpine scenery. Reliable summer weather (June through September). Highly structured training.
Cons: It’s expensive. Expect to pay significantly more than a US jump. It can also be crowded during peak season, so slot availability can be tight.
Practical advice: Book your jump at least a month in advance, especially if you’re going in July or August. Consider adding the video package that includes multiple camera angles. The footage of your body against that alpine backdrop is genuinely worth it.
You can book directly through Skydive Switzerland or through aggregators like GetYourGuide that offer flexible cancellation. If you’re skipping the video, you’ll probably regret it. The visuals alone justify the upgrade.
2. Byron Bay, Australia – Beach Landings and Blue Horizons
For a coastal jump that lands on sand, Skydive Byron Bay is a standout. This is one of the most popular best skydiving spots for first time jumpers in Australia, and for good reason. You jump from 15,000 feet over the Pacific Ocean and then drift toward the shoreline.
The beach landing is a unique experience. Not many drop zones offer this, and it adds a sense of achievement to the jump. The safety record here is solid, and the tandem instructors are experienced in handling the variable winds that come with a coastal location. The training briefing is clear and focuses on what you need to do in freefall and under canopy.
Pros: Beach landing is memorable. Warm water if you take a dip after. Clear skies most mornings.
Cons: Wind can be a factor, especially in the afternoon. Jumps can get canceled if conditions aren’t perfect, so have a backup day. The area is also seasonal, with peak demand in the Australian summer (December through February).
Practical advice: Book the first jump slot of the day. Winds are generally calmest in the early morning, and you’ll have the best light for video. The extra cost for a morning slot is negligible compared to the difference in experience.
Combine your jump with a few nights in Byron Bay itself. It’s a surf town with good food and a relaxed vibe, making it a solid overall trip. You can book tandem jumps directly through Skydive Byron Bay or through tour operators that bundle accommodation.

3. Moab, Utah – Red Rock Backdrop with Solid Instruction
Moab is a desert destination that delivers a completely different visual. Skydive Moab operates over red rock canyons with views extending into Arches and Canyonlands National Parks. It’s a raw, dramatic landscape that photographers love.
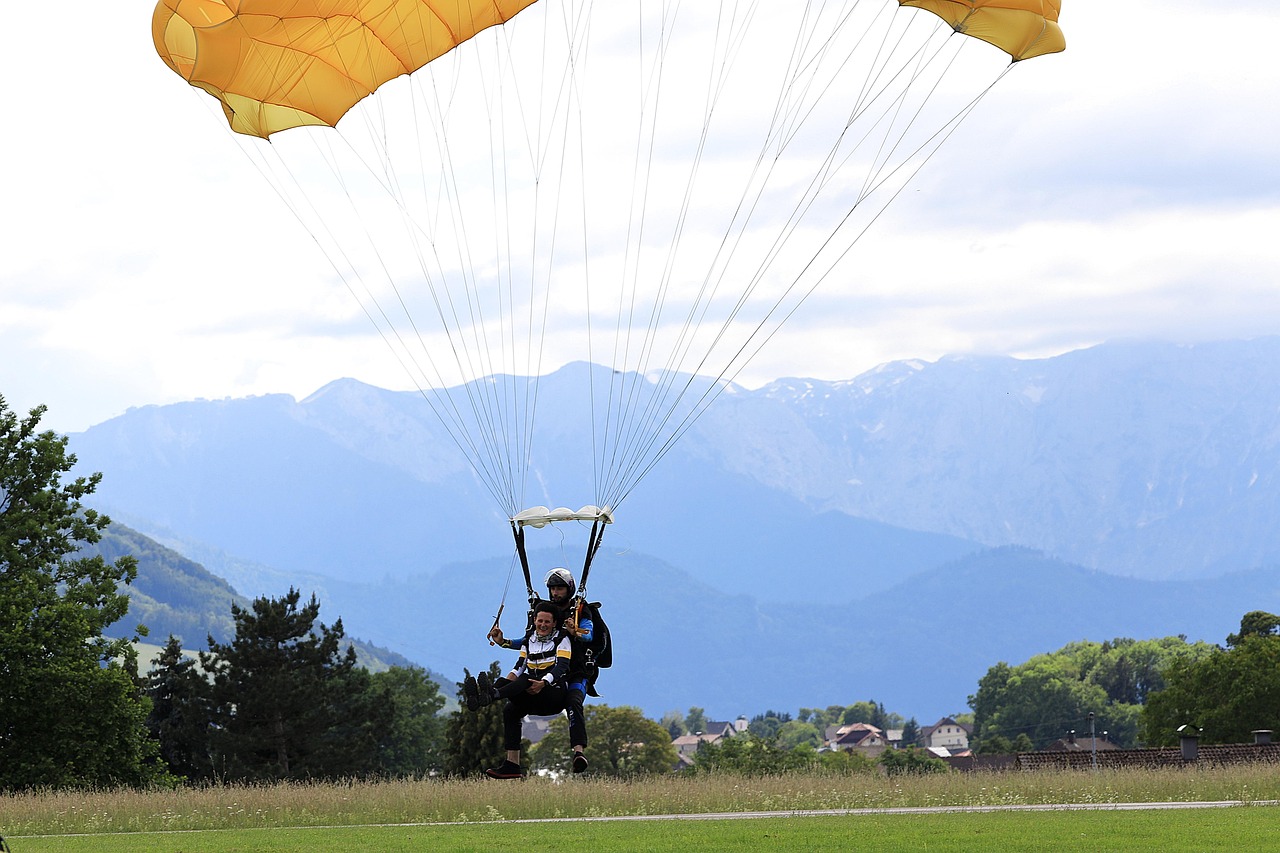
The drop zone offers altitude options from 10,000 to 14,000 feet. For a first timer, the 14,000-foot option gives you a solid 50–60 seconds of freefall, which is plenty. The instruction is thorough, and the team prides itself on safety briefings that leave no question unanswered. They’ll walk you through the jump from exit to landing, including what to do if your ears block or if you feel disoriented.
Pros: Incredible, unique scenery. Strong safety culture. Good for those who want a shorter, budget-friendly jump (10,000 feet) or a full altitude experience.
Cons: High winds are common, especially in spring and fall. Summer heat (110°F+) can be uncomfortable on the ground and in the plane. The desert sun is intense, and you’ll feel it during the canopy ride.
Practical advice: Plan your jump for spring (April–May) or fall (September–October) when temperatures are moderate. Wear sunscreen and bring a hat for before and after the jump. The drop zone doesn’t provide much shade, so prepare accordingly. Those planning for a desert jump may want a lightweight sun hoodie to protect against the intense sun during the canopy ride.
If you’re using gear, consider a good sun hoodie or a hat with a chin strap. You can find these on Amazon. For lodging, book something in Moab itself; it’s a short drive to the drop zone and has plenty of budget and mid-range options.
4. Queenstown, New Zealand – Adventure Capital with Glacier Views
Queenstown is widely considered the adventure capital of the world, and NZONE Skydive Queenstown is a major reason why. This drop zone offers views of Lake Wakatipu, The Remarkables mountain range, and nearby glaciers. It’s a bucket-list jump for a reason.
For a first timer, NZONE is extremely professional. Their ground training is comprehensive, covering body position, altitude awareness, and canopy control in detail. The instructors are some of the most experienced in the industry, with many having thousands of jumps. The safety standards here are rigorous, and they don’t cut corners.
Pros: Stunning alpine and lake views. Highly professional crew. Great for thrill-seekers who want a scenic bucket-list jump.
Cons: Expensive. Weather cancellations are common, especially in winter (June–August). The altitude is lower than some other destinations (12,000–15,000 feet), but the scenic value makes up for it.
Best for: Someone who wants a jump that combines world-class views with top-tier instruction and doesn’t mind paying a premium for it.
Practical advice: Budget for at least one extra day in Queenstown to account for potential weather cancellations. Book directly through NZONE’s website for the best cancellation policy. The video package is expensive but worth it because of the backdrop.
You can also bundle your jump with other Queenstown activities like bungee jumping or jet boating to maximize your trip.
Comparing Top US Drop Zones for Beginners
If you’re staying in the US, you have plenty of excellent options that don’t require international flights. Here’s a comparison of three beginner-friendly drop zones that consistently show up on lists of best skydiving spots for first time jumpers in the country.
- Skydive Elsinore (California): Cost: $200–$300 for a 13,000-foot tandem. Altitude options up to 18,000 feet. Training is thorough, with a focus on safety. Instructor-to-student ratio is 1:1. Nearby amenities include the town of Lake Elsinore with hotels and restaurants. Best for: West Coast jumpers wanting reliability and a large drop zone.
- Skydive Sebastian (Florida): Cost: $180–$250 for a 13,500-foot tandem. Altitude options up to 18,000 feet. Known for excellent training and a family-friendly atmosphere. Instructor-to-student ratio is 1:1. Nearby amenities include beaches and budget hotels. Best for: East Coast jumpers and those looking for a budget-friendly coastal jump.
- Skydive Chicago (Illinois): Cost: $250–$350 for a 14,000-foot tandem. Altitude options up to 18,000 feet. Extremely safety-focused with a strong reputation in the skydiving community. Instructor-to-student ratio is 1:1. Nearby amenities include lodging on-site or in nearby towns. Best for: Midwest jumpers who want a well-run operation and don’t mind a longer drive from Chicago.
When deciding, factor in your location and budget. Skydive Sebastian offers the best value if you’re on the East Coast. Skydive Elsinore is ideal for California residents. Skydive Chicago is a solid choice for Midwest-based jumpers who want a reputable drop zone.
If you’re planning to film, consider a chest mount or a helmet mount for your GoPro. You can find these on Amazon. An altimeter watch is also a nice touch if you’re a gear enthusiast, but it’s not necessary for a tandem jump.
Mistakes First-Time Skydivers Make When Choosing a Spot
I’ve seen plenty of beginners make avoidable errors when booking their first jump. Here are the most common ones, so you can sidestep them.
- Booking the cheapest option: The cheapest jump often means older aircraft, less experienced instructors, and a smaller landing area. The money you save isn’t worth the stress or reduced safety margin. Pay the extra $50–$100 for a reputable drop zone.
- Ignoring weather windows: Don’t book a skydive on the same day you have to catch a flight home. Weather can delay or cancel jumps, and you need at least a day buffer. Always have a backup day in your itinerary.
- Not asking about instructor experience: It’s your body and your life. It’s not rude to ask, ‘How many tandem jumps has my instructor done?’ If the answer is under 500, consider another drop zone or ask for a more experienced instructor.
- Skipping insurance: While skydiving is generally safe, accidents do happen. Check if your travel insurance covers adventure sports. If not, buy a short-term policy that does. It’s cheaper than you’d think.
- Choosing for photo ops alone: A stunning background doesn’t fix a poor operation. The best photos come from a well-run jump, not a beautiful landscape. Prioritize safety and training over Instagram views.
Actionable advice: Before you book, call the drop zone and ask these specific questions. If the person on the phone can’t answer confidently, move on to the next option. Trust your gut.
What to Expect from Your First Tandem Jump: A Practical Walkthrough
Knowing what the day actually looks like can calm your nerves and help you plan better. Here’s a realistic timeline of a typical tandem jump.
Check-in and Paperwork (30 minutes): You’ll arrive at the drop zone, check in, and sign a waiver. This is standard and involves acknowledging the risks. Read it carefully before signing. The front desk will also confirm your jump time and altitude.
Gear Fitting (15 minutes): A staff member will fit you with a jumpsuit, goggles, and a harness. The harness should be snug but not restrictive. Make sure you can breathe and move your arms freely. If it’s uncomfortable on the ground, it won’t be better in the air.
Ground School (30–45 minutes): This is the most important part of your day. Your instructor will walk you through body position for exit, freefall, and landing. They’ll cover hand signals, altimeter checks, and what to do if something feels wrong. Pay attention. Ask questions. The more you understand, the more fun you’ll have.
Aircraft Ascent (15–20 minutes): You’ll board the plane and watch the ground shrink below you. The climb to altitude is peaceful. You’ll feel the temperature drop and maybe a little ear pressure. Swallow or yawn to equalize. This part is more scenic than scary.
Exit (30 seconds): At altitude, the door opens, and the wind rushes in. You’ll shuffle to the edge, hook your arms, and on the count of three, you’re out. The feeling is less like falling and more like floating on a powerful cushion of air. It’s intense but not as terrifying as you imagine.
Freefall (50–60 seconds): You’ll fall at 120 mph. The wind noise is loud. Your face will feel like it’s being pulled back. It’s disorienting for a few seconds, then it becomes exhilarating. Your instructor will tap your shoulder to signal you to smile or look around. Don’t fight the position; just relax and enjoy the speed.
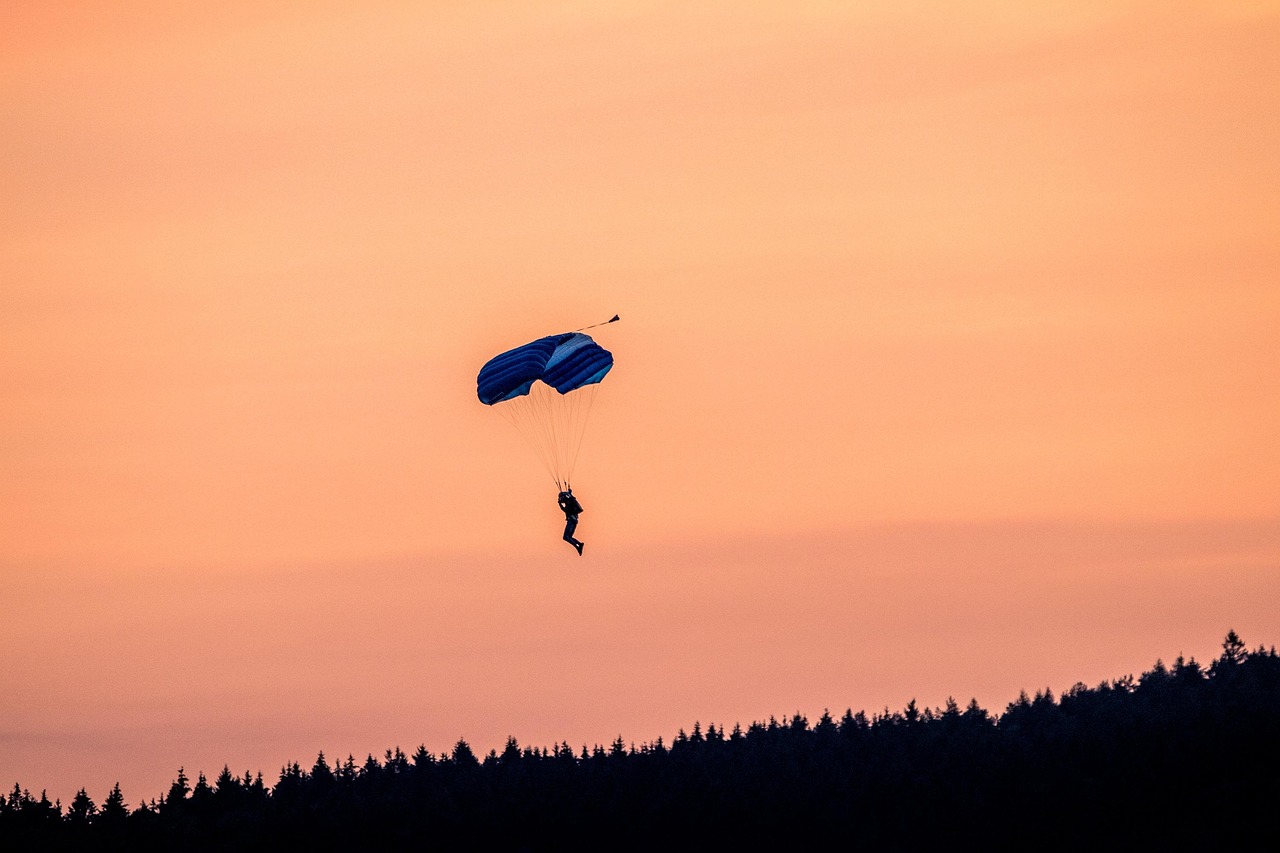
Canopy Ride (5–7 minutes): The parachute opens with a gentle pull. Then it suddenly gets quiet. You’ll have time to talk to your instructor, look at the view, and steer the canopy a little. This is the most relaxing part of the jump. You’ll glide down in a spiral pattern.
Landing: You’ll raise your legs, and your instructor will flare the canopy for a soft landing. You’ll touch down on your butt or side. It’s not jarring if done correctly.
Total time: Plan for 4–6 hours from arrival to departure, including waiting for weather and other loads. It’s not a quick in-and-out activity.
Common physical sensations: Ear pressure during ascent (use earplugs if sensitive). Wind noise in freefall (consider noise-filtering earplugs). Harness comfort varies by person. Wear comfortable, form-fitting clothing like athletic wear. Avoid loose items that could fly away.
Addressing fears: Most beginners are afraid of the door exit. That lasts about three seconds. After that, it’s pure joy. Trust your instructor. They’ve done this hundreds of times. If you feel overwhelmed, close your eyes for a second during exit if it helps.
If you want to capture the experience, book the video package. Watch the footage after your jump, not during. It’s better to be present in the moment and rewatch it later.

Budget Considerations: Getting the Best Value for Your First Jump
Tandem jumps typically cost between $200 and $400 in the US and can go higher internationally. Here’s how to budget.
Base price: Covers the jump itself, gear rental, and instructor time. This usually includes a standard altitude (10,000–13,000 feet).
Extras: Video and photo packages add $50–$150. Higher altitudes (14,000–18,000 feet) add $20–$100. Some drop zones charge for gear rental if yours isn’t suitable. Fuel surcharges are sometimes added without being advertised. Always ask about these before booking.
Value recommendations:
- Best overall value (US): Skydive Sebastian in Florida. It’s budget-friendly, has a strong safety record, and offers a coastal jump without international travel.
- Best splurge (International): Interlaken, Switzerland. It’s expensive, but the alpine views and structured training make it a worthwhile experience for a first timer who wants the best.
- Best mid-range (US): Skydive Elsinore in California. It’s reliable, well-run, and close to amenities.
Hidden fees: Ask about landing fees (rare but possible), gear deposit, and cancellation policies before you pay. Always read the fine print on the booking page.
Consider travel insurance that covers adventure sports. A site like World Nomads or Allianz has policies that cover skydiving. It’s a small price for peace of mind.
When NOT to Skydive as a Beginner
There are situations where you should absolutely not jump. This isn’t about being overly cautious; it’s about respecting the limits of your body and the weather.
- High winds: If the drop zone is experiencing sustained winds over 20 MPH or gusty conditions, reschedule. Canopy control becomes more difficult, and landings can be rough.
- Thunderstorms or lightning: Straightforward. If there’s lightning within five miles, no jump. Period.
- Extreme temperatures: Jumping in temperatures above 100°F or below 20°F is uncomfortable and potentially dangerous. Heat exhaustion and hypothermia are real risks.
- Recent injuries or surgeries: If you’ve had a broken bone in the last six months, a concussion, or any surgery within the last year, get a doctor’s note. The forces of parachute opening can stress injuries.
- Pregnancy or certain medical conditions: If you are pregnant or have conditions like epilepsy, heart problems, or severe high blood pressure, skydiving is generally not recommended. Check with your doctor and be honest on the waiver.
Most drop zones have clear policies on these conditions. Don’t try to hide them to get a jump done. It’s not worth it. Safety starts with being honest about your physical state.
How to Book Your First Skydive with Confidence
Here’s a step-by-step approach to booking your first jump without second-guessing yourself.
- Research drop zones on USPA’s official website or similar governing body directories. These lists filter by certification and safety record.
- Read reviews on Google, Yelp, or Facebook. Look for comments about instructor friendliness, training quality, and safety. One bad review isn’t a red flag, but a pattern of complaints about rushed training is.
- Call and ask questions about instructor experience, aircraft type, landing area size, and cancellation policies. If they’re evasive, that’s a sign.
- Choose a spot from this list and book directly through the drop zone’s website. This often gives you the best cancellation policy.
- Book with flexible cancellation if you’re traveling from far away. Weather can change, and you want the option to reschedule without losing your money.
Ready to commit? These are the spots that combine safety, instruction, and scenery for a first-timer.
Final Thoughts: Where You Jump Matters More Than How High
The best skydiving spots for first time jumpers aren’t about altitude or price. They’re about finding a drop zone that respects safety, invests in instruction, and offers a view that you’ll remember for the rest of your life. You can jump anywhere, but the right location makes the difference between a fun day and a defining one. Prioritize reputation, ask the right questions, and book with confidence. The ground isn’t going anywhere, but that first jump should be one you’ll never forget. Go book it.
Iceland Adventure Travel Guide: Waterfalls, Glaciers, and Volcanoes
13 Best Hot Air Balloon Adventures Worldwide for Thrill-Seekers
Best Ice Climbing Destinations for Beginners: Where to Start Your Frozen Adventure