The 7 Best Adventure Camera Backpacks for Travel Photographers
Introduction
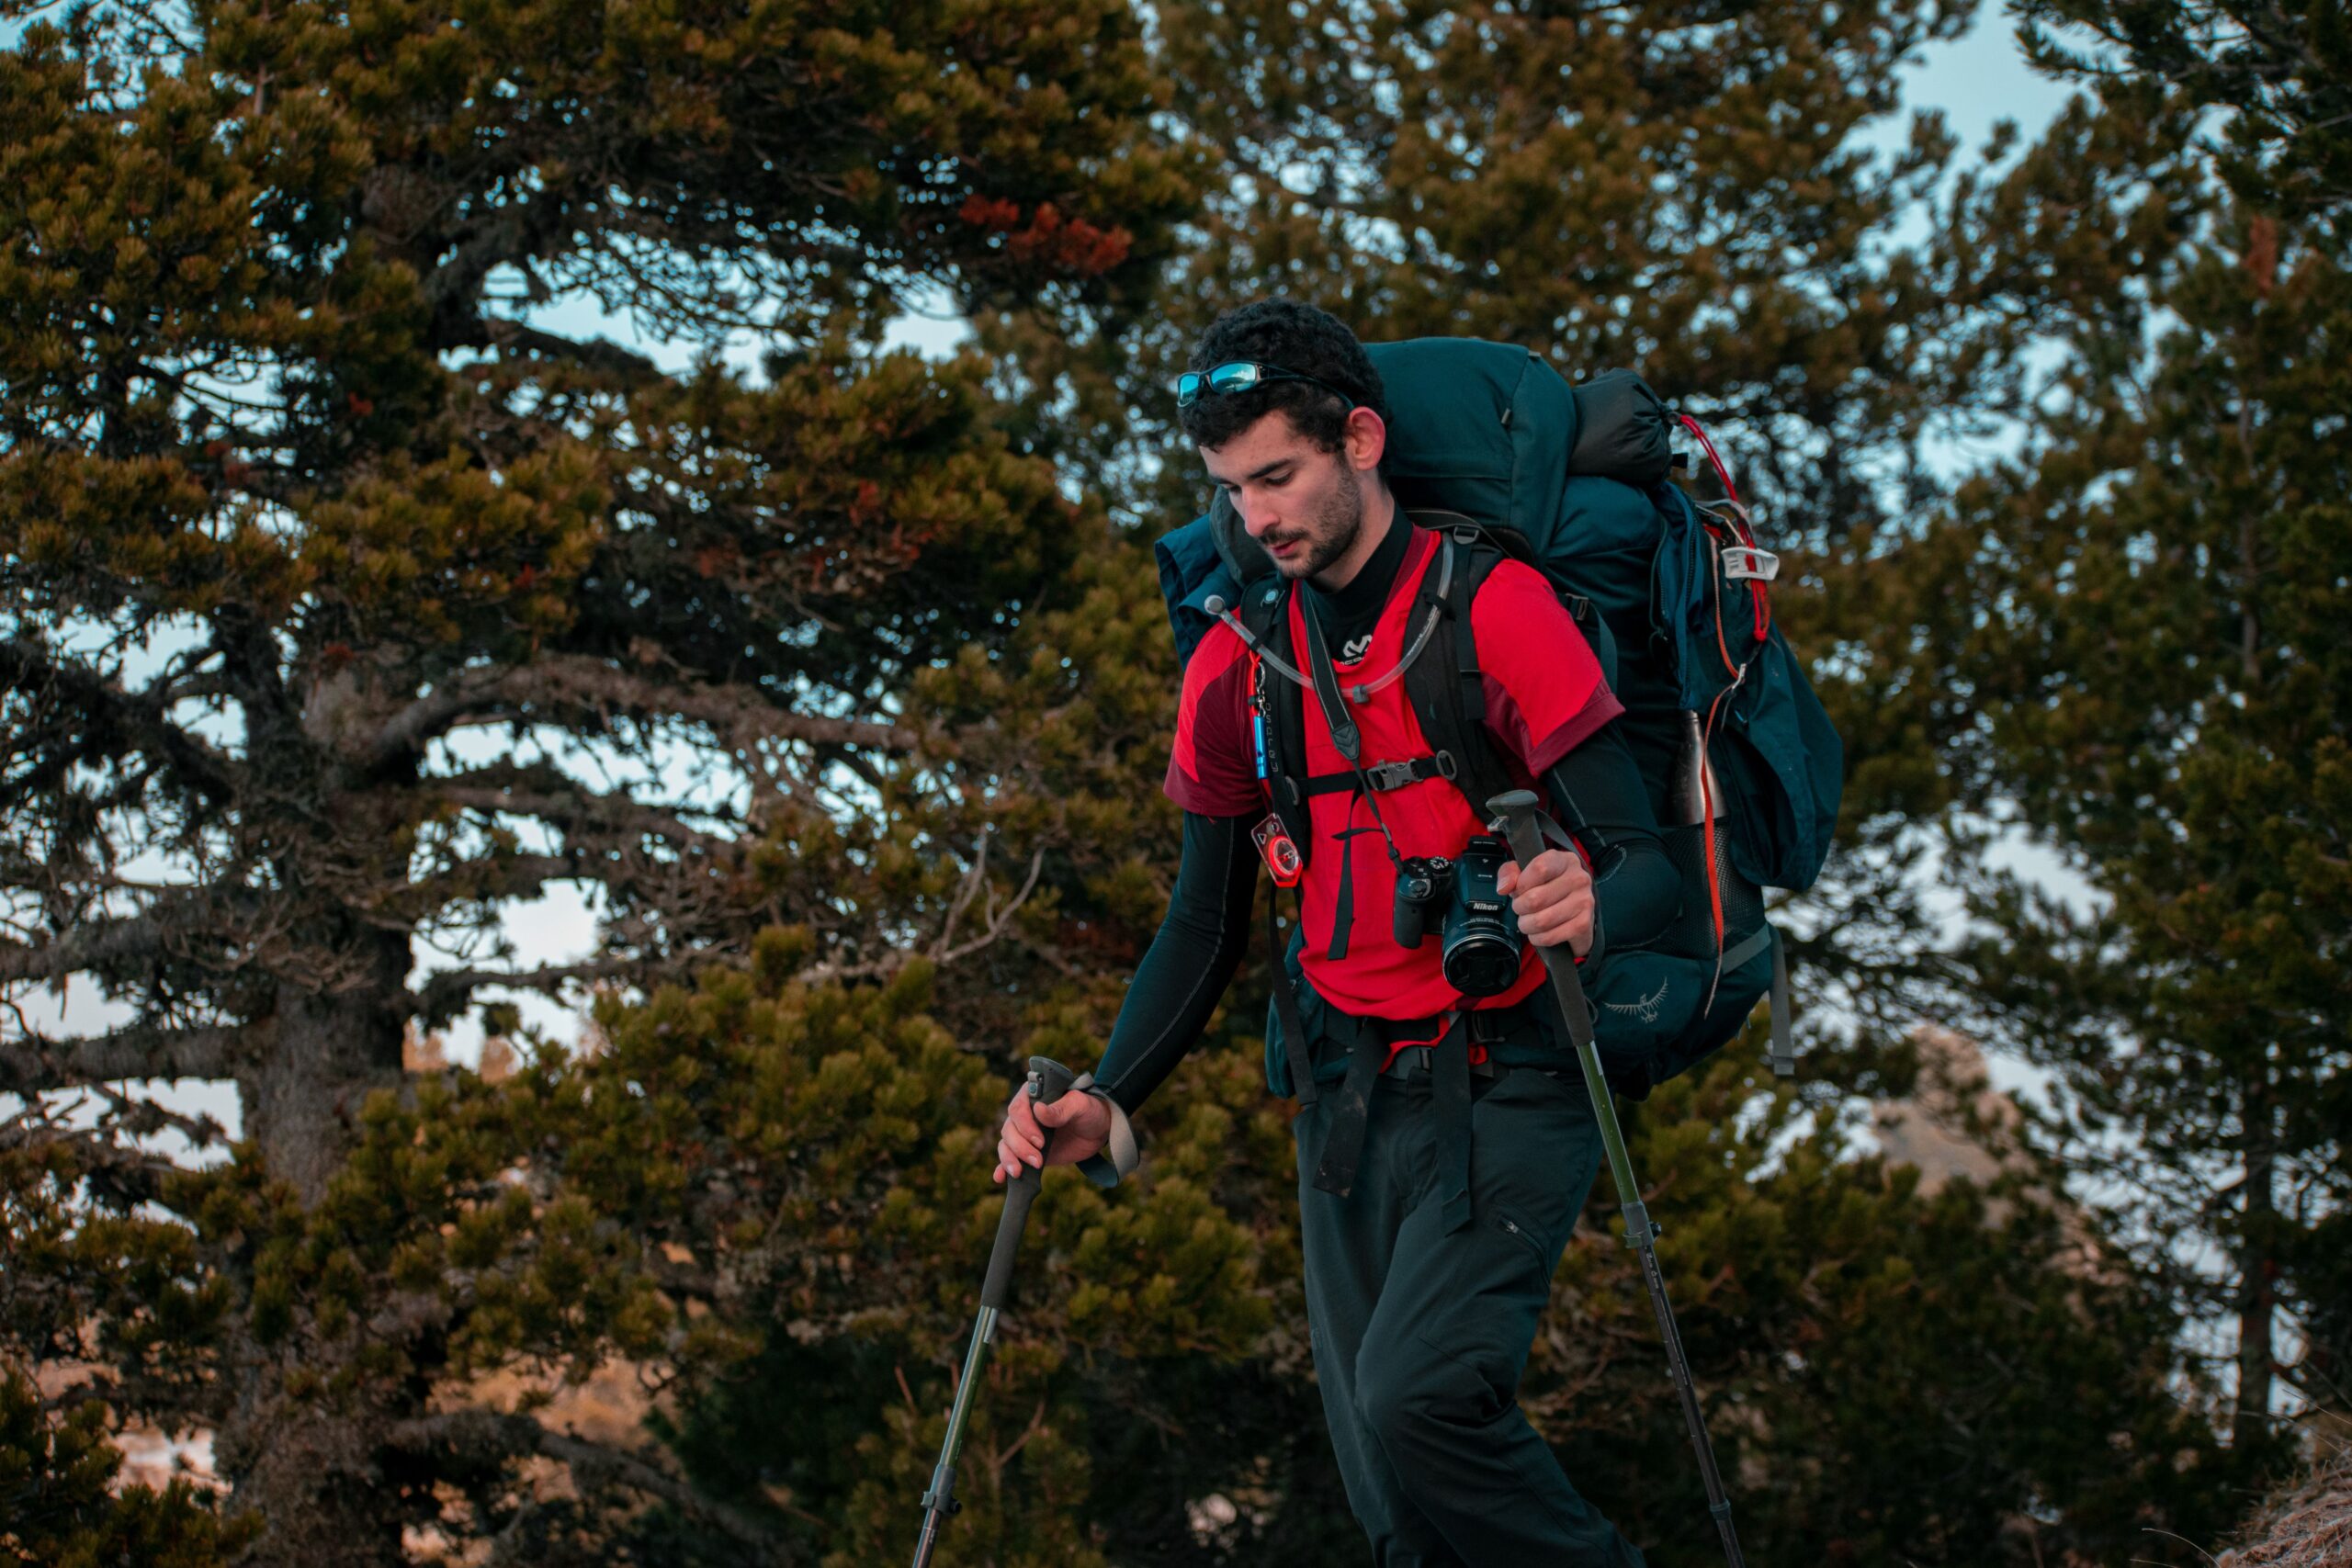
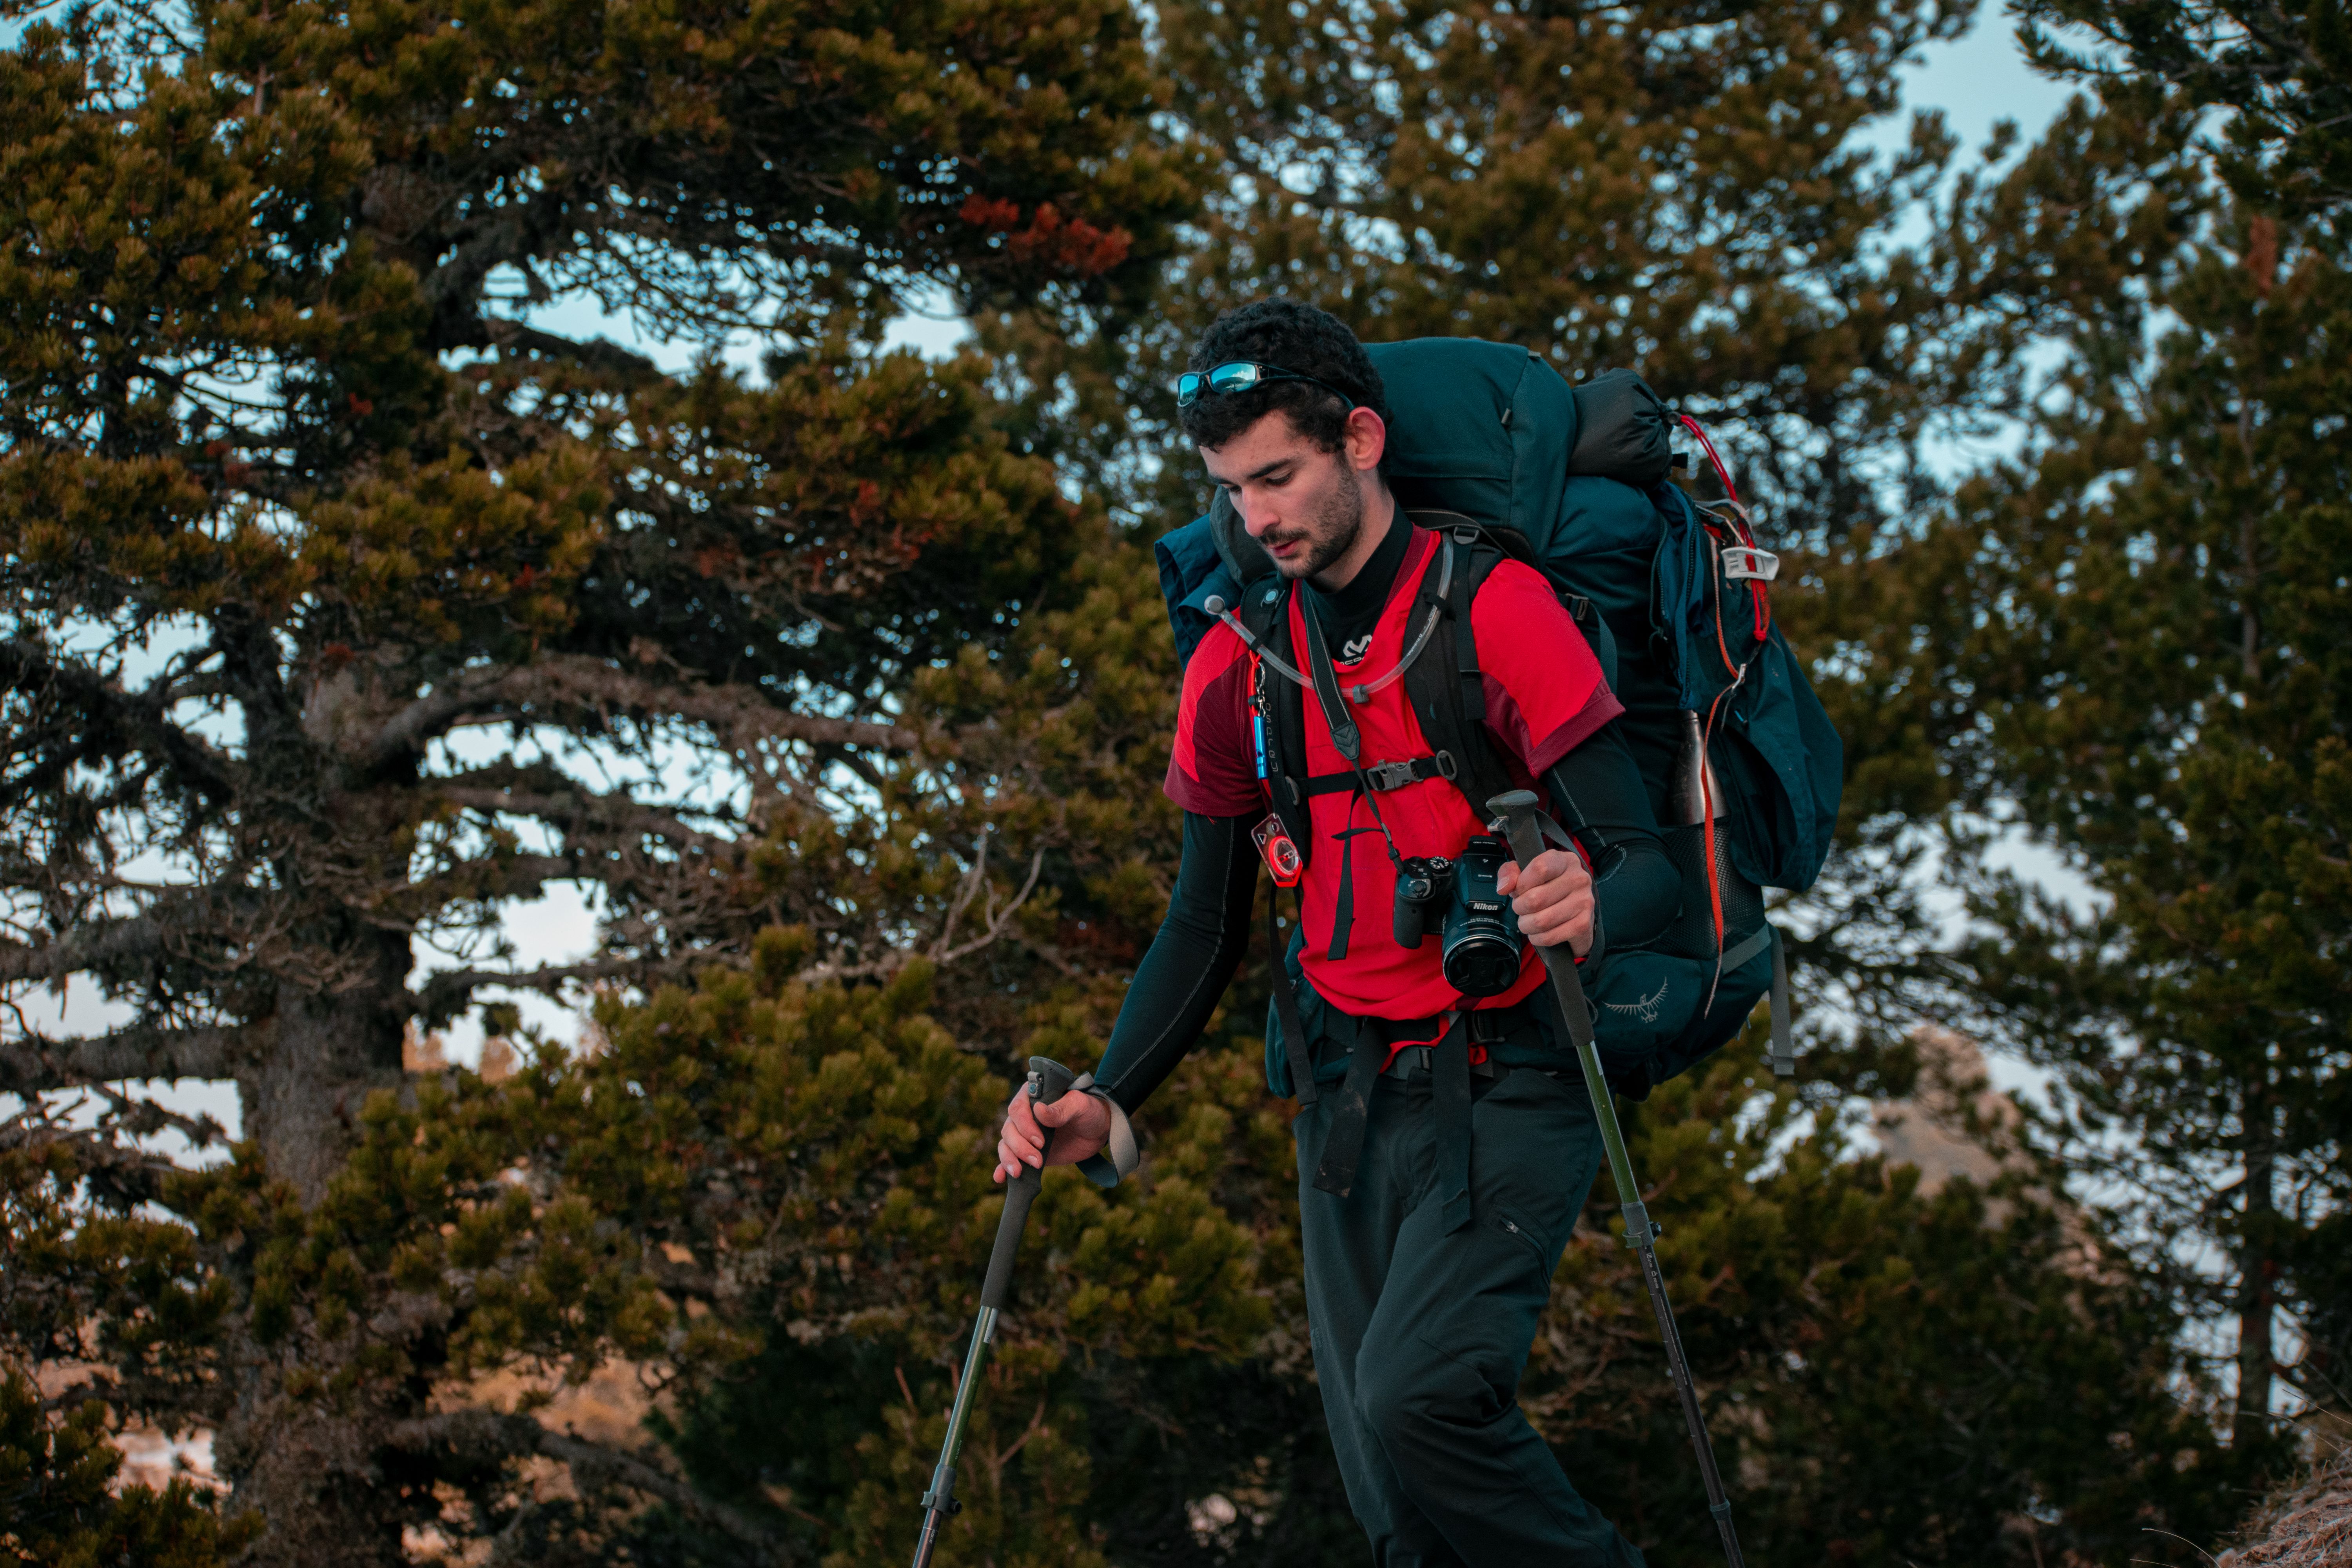 camera gear and trekking poles.” width=”1200″ height=”800″ loading=”lazy” />
Finding a camera backpack that actually works for adventure travel is harder than it should be. Most camera bags are designed for studio work or city strolls—thin straps, no hip belt, fabric that wets through in ten minutes. That’s fine for a coffee shop shoot. It’s a disaster on a trail.
I’ve spent the last few years testing camera packs on actual trips: Patagonian winds, Iceland rain, via ferrata scrambling. I’ve ruined one bag and nearly lost a lens because of poor design. After months of real-world use—not spec-sheet browsing—I’ve narrowed it down to seven that hold up under movement, weather, and weight. These are the best adventure camera backpacks I’d trust with my gear and my back on a multiday trip.
Below, I’ll walk through each one—what it does well, where it falls short, and exactly who it’s for.

What Makes a Camera Backpack Suitable for Adventure Travel?
Before jumping into the list, it’s worth understanding why most camera bags fail on the trail. Adventure travel isn’t walking from a taxi to a hotel. It’s uneven terrain, changing weather, and carrying everything on your body for hours.
Here are the specs that matter:
- Weight distribution. A bag without a proper hip belt will wreck your shoulders after two miles. Look for a padded hip belt that transfers load to your hips, not your spine. Travelers who need a bag with real load support should consider options with a padded hip belt designed for hiking.
- Weather resistance. An IP rating or integrated rain cover is non-negotiable. Some bags claim “water-resistant” fabric, but only a dedicated rain cover or sealed zippers keep gear dry in a downpour.
- Access style. Side access lets you grab a camera without taking the bag off. Top access is safer for hiking but slower. Back-panel access is secure but requires removing the bag entirely. Know your tradeoff.
- Harness system. A load-lifter strap, sternum strap, and adjustable torso length matter more than brand name. Without them, a 25-pound load will punish you.
- Internal organization. A removable camera unit (CU) or FlexFold divider system lets you reconfigure the interior. Fixed padded shelves are less versatile for mixed loads (camera + rain jacket + lunch).
- Works as a daypack. If the bag can’t function without camera gear inside, it’s not an adventure bag. You need room for water, layers, and emergency items.
I’ve tested these criteria in rain, mud, and high wind. The bags below passed or failed accordingly.
Best Adventure Camera Backpacks at a Glance
- Shimoda Explore v2 40L – Best for long hikes and heavy gear
- Peak Design Travel Backpack 45L – Best for city-to-trail versatility
- LowePro Whistler 450 AW II – Best for harsh weather and climbing
- WANDRD PRVKE 31L – Best for smart organization and quick access
- Mission Workshop The Rhake – Best for urban adventurers and daily carry
- Nomatic McKinnon Camera Backpack 35L – Best for minimalist travelers
- Think Tank Photo Airport Navigator – Best for air travel and security access
1. Shimoda Explore v2 40L – Best for Long Hikes and Heavy Gear
This is the bag I reach for when I know I’ll be on my feet for eight hours. The Explore v2 uses a 420D / 630D nylon shell that shrugs off brush and scrapes, plus a full rain cover stashed in the bottom. The real story is the harness: a carbon-fiber frame that keeps heavy loads stable and comfortable. It’s a serious step up from wire frames or no frame at all.
On a trip to Patagonia, I packed a Sony a7RIV with a 24-70mm and 70-200mm, plus a small tripod, hydration bladder, and layers. I did an 8-mile trail with climbs and loose rock. The bag didn’t shift, and my shoulders didn’t ache. The modular CU insert system let me pull the camera unit out and use the bag as a regular hiking pack when I wanted to leave the gear behind.
Tradeoff: The CU inserts are expensive and bulky. If you only carry one body and two lenses, they take up space you might want for clothes or food. You’re paying for modularity you might not need.
Buy this if: You hike daily and carry heavy gear. You want a bag that doubles as a genuine hiking pack.
Avoid this if: You’re a casual walker with a mirrorless kit. The size and price are overkill for light use.
2. Peak Design Travel Backpack 45L – Best for City-to-Trail Versatility
Peak Design’s Travel Backpack is the Swiss Army knife of camera bags. It compresses to carry-on size but expands to 45L for trail days. The FlexFold dividers replace a full camera cube, saving weight and giving you some freedom to pack odd shapes. It looks clean in a city but holds up on moderate trails.
I used this for a trip from Tokyo to Bali, then carried it on a 3-day hike near Ubud. The organization is top tier: quick-access top pocket, multiple internal sleeves, and a stowable harness. The included rain fly kept gear dry during a tropical downpour. The theft-deterrent zippers are a nice touch for crowded airports.
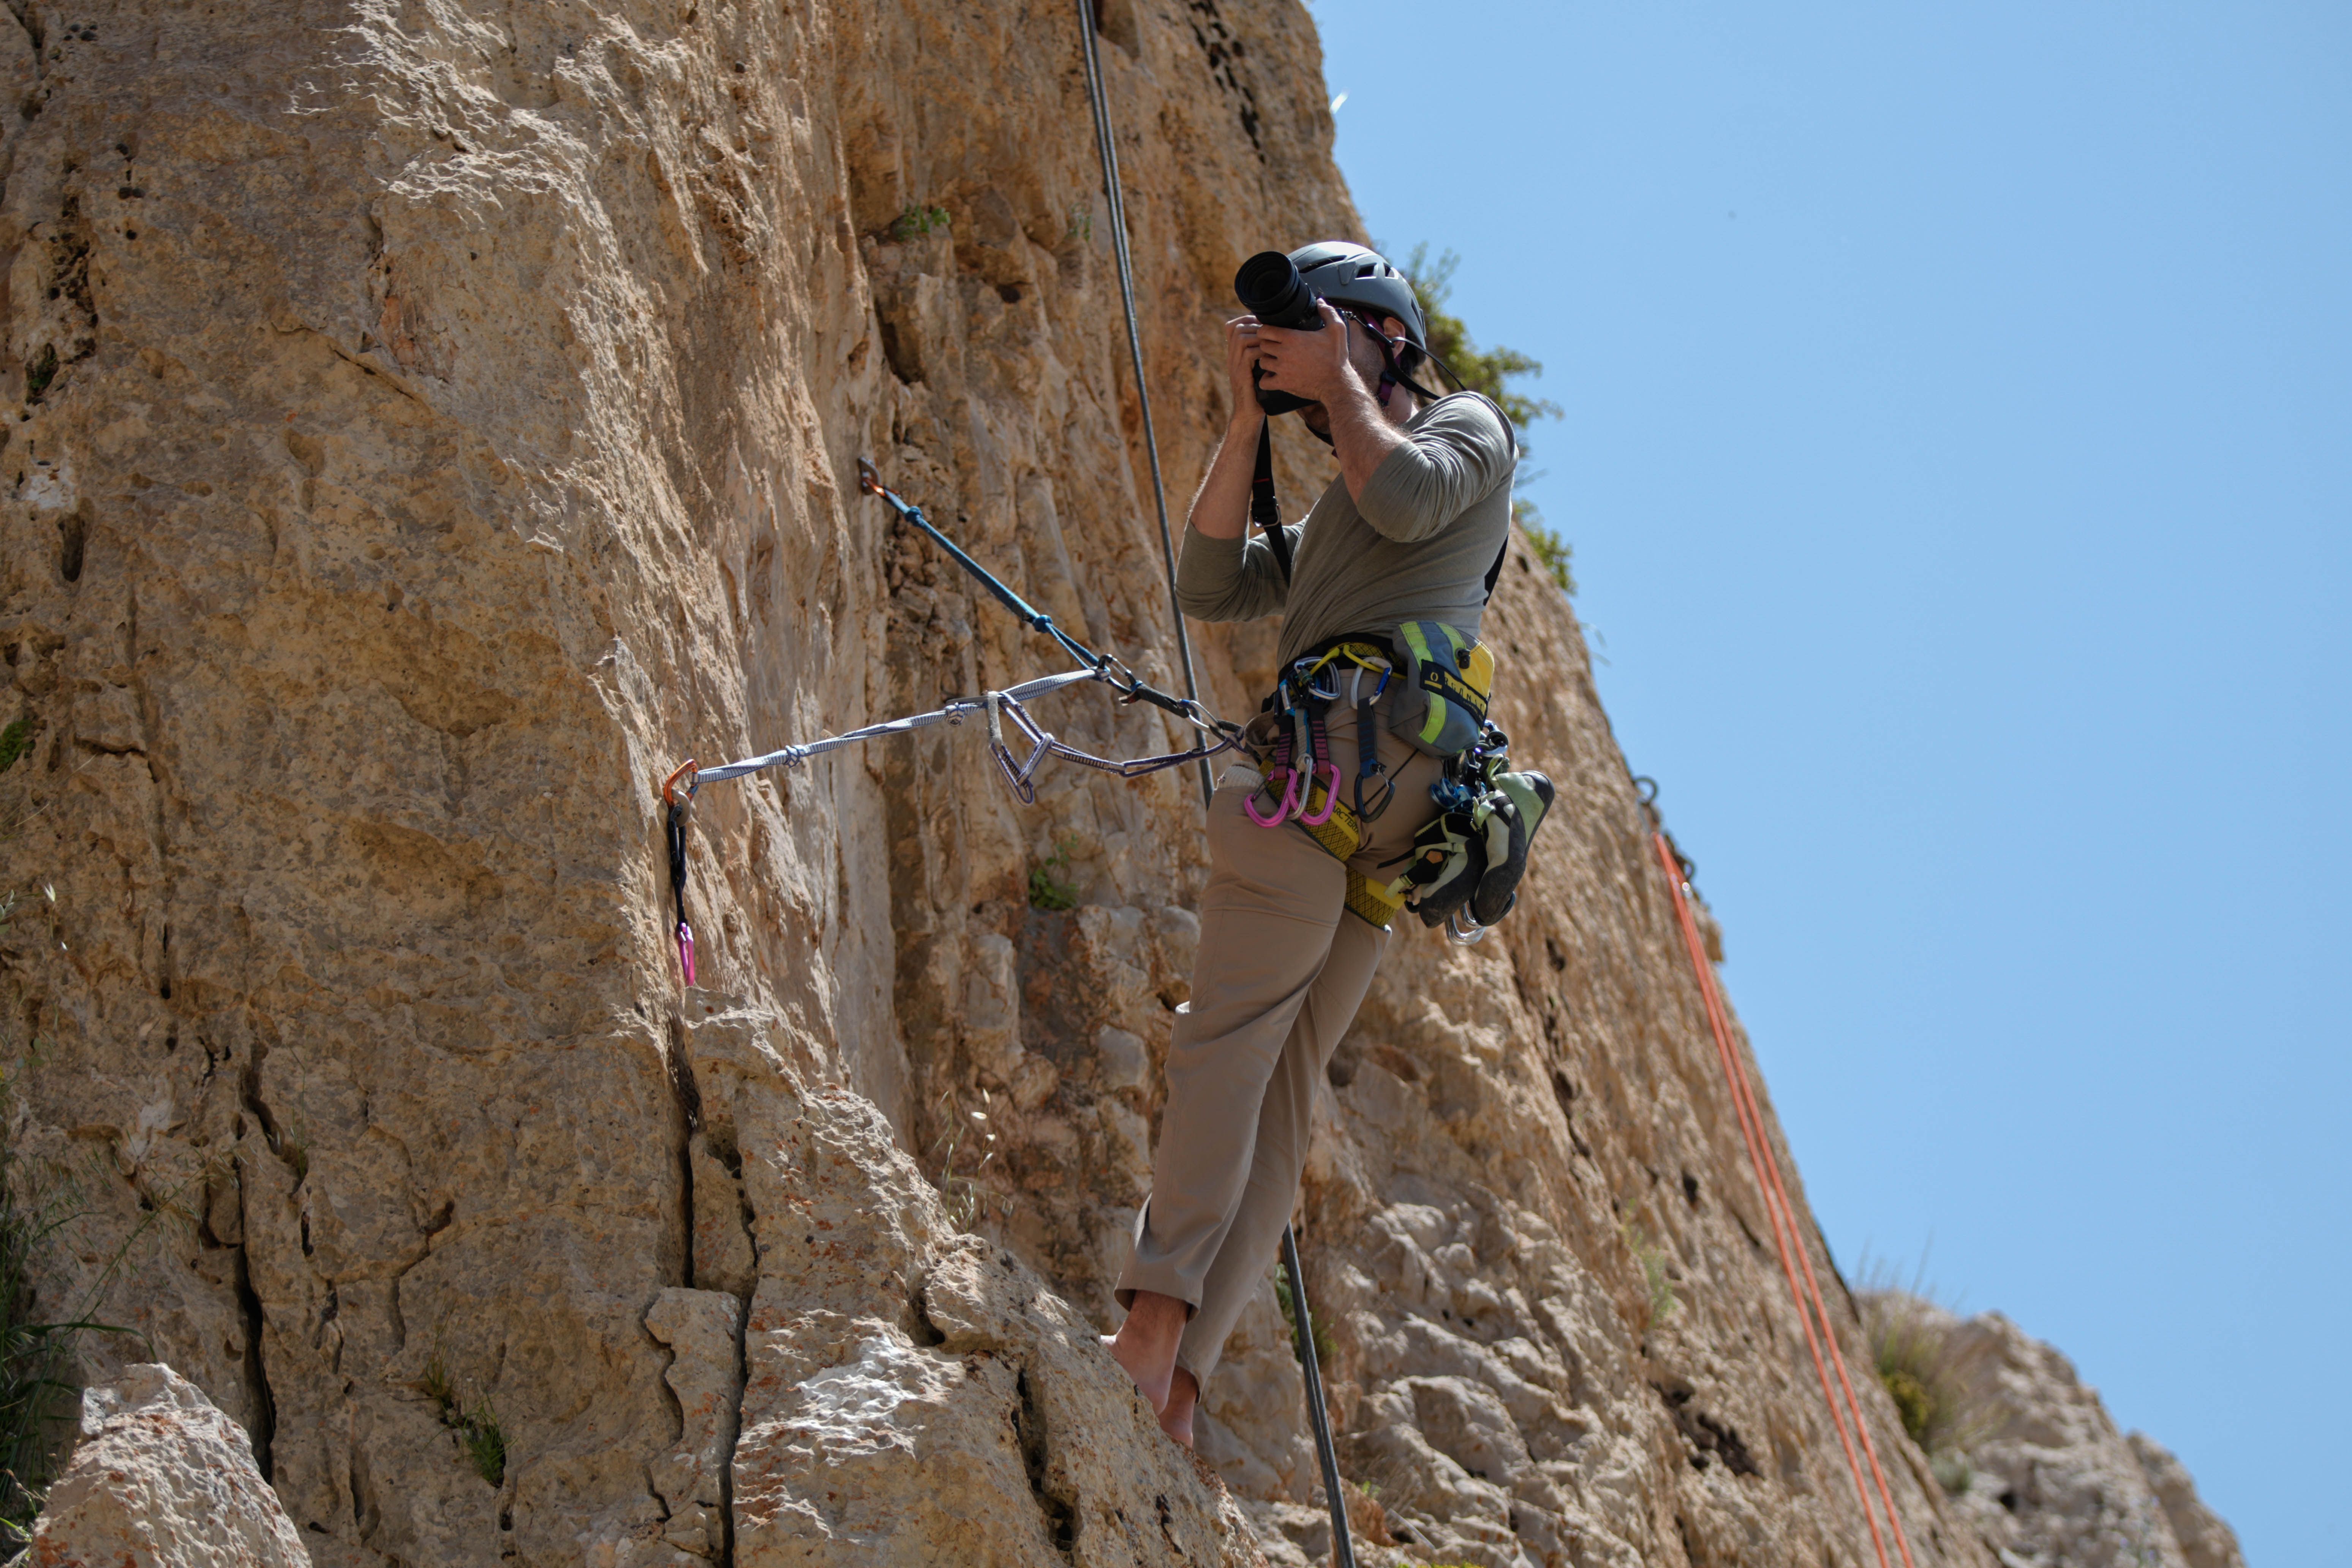
Cons: The hip belt is thin. With 30 pounds inside, my hips felt it after a few hours. Back ventilation is also mediocre—expect a sweaty back on hot days. This is not a mountaineering pack.
Buy this if: You split your time between planes, city streets, and light trails. You value organization and packability.
Avoid this if: You’re hitting serious off-trail terrain or carrying a heavy load for full days. Look at Shimoda or LowePro instead.
3. LowePro Whistler 450 AW II – Best for Harsh Weather and Climbing
When conditions turn nasty, the Whistler earns its keep. I tested this on a via ferrata in the Dolomites during a day of rain squalls. The all-weather AW cover and sealed zippers kept my gear bone dry while my jacket soaked through. It’s built for abuse—heavy weight fabric, robust zippers, and a dedicated ice-axe holder.
The Auto Fit harness adjusts for different torso lengths without tools, which is rare in this category. That said, it’s heavy: 5 pounds empty. You feel that weight on long flat sections. The bag is optimized for climbing and off-trail work, not pavement miles.
Capacity is solid: fits a gripped DSLR with a 70-200 f/2.8 attached, plus a water bladder. If you need absolute durability in bad weather, this is your pick.
Buy this if: You climb, scramble, or work in heavy rain and snow.
Avoid this if: Your travel is mostly city-to-hotel. The weight and stiffness are wasted on flat walks.

4. WANDRD PRVKE 31L – Best for Smart Organization and Quick Access
The PRVKE hits a nice middle ground. It’s not the most rugged bag here, but it’s the best organized for its size. The roll-top expands capacity when needed, and side camera access lets you grab gear without taking the bag off. Internal pockets are plentiful—cables, batteries, passport, all have a spot.
I used this for a week in Lisbon and on a day hike in Sintra. The bag handled gravel paths and city crowds equally well. For a 31L pack, it fits a surprising amount: mirrorless body, 24-105mm, a small drone, and a 13-inch laptop.
Weakness: The roll-top isn’t fully watertight. In a heavy downpour, you’ll want the rain cover. The hip belt is decent but not robust enough for a full expedition load.
Comparison to Shimoda: The PRVKE is less suited for 8+ hour hikes with heavy gear. It’s a day pack, not a multi-day workhorse.
Buy this if: You’re a creative traveler carrying a laptop, camera, and drone. You value quick access and internal organization.
Avoid this if: You need to carry two full-frame bodies and a big telephoto. The PRVKE runs out of space fast.
5. Mission Workshop The Rhake – Best for Urban Adventurers and Daily Carry
The Rhake is a different animal. It’s built from 500D Cordura with a waterproof membrane. No rain cover needed for light rain—the fabric sheds water well enough. The design is sleek and tactical, perfect for daily carry in a city where you don’t want to look like a tourist.
Important caveat: The dedicated camera insert is sold separately. That pushes the total cost high. Without it, you’re carrying a sturdy backpack with no camera protection.
This is not the best adventure camera backpack for a classic hiking trip. It excels for work-travel photographers who need one bag for gear and office. If you’re carrying two pro bodies, a gimbal, and a tripod, look elsewhere.
Buy this if: You want a single bag for daily carry, work, and weekend trips. You’re willing to pay for waterproof construction and urban styling.
Avoid this if: You need dedicated camera protection without buying extras. Also skip if you’re doing serious hiking—the harness is urban-focused.
6. Nomatic McKinnon Camera Backpack 35L – Best for Minimalist Travelers
The McKinnon packs a lot of organization into a compact frame. It expands from 25L to 35L via a zipper, making it good for one-bag travel. Internal pockets are deep: a shoe compartment, water bottle slot, and multiple mesh pockets keep small items accessible.
On a 10-day trip to Iceland, I carried a mirrorless body, three lenses, a drone, and layers. The bag fit easily as a carry-on. Compression straps tightened the load for walking.
Tradeoff: The dividers are thin. Gear protection is moderate—I wouldn’t drop this bag off a rock. The bottom also lacks padding, so setting it down hard or on sharp surfaces is risky. Best for light-to-medium kits.
Tip: Use small padded pouches for telephoto lenses to compensate for the thin dividers. This is worth considering for anyone who wants protective lens pouches for travel.
Buy this if: You travel minimally with a mirrorless kit. You want deep organization and compression options.
Avoid this if: You have a heavy DSLR or you’re rough on gear. The McKinnon is not built for drop protection.
7. Think Tank Photo Airport Navigator – Best for Air Travel and Security Access
This bag solves a different problem: getting through airports smoothly. The checkpoint-friendly design opens flat, so you can slide it through TSA without removing gear. It carries a 15-inch laptop, two camera bodies, and six lenses—enough for a full kit. I’ve used it across multiple airports, and it’s saved time every time.
Important: This is a rolling backpack with a handle and wheels. It’s not for off-trail hiking. It works great for urban-to-suburban travel, convention centers, and hotel shoots. Do not check this bag—it’s a carry-on only.
An optional rain cover is sold separately. Budget for it if you’re traveling in wet conditions. A simple way to prepare is to keep a universal backpack rain cover handy for such cases.
Buy this if: You fly frequently with a heavy kit. You want to breeze through security without unpacking everything.
Avoid this if: You walk on trails. This bag is for airports, not mountains.
How to Choose the Right Adventure Camera Backpack for Your Gear
Here’s a practical flow that works for me:
- Do a gear audit. List every item you’ll carry: camera body, lenses, drone, tripod, laptop, accessories. Weigh them if possible. Most people overestimate how much they can carry comfortably.
- Estimate total weight. For full-day hikes, don’t exceed 25% of your body weight. For shorter trips, you have more margin. A bag that’s too heavy will ruin your trip.
- Choose access style. Top access is secure but slow. Side access is faster but exposes gear. Hybrid access (like the Shimoda’s back panel) offers balance. Pick based on how often you need to swap lenses mid-trail.
- Budget in add-ons. Most bags need extra inserts, a water bladder, or a better rain cover. Factor that into your decision—a $200 bag with $100 in add-ons is effectively $300. For a hydration system, consider hydration bladders for hiking packs to stay hydrated on long trails.
Below is a quick-reference checklist:
| Criterion | What to Look For |
|---|---|
| Load capacity | 40L+ for multi-day, 25-30L for day hikes |
| Hip belt | Padded and load-bearing for anything over 15 lbs |
| Weather protection | Integrated rain cover or sealed zippers |
| Access type | Side or hybrid for frequent lens swaps |
| Harness adjustability | Adjustable torso length for proper fit |
| Weight | Under 4 lbs empty for a 40L bag |
Common Mistakes to Avoid When Buying a Camera Backpack for Adventure
I’ve made all of these mistakes so you don’t have to:
- Buying a bag that fits your body, not your torso length. A one-size-fits-all harness is a gamble. Measure your torso length and buy accordingly. I once carried a bag that was too long for me—it hurt my shoulders for a week.
- Ignoring weight distribution. A 35L bag with no hip belt is a trap for hiking. The load will pull on your shoulders and neck. Always prioritize a hip belt for any hike longer than an hour.
- Overestimating weatherproofing. No bag is 100% waterproof without a cover. Even “water-resistant” fabric will wet through in a heavy rain. Always carry a rain cover or use a dry bag for critical gear.
- Forgetting about accessibility. Back-opening bags are secure but slow. If you need to grab a camera quickly on the trail, side access is better. Choose your tradeoff before you buy.
- Not testing the bag fully loaded. Empty bags feel great. Load yours with your actual gear and walk up and down stairs before committing. That’s the real test.

Final Verdict – Which Adventure Camera Backpack Should You Buy?
Here’s a decision matrix to help you choose:
| Bag | Best Use | Weight Capacity | Price |
|---|---|---|---|
| Shimoda Explore v2 | Long hikes, heavy gear | 40L+ | $$$ |
| Peak Design Travel | City-to-trail hybrid | 30-45L | $$ |
| LowePro Whistler | Harsh weather, climbing | 30-45L | $$ |
| WANDRD PRVKE | Organized day trips | 31L | $$ |
| Mission Workshop Rhake | Urban daily carry | 25-30L | $$$ |
| Nomatic McKinnon | Minimalist travel | 25-35L | $$ |
| Think Tank Navigator | Air travel, security | Carry-on | $$$ |
For most adventurers, here’s my final recommendation:
- The heavy hauler who hikes daily → Shimoda Explore v2. It’s the most comfortable option under serious load.
- The city-to-trail hybrid traveler → Peak Design 45L. It works on planes and on moderate trails.
- The weather warrior climber → LowePro Whistler. Rain and rock won’t beat it.
If you’re testing the waters with adventure travel, a less expensive bag like the WANDRD PRVKE is a good start. You can always upgrade later. The best bag depends on your specific gear and terrain. Click any link above to check current prices on Amazon and see which one fits your style.