How to Backup Photos While Traveling: A Safe Workflow for Any Trip
Nothing stings quite like that moment you realize your photos are gone. Maybe it’s an SD card that won’t read anymore, or a bag that got snatched while you were distracted. I’ve been through it, and it’s not something I’d wish on anyone. The whole point of how to backup photos while traveling is to make sure that feeling never happens to you. You don’t need a perfect, complex system. You just need something that works and that you’ll actually stick with.

Why a Solid Backup Strategy Matters More Than You Think
Relying on a single memory card is a gamble. They fail, get lost, or get damaged when your bag takes a tumble or sits too long in the sun. I’ve met travelers who lost everything because their whole camera kit was lifted from a sidewalk café table in the time it took to order a coffee. The idea that you’ll just be careful doesn’t hold up when the card is inside a stolen camera.
A single external drive isn’t much better. Drives fail too. The point isn’t to scare you—it’s to be realistic. Having a buffer means you can sleep at night. When your card fills up, you know exactly what to do. When something goes wrong, you don’t lose the whole trip. That peace of mind is worth the small effort it takes to set up a system.
The Core Backup Workflow Explained
The classic 3-2-1 rule is still the gold standard, even for travel. That means three copies of your data, on two different kinds of media, with one copy stored somewhere else. For travelers, that offsite copy is usually the cloud, a drive you mail home, or one left with someone you trust. The two different media part means not just two hard drives—it could be an SSD and cloud storage, or a hard drive and an extra SD card.
Here’s how it breaks down for a typical travel day:
- Shoot your photos and video.
- Copy everything to a primary drive or your laptop.
- Copy that same data to a second device.
- Either delete from your memory card (if you’ve verified both copies) or keep the card as a third copy until you need the space.
That’s the whole workflow. The order matters: copy, verify, then delete. Never skip verification. A quick look to confirm files opened or a file count is better than hoping it worked. This is the foundation. Everything else is just the tools you use.
Option A: Portable Hard Drives and SSDs (Best for Bulk Storage)
If you shoot a lot, this is your go-to. Two main types exist: traditional hard drives (HDDs) and solid-state drives (SSDs). For travel, SSDs are usually the better bet these days. They’re faster, tougher since they have no moving parts, and smaller. The price per gigabyte is higher, but the gap has narrowed a lot.
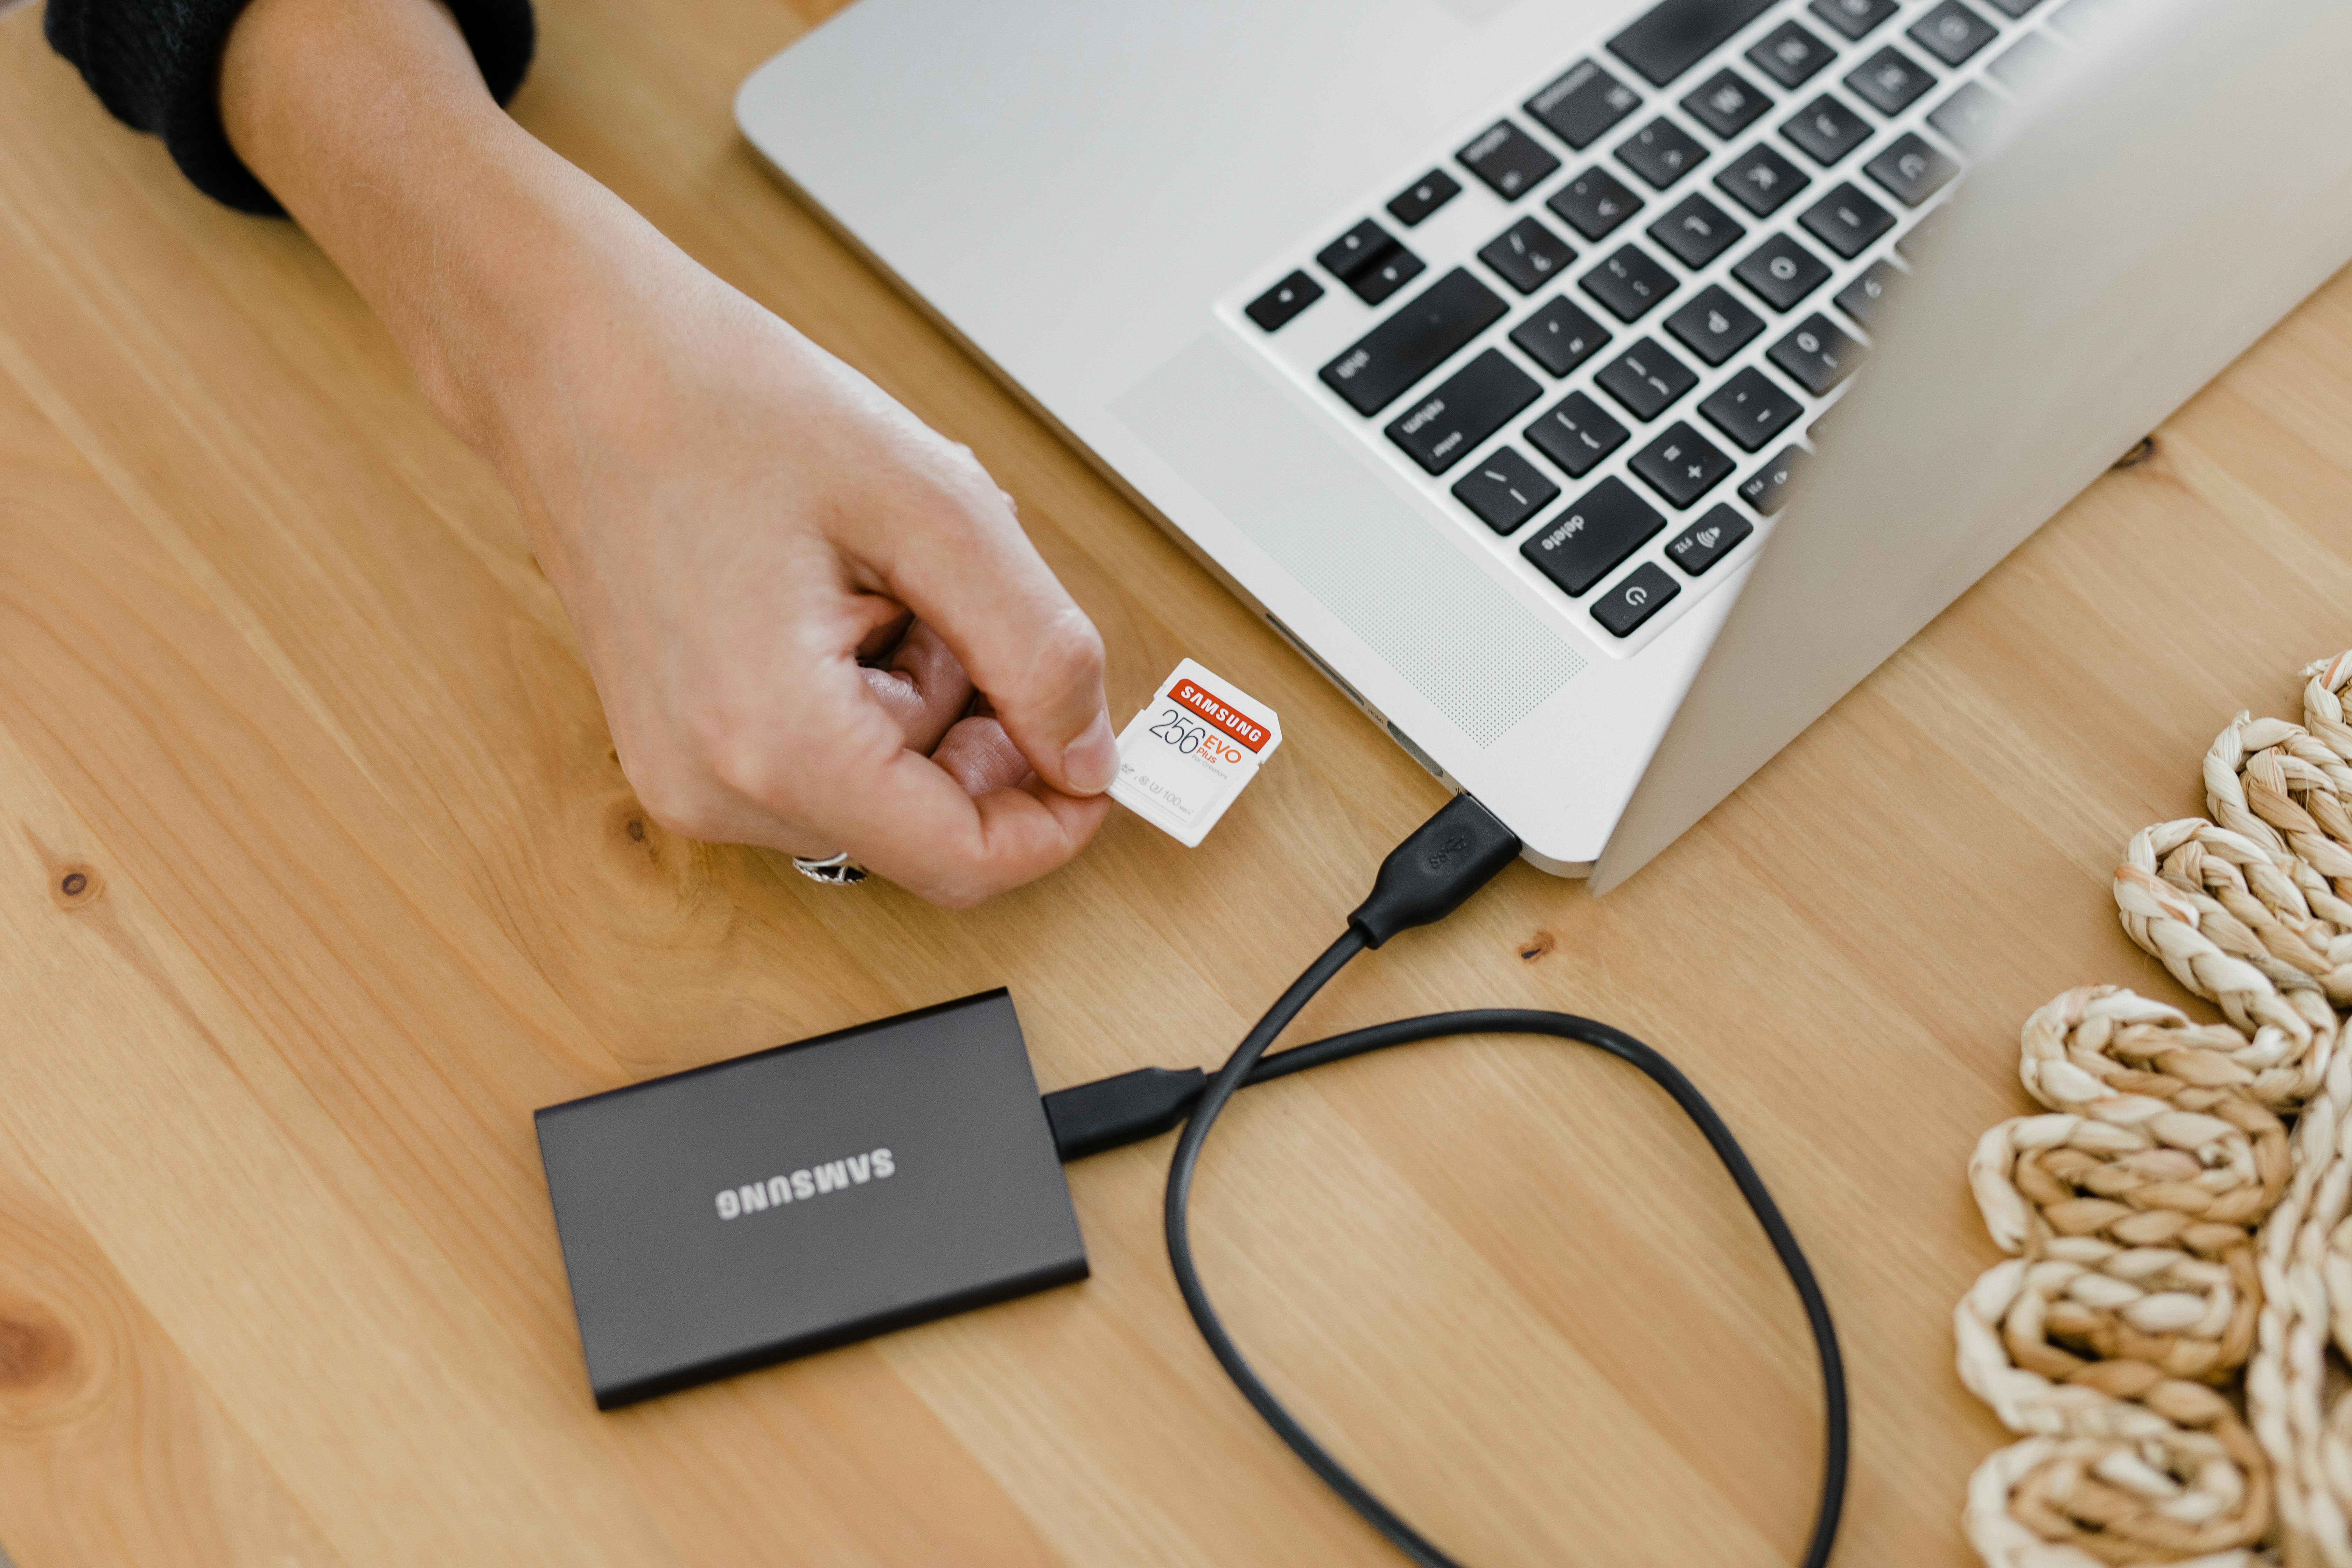
The Samsung T7 is the one most travelers end up with. It’s small, fast, and has a rubber sleeve. The SanDisk Extreme Portable is another good choice, slightly more rugged. If you’re on a budget or need a ton of storage—like over 4TB—a traditional HDD like the WD My Passport still works, but you’ll want to handle it carefully. Don’t drop it while it’s spinning, and don’t toss it in a bag that’s going to get kicked around.
For most trips between a week and two months, a 1TB or 2TB SSD is plenty. That’ll hold tens of thousands of RAW files or hours of 4K video. Travelers looking for a fast and reliable storage option might want to check out portable SSDs on Amazon to see what’s getting good feedback. The speed of an SSD means you’re not stuck waiting around for transfers after a long day.

Option B: Cloud Storage Solutions (The Offsite Safety Net)
Cloud storage is your backup plan, not your main workflow. It’s too slow and unreliable in most places to rely on it daily. But it fills the ‘one offsite copy’ slot in the 3-2-1 rule. If your bag and your drives get stolen, your cloud is still there.
Pick a service that fits your needs. Google Photos is easy but compresses files unless you pay. Amazon Photos works if you have Prime, though the interface is a bit clunky. Dropbox is straightforward and good for syncing. Backblaze is solid for backing up a laptop automatically. I’ve also used SmugMug for hosting and backup in one place.
The real challenge is connectivity. Trying to upload 50GB at a hostel with spotty Wi-Fi is a recipe for frustration. A better approach: use your phone as a hotspot, or find a café with fast internet. Start the upload before you turn in for the night. If it doesn’t finish, it’ll pick up where it left off. Cloud storage is a safety net—don’t treat it as your only backup.
Option C: Laptop or Tablet as a Transfer Hub
If you’re already carrying a laptop or tablet, you can make it the center of your backup setup. The workflow is the same: copy from SD card to the device, then copy to an external drive. The laptop acts as your temporary storage. A lot of travelers use this method because it lets them edit along the way.
The main catch is internal storage. If your laptop only has 128GB free and you’re shooting 40GB a day, you’ll run out quickly. You’ll need to offload to an external drive right away. An iPad can work too, but file management is trickier, and you’ll need a good SD card reader. For tablet users, a USB-C or Lightning SD card reader is essential for getting photos transferred. The advantage is you already own the device. If you have a capable laptop, don’t overthink it. Set up a basic folder structure and make transfers part of your nightly routine.
Comparison: Which Backup Method Is Best For You?
There’s no perfect answer. It depends on how much you shoot, how long you’re traveling, and what you’re willing to spend. Here’s a rough guide:
- Weekend trip, light shooting: Two 64GB or 128GB SD cards. Rotate them daily. No external drive needed.
- Two-week trip, moderate shooting (10-20GB/day): A single 500GB-1TB SSD. Copy from card to SSD at night. Upload to cloud when you can.
- Month-long trip, heavy shooting (40GB+/day): A 2TB or larger SSD plus a separate backup (cloud or second drive). You’ll want the full 3-2-1 workflow.
- If you have no laptop: Use a portable SSD with a card reader that connects to your phone or tablet. Some SSDs now have built-in card readers.
The best method is the one you’ll actually do every day. A complex system you skip because it’s a hassle is useless. A simple one you stick with is gold.
Three Common Backup Mistakes (And How to Avoid Them)
Mistake #1: Not Testing Your Gear Before You Leave
It’s easy to throw a new SSD in your bag assuming it’ll work. But I’ve seen drives fail out of the box. More often, the issue is a bad cable or a card reader that doesn’t work with your phone. The fix is simple: test your entire workflow at home. Copy a few dozen files from your camera to your SSD, then delete them from the card. Try opening those files on the SSD. If it works, you’re set. If not, you’ve got time to troubleshoot.
Mistake #2: Keeping All Your Backups in One Bag
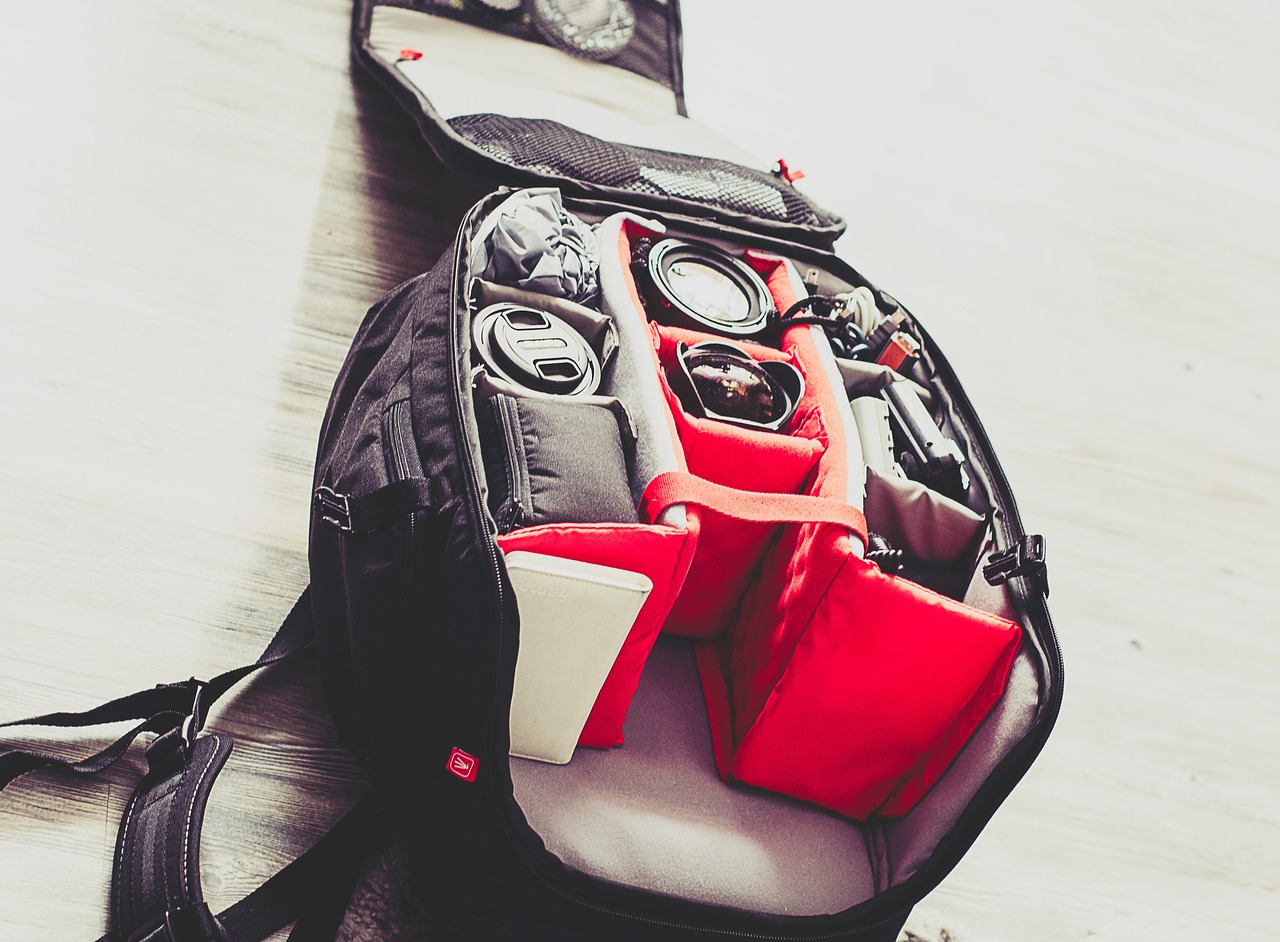
If your camera bag and your external drive are both in the same daypack and that bag gets stolen, you’re out of luck. The whole point of multiple copies is that they’re separate. Keep your primary gear on you. Store backup drives in your daypack and your laptop in your carry-on. In a hostel, don’t put all your electronics in the same compartment of your locked bag. Spread them out.
Mistake #3: Waiting Until the End of the Trip to Back Up
The biggest mistake. “I’ll just dump everything on a hard drive when I get home.” That’s not a backup strategy—that’s hoping nothing goes wrong. Your memory card could fail five days in. If you wait, you lose everything. Back up daily. It’s a ten-minute task at the end of the day. If you can’t spare that, you might want to rethink your approach.
Gear Recommendations: What to Pack
If you’re ready to build a system, here are the products I’d recommend as a starting point. Each has a specific role in a travel backup workflow.
- Samsung T7 Portable SSD (1TB or 2TB): The gold standard for travel. Rugged, fast, and reliable. Best for most trips.
- SanDisk Extreme Portable SSD: Similar to the T7 but with a more rugged design. Water and dust resistant.
- WD My Passport Portable Hard Drive: A good budget option for 4TB+ storage, but treat it gently.
- A USB-C or Lightning SD Card Reader: Essential if you plan to use your phone or tablet as a transfer device.
- A small cable organizer or case: Keeps your backup drive and cables safe and separate. Cheap but prevents a lot of frustration.

How to Handle Backup on a Digital Detox or Budget Trip
If you’re traveling without a laptop or reliable internet, the strategy gets simpler but still works. The best method is to use multiple SD cards. Start with at least four cards of decent size—64GB or 128GB each. Shoot until one is full, then swap to a new one. Do NOT delete anything from a full card until you’ve copied it to another drive or a friend’s computer.
If you have a smartphone, grab an OTG adapter (USB-C to SD or Lightning to SD). You can copy photos directly to your phone’s internal storage using a file manager app. It’s not a full backup since phone storage is also at risk, but it’s a second copy. The key is redundancy. Even on a tight budget, you can afford an extra SD card and a cheap OTG cable. It’s the difference between having a backup and not.
So, What’s the Realistic Minimum?
If you want a simple, practical workflow that works for most travelers, here it is:
- Carry two SD cards. Rotate them daily. When you shoot on Card A, Card B stays safely in your bag.
- At night, copy everything from Card A to a portable SSD (like the Samsung T7).
- When you have good Wi-Fi, start an upload to Google Drive or Dropbox.
- Do not delete anything from either SD card until you have verified the files on your SSD.
That’s it. No complex software. No server racks in a backpack. If you do this, you’re already way ahead of most travelers. Perfection isn’t the goal. Consistency is.
Wrapping It Up: Your Photos Deserve a System, Not Luck
Nobody wants to spend their vacation managing data. But a few minutes of daily habit can save you from the gut punch of losing everything. Your photos and videos are irreplaceable. The time you spend setting up a simple workflow isn’t overhead—it’s insurance. Start with one reliable piece of gear, like a portable SSD, and build from there. Your future self will thank you.