7 Best Mobile Photo Editing Apps for Travel (Compared)
Introduction
You’re on the trail, the light is perfect, and you’ve just captured a shot that feels like a postcard. But back at the hostel or campsite, the reality of mobile editing sets in. The wrong app can turn a five-minute job into a thirty-minute battery drain, with a clunky interface and slow exports that kill the post-adventure buzz.
This guide is for adventure travelers who need the best mobile photo editing apps for travel without the extra noise. I’ve used these apps in actual conditions—dusty deserts, rainy mountain passes—to see which ones handle RAW files, work offline, and don’t eat up your phone’s storage. This is a straightforward comparison to help you find what works for your style, your gear, and your patience.

What to Look for in a Travel Photo Editing App
Before you download anything, think about what actually matters when you’re far from reliable Wi-Fi. Here’s what I check before a trip:
- Offline capability: In remote areas with no signal, can the app still load and process your images? Some free apps need a network check for filters or updates.
- File size and speed: If an app takes ten seconds just to apply a basic adjustment, it’s not worth your time. You want something that loads fast and doesn’t lag when you’re flipping between shots.
- Battery usage: Editing is CPU-heavy. Some apps drain battery faster than others, especially with live previews. Look for ones with efficient rendering.
- RAW support: If you shoot in RAW (and you should if your phone allows it), the app needs to handle those large files without crashing or losing quality.
- Intuitive controls: You don’t want to hunt through menus after a long hike. The best apps keep key tools—exposure, contrast, white balance—easy to reach.
Keep these points in mind as you go through the options. Your budget and editing style will narrow it down.
Adobe Lightroom Mobile: The All-Rounder for Serious Edits
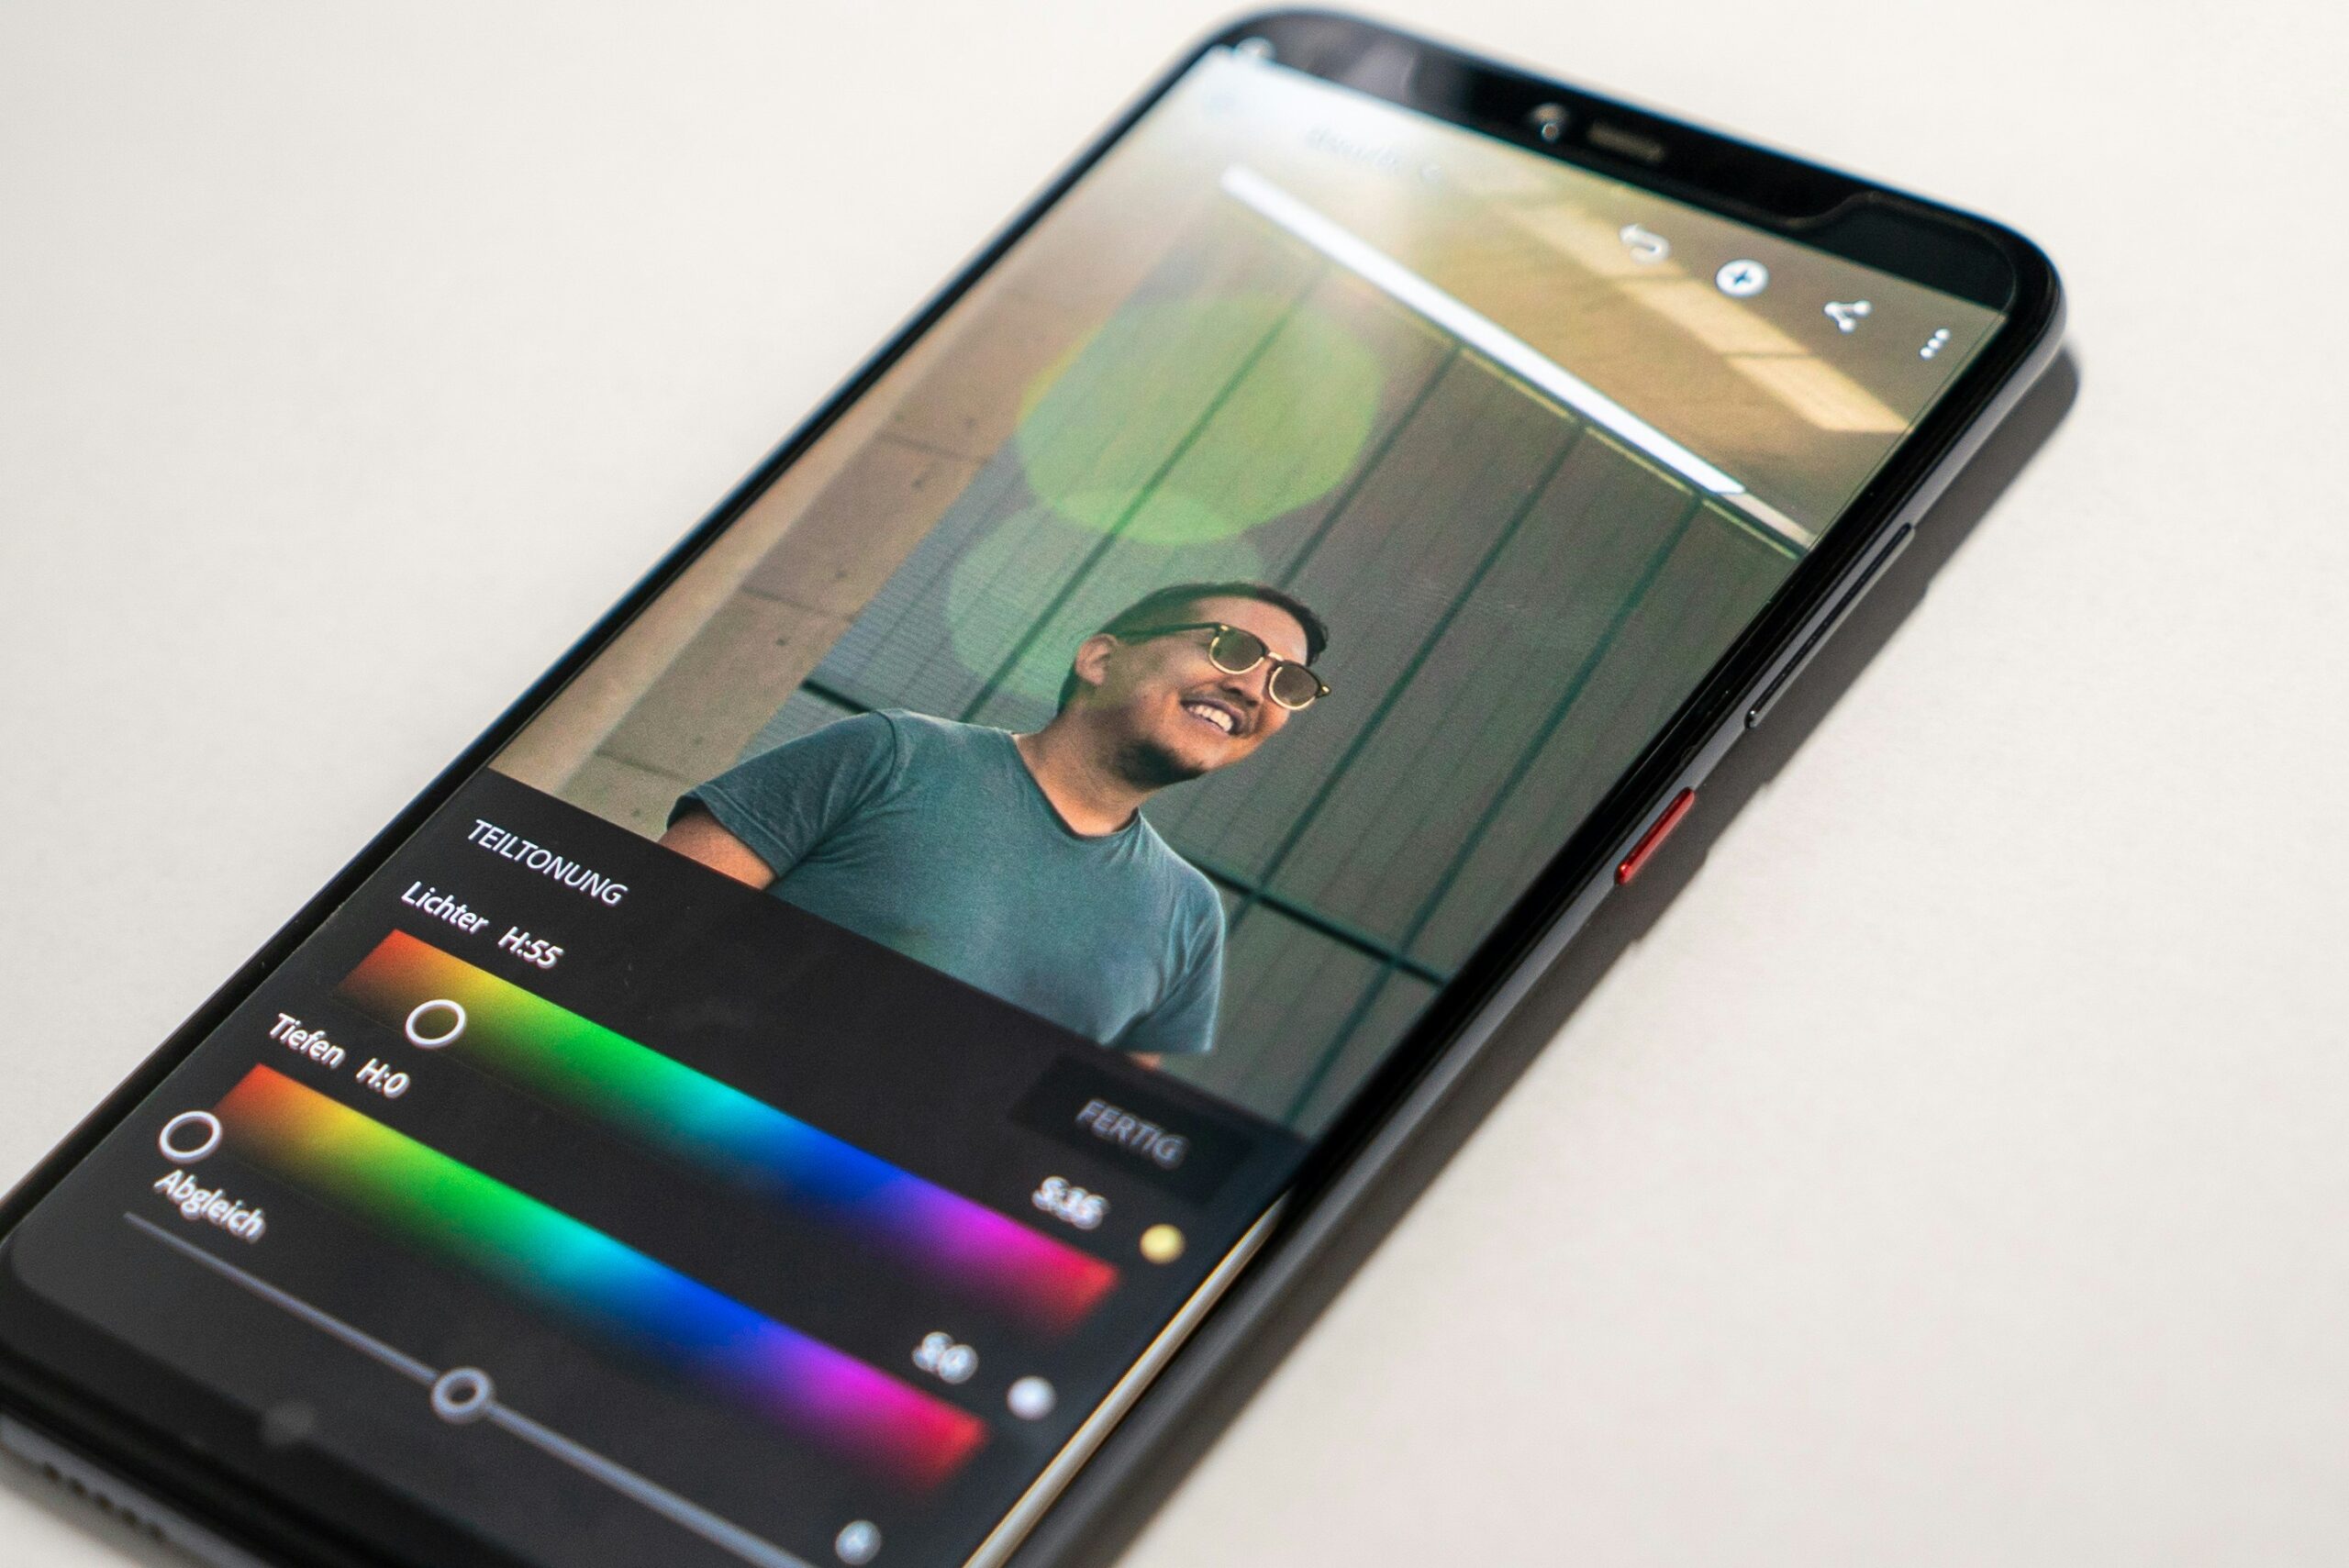
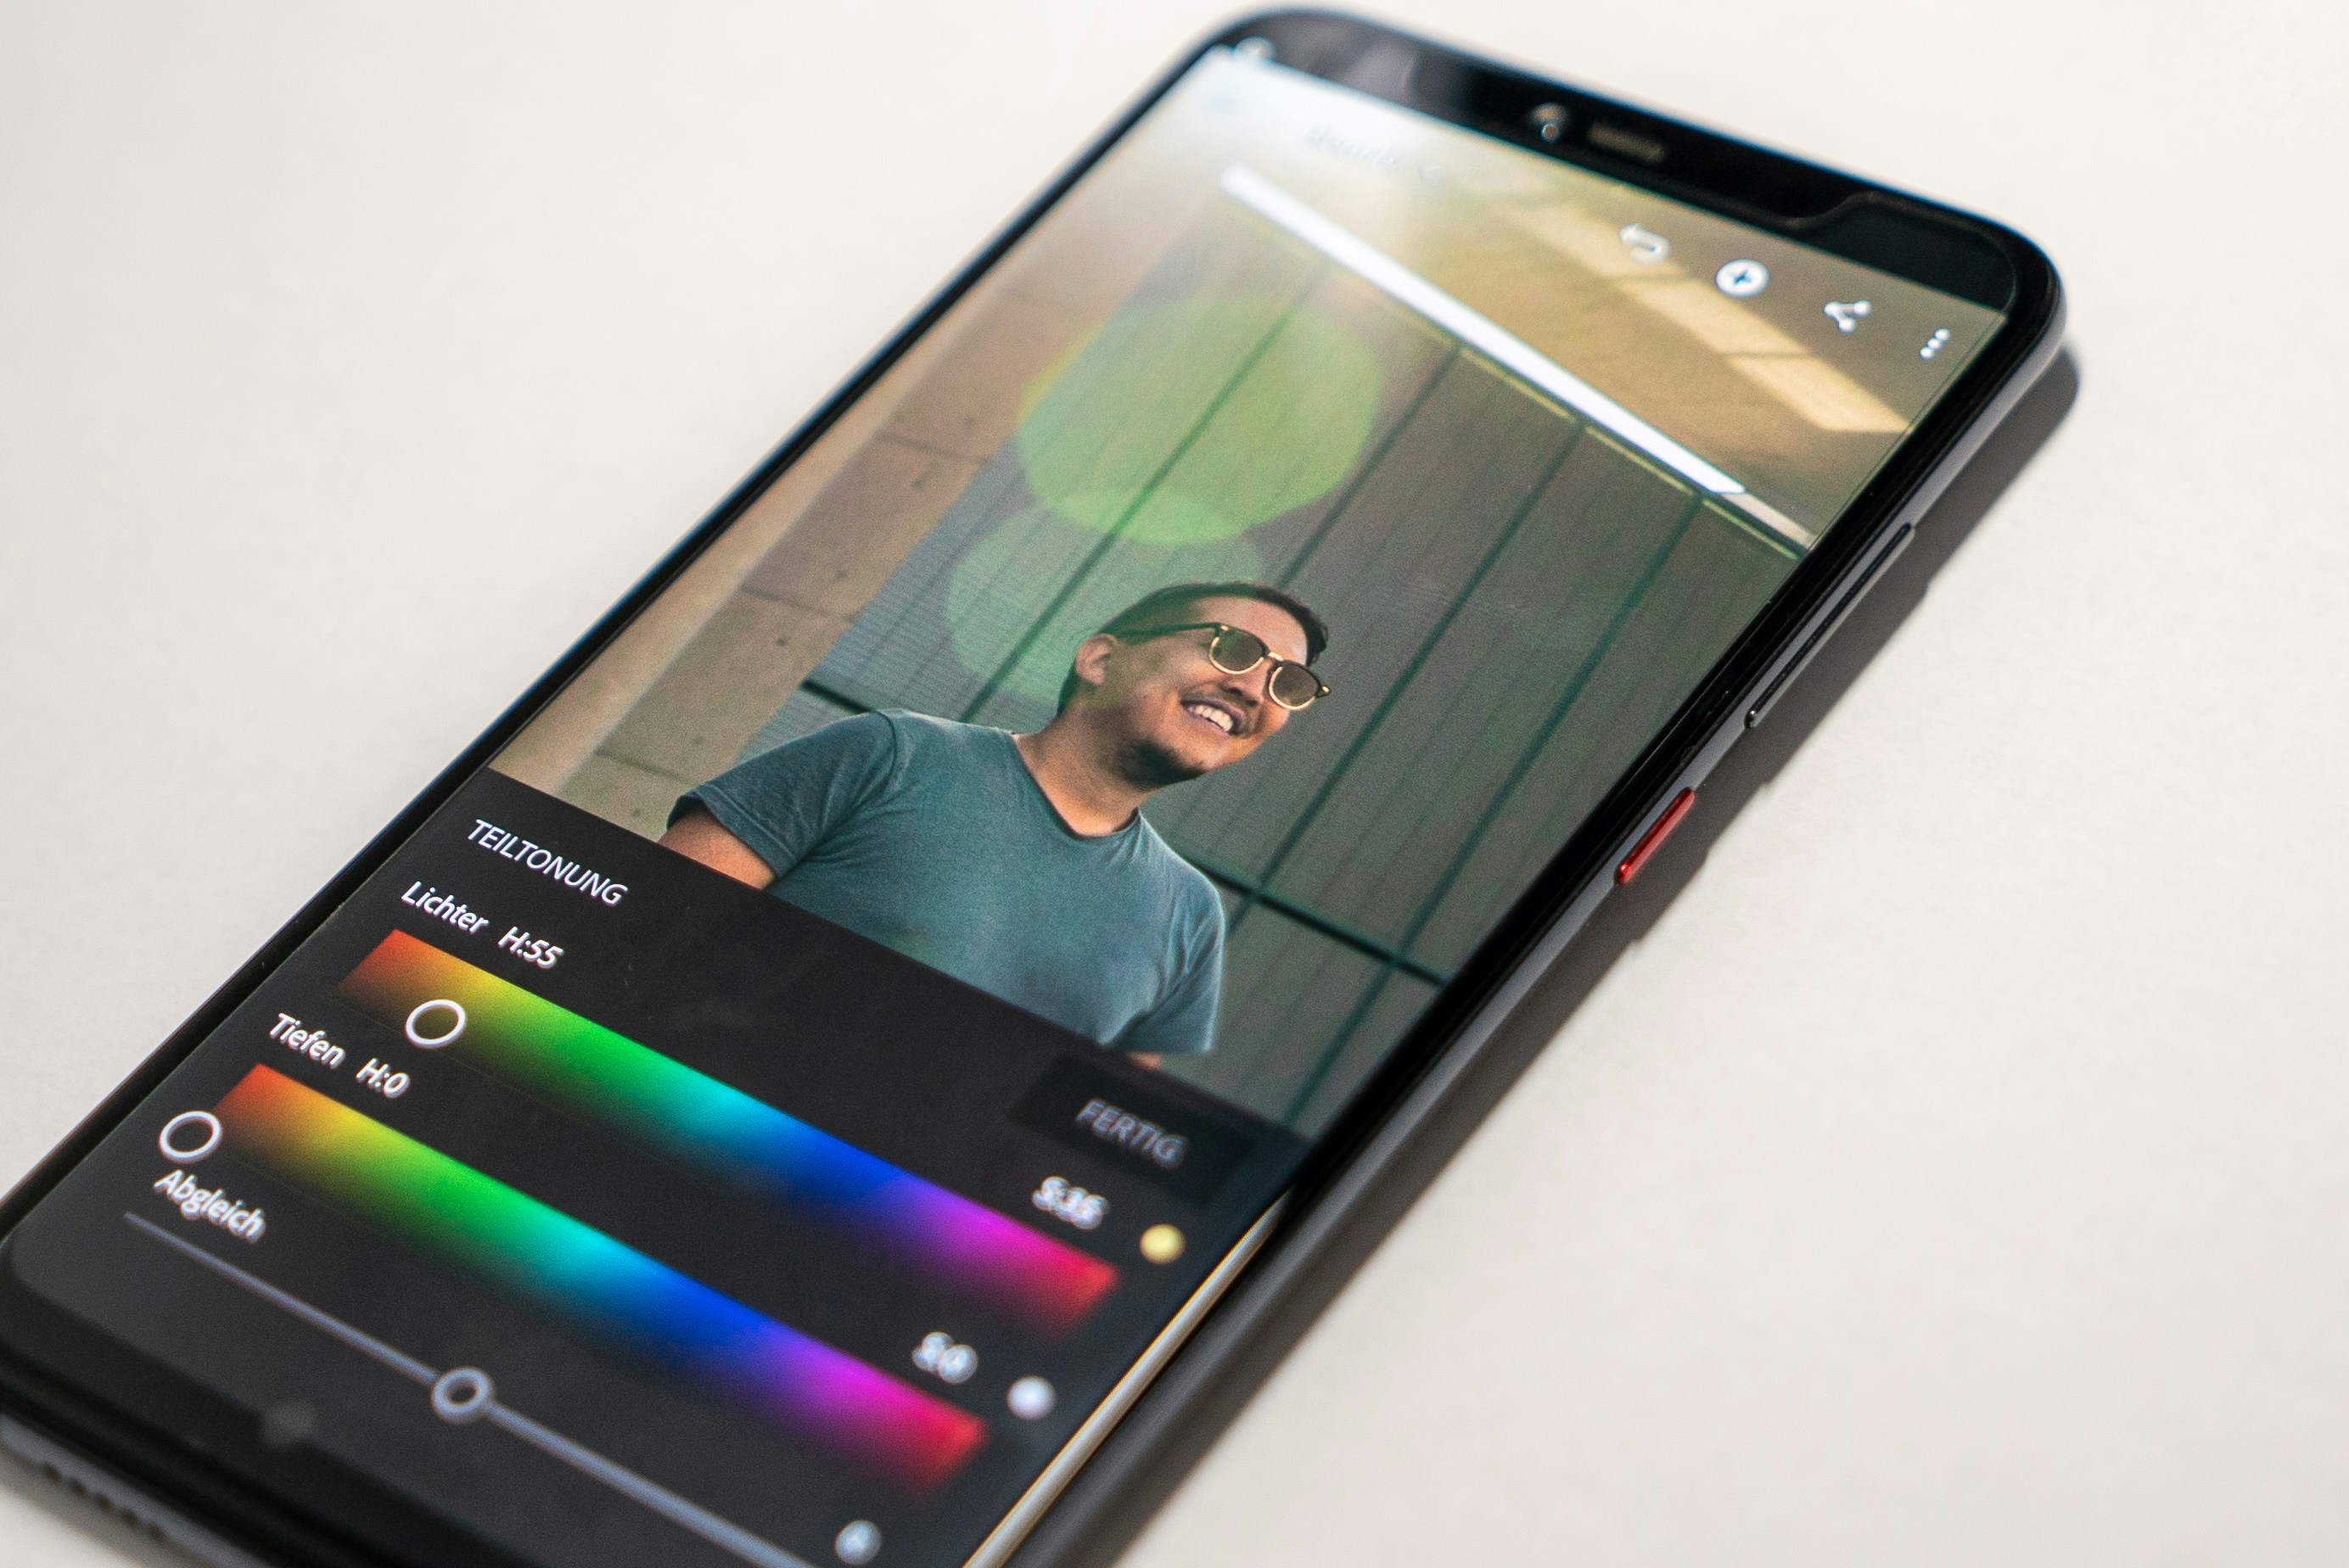
If you want a desktop-grade editing experience in your pocket, Lightroom Mobile is the benchmark. It fully supports RAW editing, which is handy when you’re trying to recover highlight detail in a midday shot or pull out shadow textures from a forest scene. The selective adjustments tool lets you brighten a rock face without washing out the sky—something you don’t see in many mobile apps.
Where it works for adventure travel: The color grading module is solid for landscapes. You can dial in warm tones for golden hour or cool things down for moody overcast shots. The preset library is extensive. I grab a few presets before leaving home and apply them offline to keep a consistent look across a trip. The catch is that premium features (and most presets) require an Adobe Creative Cloud subscription. On an older phone, the app can feel slow when you’re processing batch edits, so it’s best for your top 10-15 photos per day rather than every single shot.
If you’re serious about consistency and don’t mind a subscription, this is your app. Pair it with a lightweight preset pack for faster workflows.
Snapseed: The Best Free Option for Quick Edits
Snapseed is the Swiss Army knife of mobile editing. It’s completely free, has no ads, and loads faster than most paid apps. Its selective adjust tool is good for localized corrections—brightening a face or darkening an overexposed patch of snow without affecting the rest of the image. The healing brush is simple but works fine for removing sensor dust or a stray branch from the frame.
Why it works for travel: You can apply stacked adjustments without losing quality, and everything happens locally on your device. No sign-up, no cloud sync, no slow logins. The tradeoff is no RAW editing, so you’re working with JPEGs or HEICs, which means less flexibility with shadows and highlights. The interface is also a bit dated—navigation relies on swiping and tapping, which can feel clunky at first.
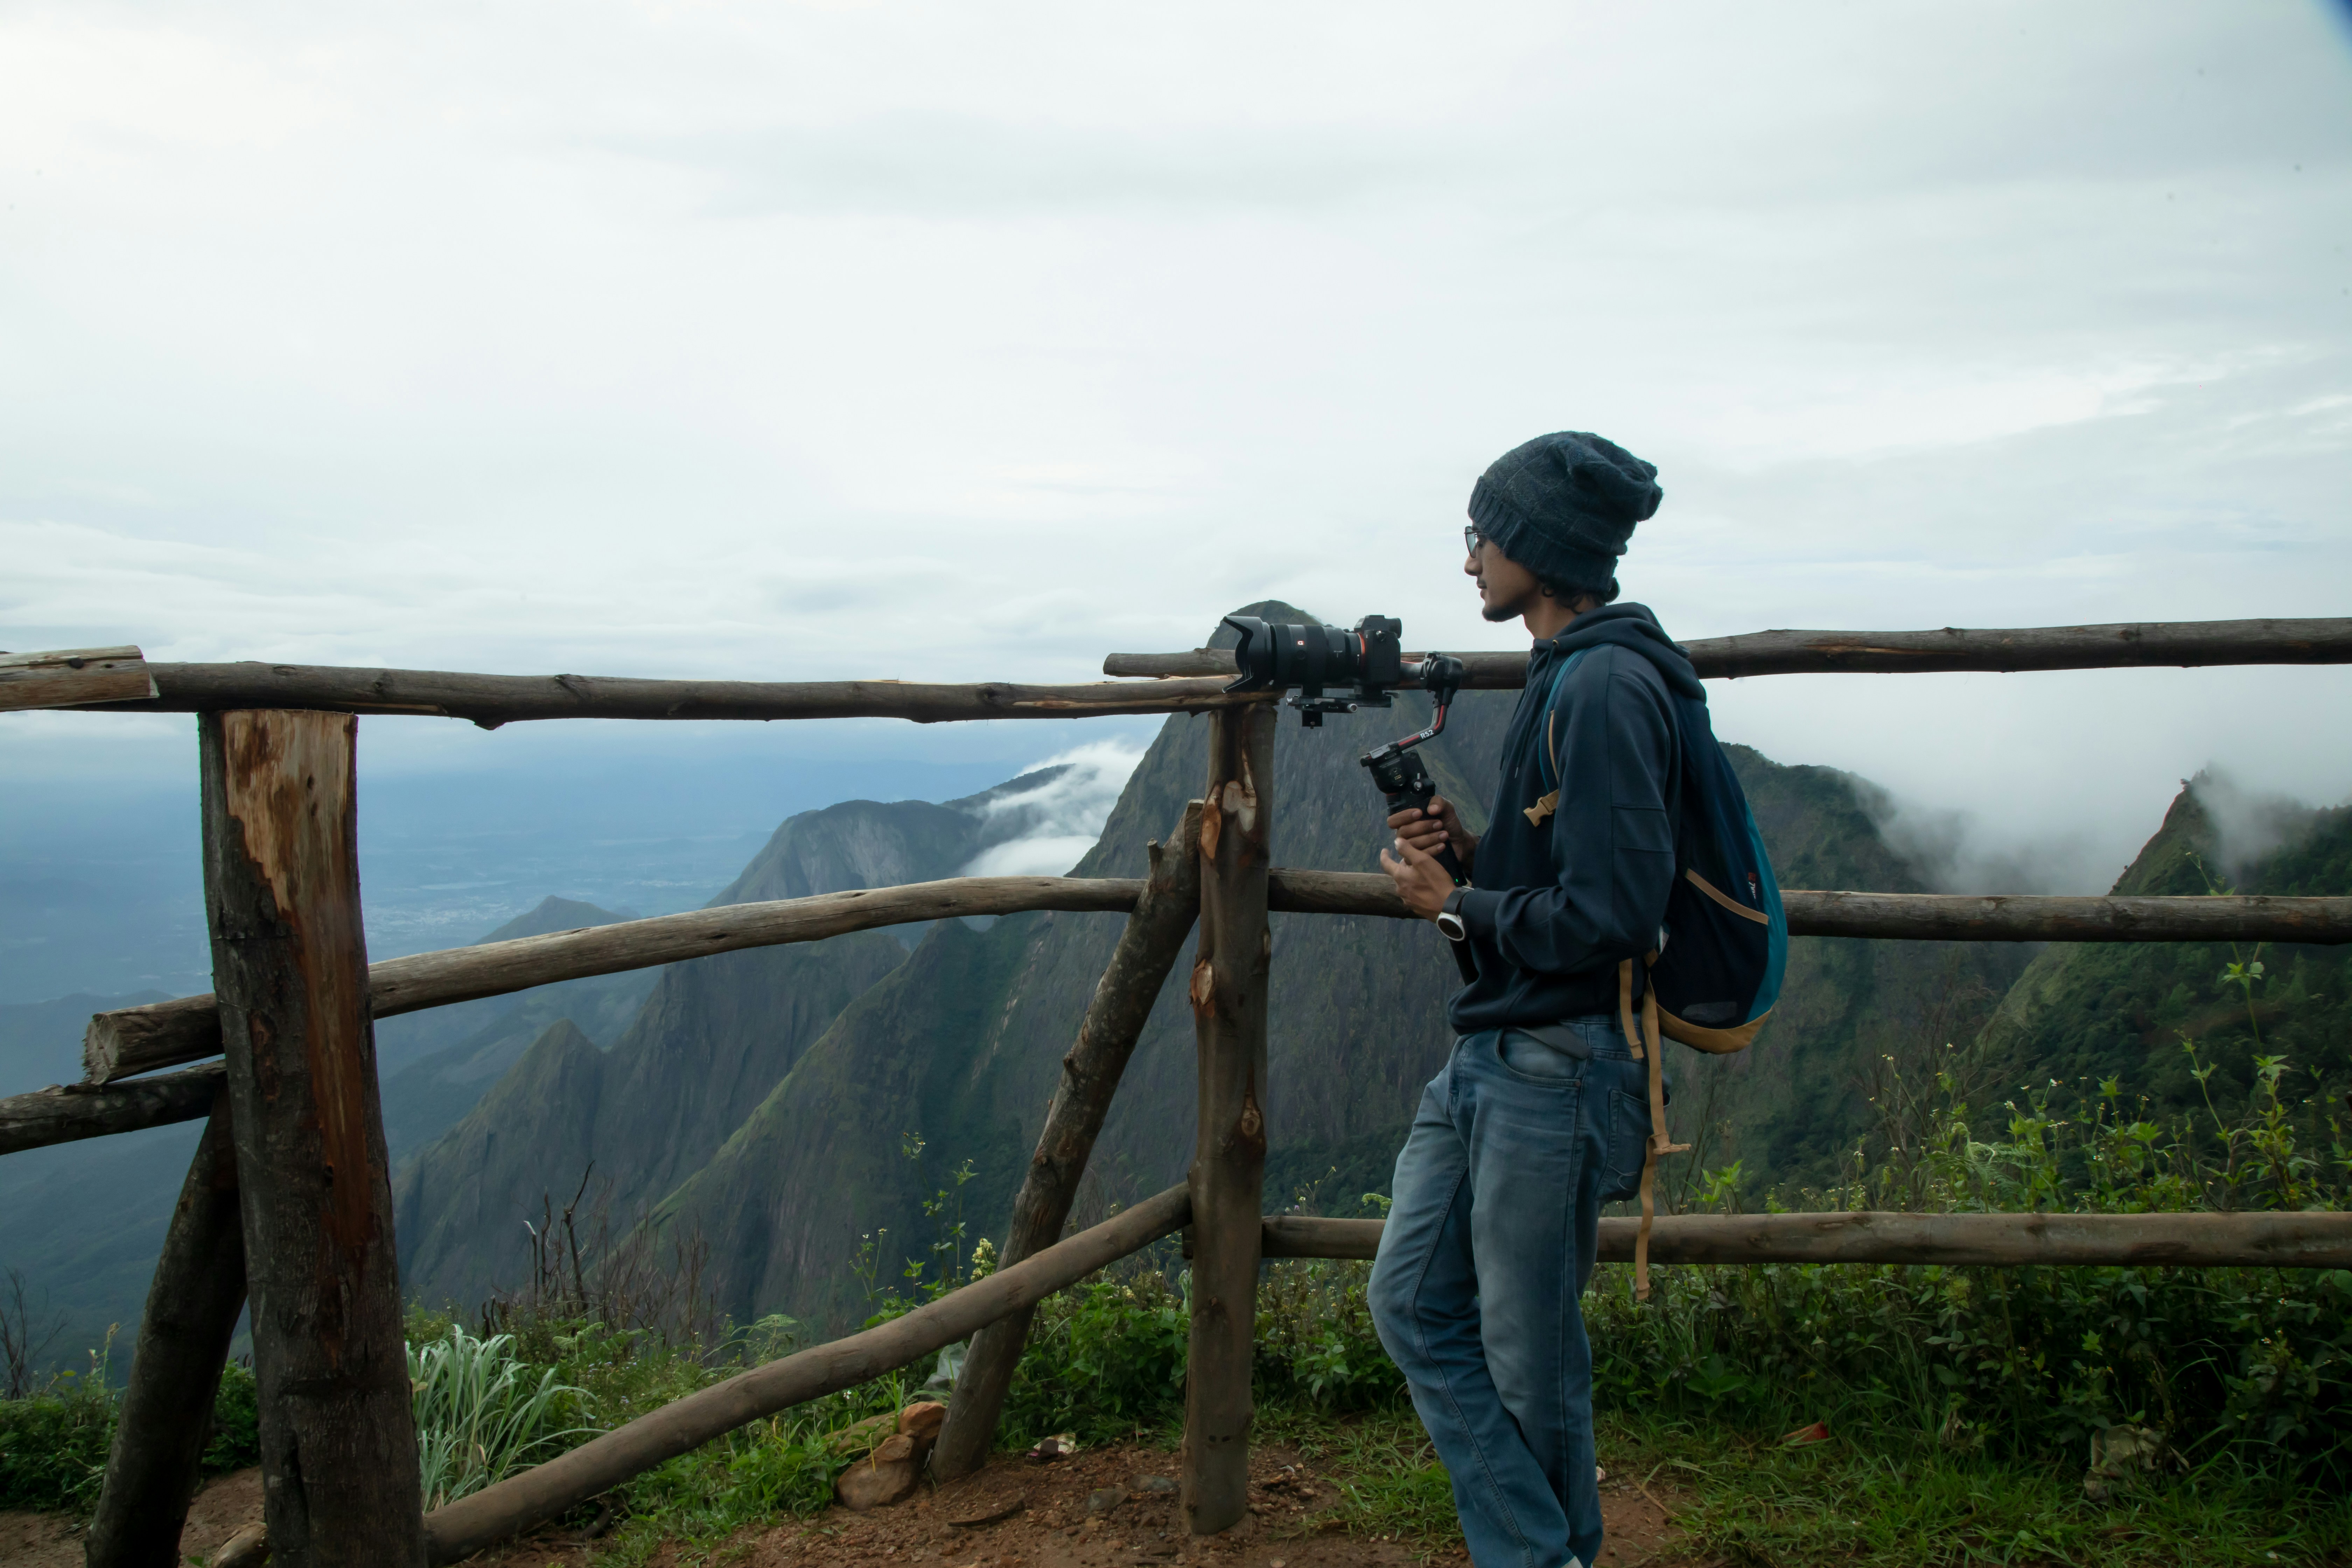
For budget-conscious travelers who just want clean, fast corrections, Snapseed is the best free option. A smartphone tripod will help you get sharper shots to work with, making the editing process even smoother.

VSCO: Best for Consistent Film-Like Presets
VSCO built its reputation on film-inspired presets that add grain, fade, and subtle color shifts. If you want a cohesive aesthetic across your travel feed without spending hours tweaking each photo, VSCO’s preset library is an easy way to get there. Its interface is minimal, so you can apply a look and move on.
When to use it: Street photography and portraits look good with VSCO’s film tones. For landscapes, it can feel a bit limiting because the editing tools lack depth—no selective adjustments, no curves, no masking. For complex nature shots, you’ll need to combine it with another app or stick to presets that work well with your lighting. The free version offers a handful of presets; the full library requires a subscription.
A VSCO membership is worth it if you plan to post regularly. Otherwise, it’s a fun tool for quick mood boosts. A travel photography course can help you pre-visualize shots for these presets before you press the shutter. For more control over lighting in the field, a portable LED light panel can help create the right mood even in low light.
Darkroom: The Underdog for Video and Photo Workflows
Darkroom is an iOS-only app that does something most editing apps don’t: it handles video and photo editing in one unified interface. If you’re a traveler who captures both stills and clips, this app lets you grade them together with the same color tools. Batch editing is particularly strong here—you can apply a look to an entire day’s shoot in seconds.
Real-world use: After a long hiking day, you can quickly cull photos, apply a basic grade to all of them, and export in the background while you’re uploading video clips. The interface feels modern and responsive, even with large files. The main downside is it’s locked to Apple devices, so Android users are out of luck. The color grading tools are powerful but not quite as deep as Lightroom’s for RAW editing.
A portable external SSD is a smart companion here—edit directly from the drive at a cafe and then back up everything before heading out the next morning.
Best Photo Editing Apps for Travel: Quick Comparison Table
Here’s a scannable comparison to help you decide:
| App Name | Price | Best For | Key Feature | Supported Formats | Offline Use |
|---|---|---|---|---|---|
| Lightroom Mobile | Free with subscription | Serious editing, RAW | Selective adjustments, presets | RAW, JPEG, HEIC | Yes (with presets) |
| Snapseed | Free | Quick corrections | Selective adjust, healing brush | JPEG, HEIC | Full |
| VSCO | Free with subscription | Film-like presets, social media | Preset library, community | JPEG, HEIC | Limited |
| Darkroom | Free with subscription | Photo + video workflows | Batch editing, color grading | RAW, JPEG, HEIC, video | Full |
| Afterlight | Paid (one-time) | Quick filters and textures | Light leak and dust overlays | JPEG, HEIC | Full |
Common Mistakes When Editing Travel Photos on Mobile
Even with the right app, it’s easy to make mistakes that ruin a good shot. Here are the ones I see most often and how to avoid them:
- Over-editing: Pushing saturation, clarity, and sharpening too far makes photos look artificial. Rule of thumb: dial in 70% of what feels right, then pull back another 10%.
- Using too many presets: Applying a preset to every photo without adjusting exposure first gives an inconsistent look. Always fix the basics before adding a preset.
- Ignoring white balance: Shots taken in mixed lighting (e.g., sunset + shade) often have a blue or green cast. Correcting white balance is one of the fastest ways to improve an image.
- Editing in poor lighting: Your phone screen’s brightness and color accuracy shift in direct sunlight or dim rooms. Edit in a neutral environment or at least calibrate your screen’s brightness to match normal viewing conditions.
- Not backing up originals: Many apps save edits destructively unless you save a copy. Always export a backup before applying heavy edits.
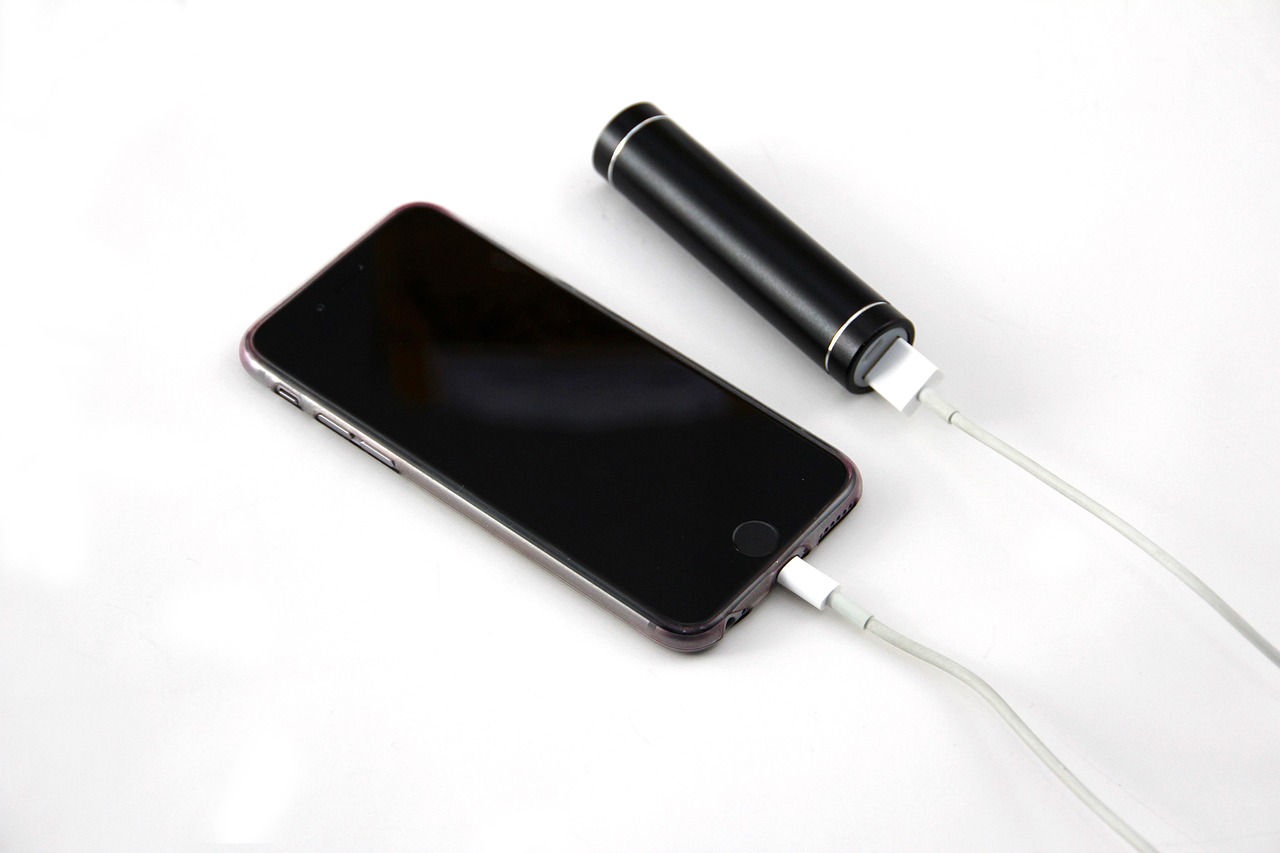
A screen calibrator for your laptop helps if you do final editing at home. For on-the-go, a portable battery pack ensures you don’t run out of power mid-edit.

How to Build a Minimalist Mobile Editing Workflow
Speed matters when you’re traveling. Here’s a workflow that takes about 20 minutes for a day’s worth of photos:
- Import and cull: Use your phone’s gallery to delete blurry or duplicate shots. Be ruthless—keep only the best 10-15%.
- Apply base edits: Open your main app (I usually use Lightroom) and correct exposure, contrast, and white balance on your selected images.
- Add a preset or custom look: If you want consistency, apply the same preset to all photos. Adjust the strength per image if needed.
- Fine-tune: Use selective adjustments or healing tools for any distractions.
- Export and back up: Export at full resolution to your camera roll and back up to cloud storage or an external drive.
The tradeoff with presets is speed vs. individuality. If you want each photo to stand alone, skip the preset and edit manually. But for a consistent feed or quick sharing, presets are a lifesaver. A high-speed SD card and a lightning-to-USB adapter let you transfer files from a camera to your phone quickly, keeping your workflow smooth.
Which Editing App Should You Choose? A Decision Guide
Here’s a quick breakdown based on traveler type:
- The minimalist: Snapseed. It’s free, fast, and covers 90% of your needs without subscriptions.
- The enthusiast: Lightroom Mobile. The RAW support and advanced tools justify the subscription if you’re serious about your images.
- The social-media-focused: VSCO. Film presets create a cohesive feed faster than manual editing.
- The budget traveler: Snapseed or Afterlight. Both are affordable (or free) and provide solid results without a monthly fee.
For most adventure travelers, I recommend starting with Snapseed. If you find yourself hitting its limits, upgrade to Lightroom Mobile. If you shoot video and photos equally, Darkroom is the clear winner for iOS users.
To take your mobile photography further, consider a smartphone lens kit for wider or closer shots, and a large portable battery to keep your phone charged through long editing sessions.
Final Thoughts on Mobile Photo Editing for Travel
The best photo editing app is the one you’ll actually use consistently on the road. Don’t overthink it—download a free app like Snapseed, take ten minutes to learn its core tools, and get back to enjoying your trip. You can always upgrade later if your needs change.
My recommendation: try Snapseed on your next day hike. Edit one photo you love and see how it feels. That single test will tell you more than any review can. Choose your app, pack your gear, and focus on capturing the moments that matter.
How to Edit Adventure Photos on the Go: A Mobile Editing Guide
Adventure Smartphone Photography Tips: The Ultimate Guide for Travelers
Adventure Travel Video Tips Guide: Shoot Like a Pro on the Go