Adventure Travel Video Tips Guide: Shoot Like a Pro on the Go
Tips for Better Adventure Travel Videos
 camera, go pro, people, hand, mount, nature, record, video, clouds, go pro, go pro, go pro, go pro, go pro” width=”1200″ height=”800″ loading=”lazy” />
You want better adventure videos, not cinematic masterpieces. Footage that captures the feeling of the climb, the flow of a trail, or the energy of a new city without spending weeks editing or carrying a studio. This adventure travel video tips guide is built for that. It covers practical gear decisions, camera settings that matter for movement, and workflow choices that save time and frustration. No fluff. No gear snobbery. Just what works when you’re sweating, moving, and dealing with real-world conditions.
I’ve been shooting adventure travel content for years. The difference between usable footage and a frustrating mess almost always comes down to a handful of choices made before you leave. The camera matters less than you think. The mount matters more. Audio kills more videos than bad exposure. This guide walks through each one with a focus on tradeoffs, budgets, and what to do when you’re on a ridge at sunset with ten minutes of good light.

The Gear That Actually Matters for Adventure Video
The gear list for adventure video is shorter than most beginners think. You don’t need a cinema camera. You need reliable tools that handle movement, weather, and packing compromises.
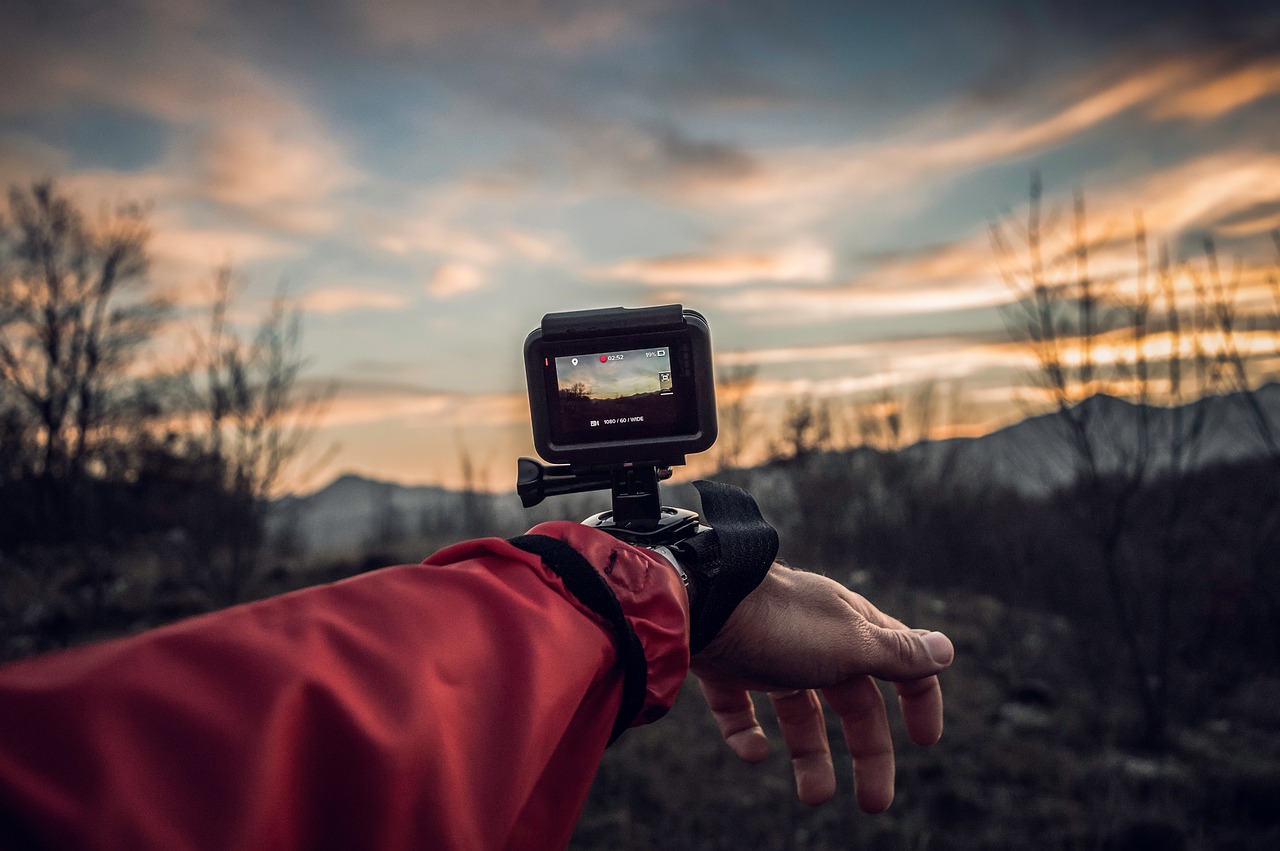
- Action camera (GoPro Hero 12 or similar): Your primary tool. Small, durable, with solid stabilization. The tradeoff is low-light performance, but for daytime adventure, it’s hard to beat. The Hero 12 has good dynamic range and a wide lens that makes most shots look instantly immersive.
- Compact gimbal (DJI Osmo Mobile or Zhiyun Smooth): If you’re using a phone as your main camera, a gimbal is the single biggest upgrade you can make. It eliminates the shake that ruins walking shots. The tradeoff is carry weight and setup time. For phone users, it’s worth the space. For action camera users, in-body stabilization is often enough. Travelers who rely on their phone for video may want to look at compact phone gimbals as a way to smooth out walking footage without needing a separate action camera.
- Small tripod (Joby GorillaPod or ultra-light travel tripod): Useful for time-lapses, group shots, and stable interviews. The GorillaPod wraps around rocks and branches, which is surprisingly useful when you don’t have a flat surface. The tradeoff is stability in wind. For most adventure scenarios, a lightweight model works fine.
- External microphone (Rode VideoMicro or DJI Mic 2): Onboard camera microphones pick up wind noise, handling noise, and environmental rumble. A directional mic like the VideoMicro cuts that down significantly. For interviews, a wireless lavalier system is better. The tradeoff is bulk; you have to decide if audio quality is worth the extra pocket space.
- Extra batteries and memory cards: Sounds obvious, but it’s the most common failure point. Cold weather drains batteries fast—GoPro batteries especially. Carry at least three per day of shooting if you’re in alpine conditions. Memory cards fill up faster than you expect; bring 64GB per day of active shooting.
The key takeaway: prioritize the gimbal for phone users, the microphone for anyone capturing speech, and extra batteries for cold environments. Everything else is optional and situational.
Camera Settings You Should Know Before You Go
Camera settings matter more for adventure video than studio work because you can’t stop to change them. You’re moving, the light is changing, and you need a setup that handles most scenarios.
- Frame rate: Shoot at 24fps for normal motion (cinematic look, standard playback). Shoot at 60fps or 120fps for slow-motion clips. The key is to decide before you start; changing frame rate mid-shoot creates inconsistent footage in the edit. For adventure, I usually shoot b-roll at 60fps and main shots at 24fps. That gives me slow-motion options for action moments.
- Shutter speed rule: Double your frame rate for shutter speed. At 24fps, use 1/48 or 1/50. At 60fps, use 1/120. This creates natural motion blur that looks smooth instead of stuttering. In bright light, you may need a neutral density filter to avoid overexposure. Without one, your footage will look choppy and digital. For those shooting in sunny conditions, a neutral density filter for action cameras can be a simple way to maintain proper shutter speed without blowing out highlights.
- ISO limits: Keep ISO as low as possible. For action cameras, ISO 100-200 is ideal. For mirrorless cameras, ISO 400-800 is acceptable before noise becomes visible. In low light, accept some noise rather than underexposing; you can fix minor noise in post, but you can’t fix darkness.
- Two reliable presets:
- Hiking/Walking: 24fps, 1/50 shutter, ISO auto (capped at 800), wide lens, auto white balance. Good for steady walking shots and scenic pans.
- Action/Climbing: 60fps, 1/120 shutter, ISO auto (capped at 1600), stabilization on, medium lens. Good for movement-heavy clips where you might slow it down later.
The mistake most beginners make is shooting everything at 30fps because it’s the default. Change it. Pick a primary frame rate and stick with it. Your edit will be easier and your footage will look intentional rather than accidental.
Stabilization: Why Your Footage Looks Shaky and How to Fix It
Shaky footage is the number one reason adventure videos get abandoned. The viewer gets motion sick. The editor gets frustrated. It’s also the easiest problem to fix with the right approach.
- Optical stabilization (in-camera): Built into most action cameras and some phones. It works well for steady walking and gentle movement. It struggles with running, climbing, or bumpy terrain. Best for: static shots, slow walking, tripod use.
- Digital stabilization (software): Action cameras like GoPro and DJI Osmo Action have excellent digital stabilization. It crops the frame slightly but smooths out most shake. Best for: hiking, biking, running. The tradeoff is a narrower field of view and potential warping in fast pans.
- Gimbal (physical stabilization): The best solution for walking shots. A gimbal holds the camera steady independent of your body movement. Best for: vlogging, walking tours, smooth pans. The tradeoff is weight, setup time, and battery management.
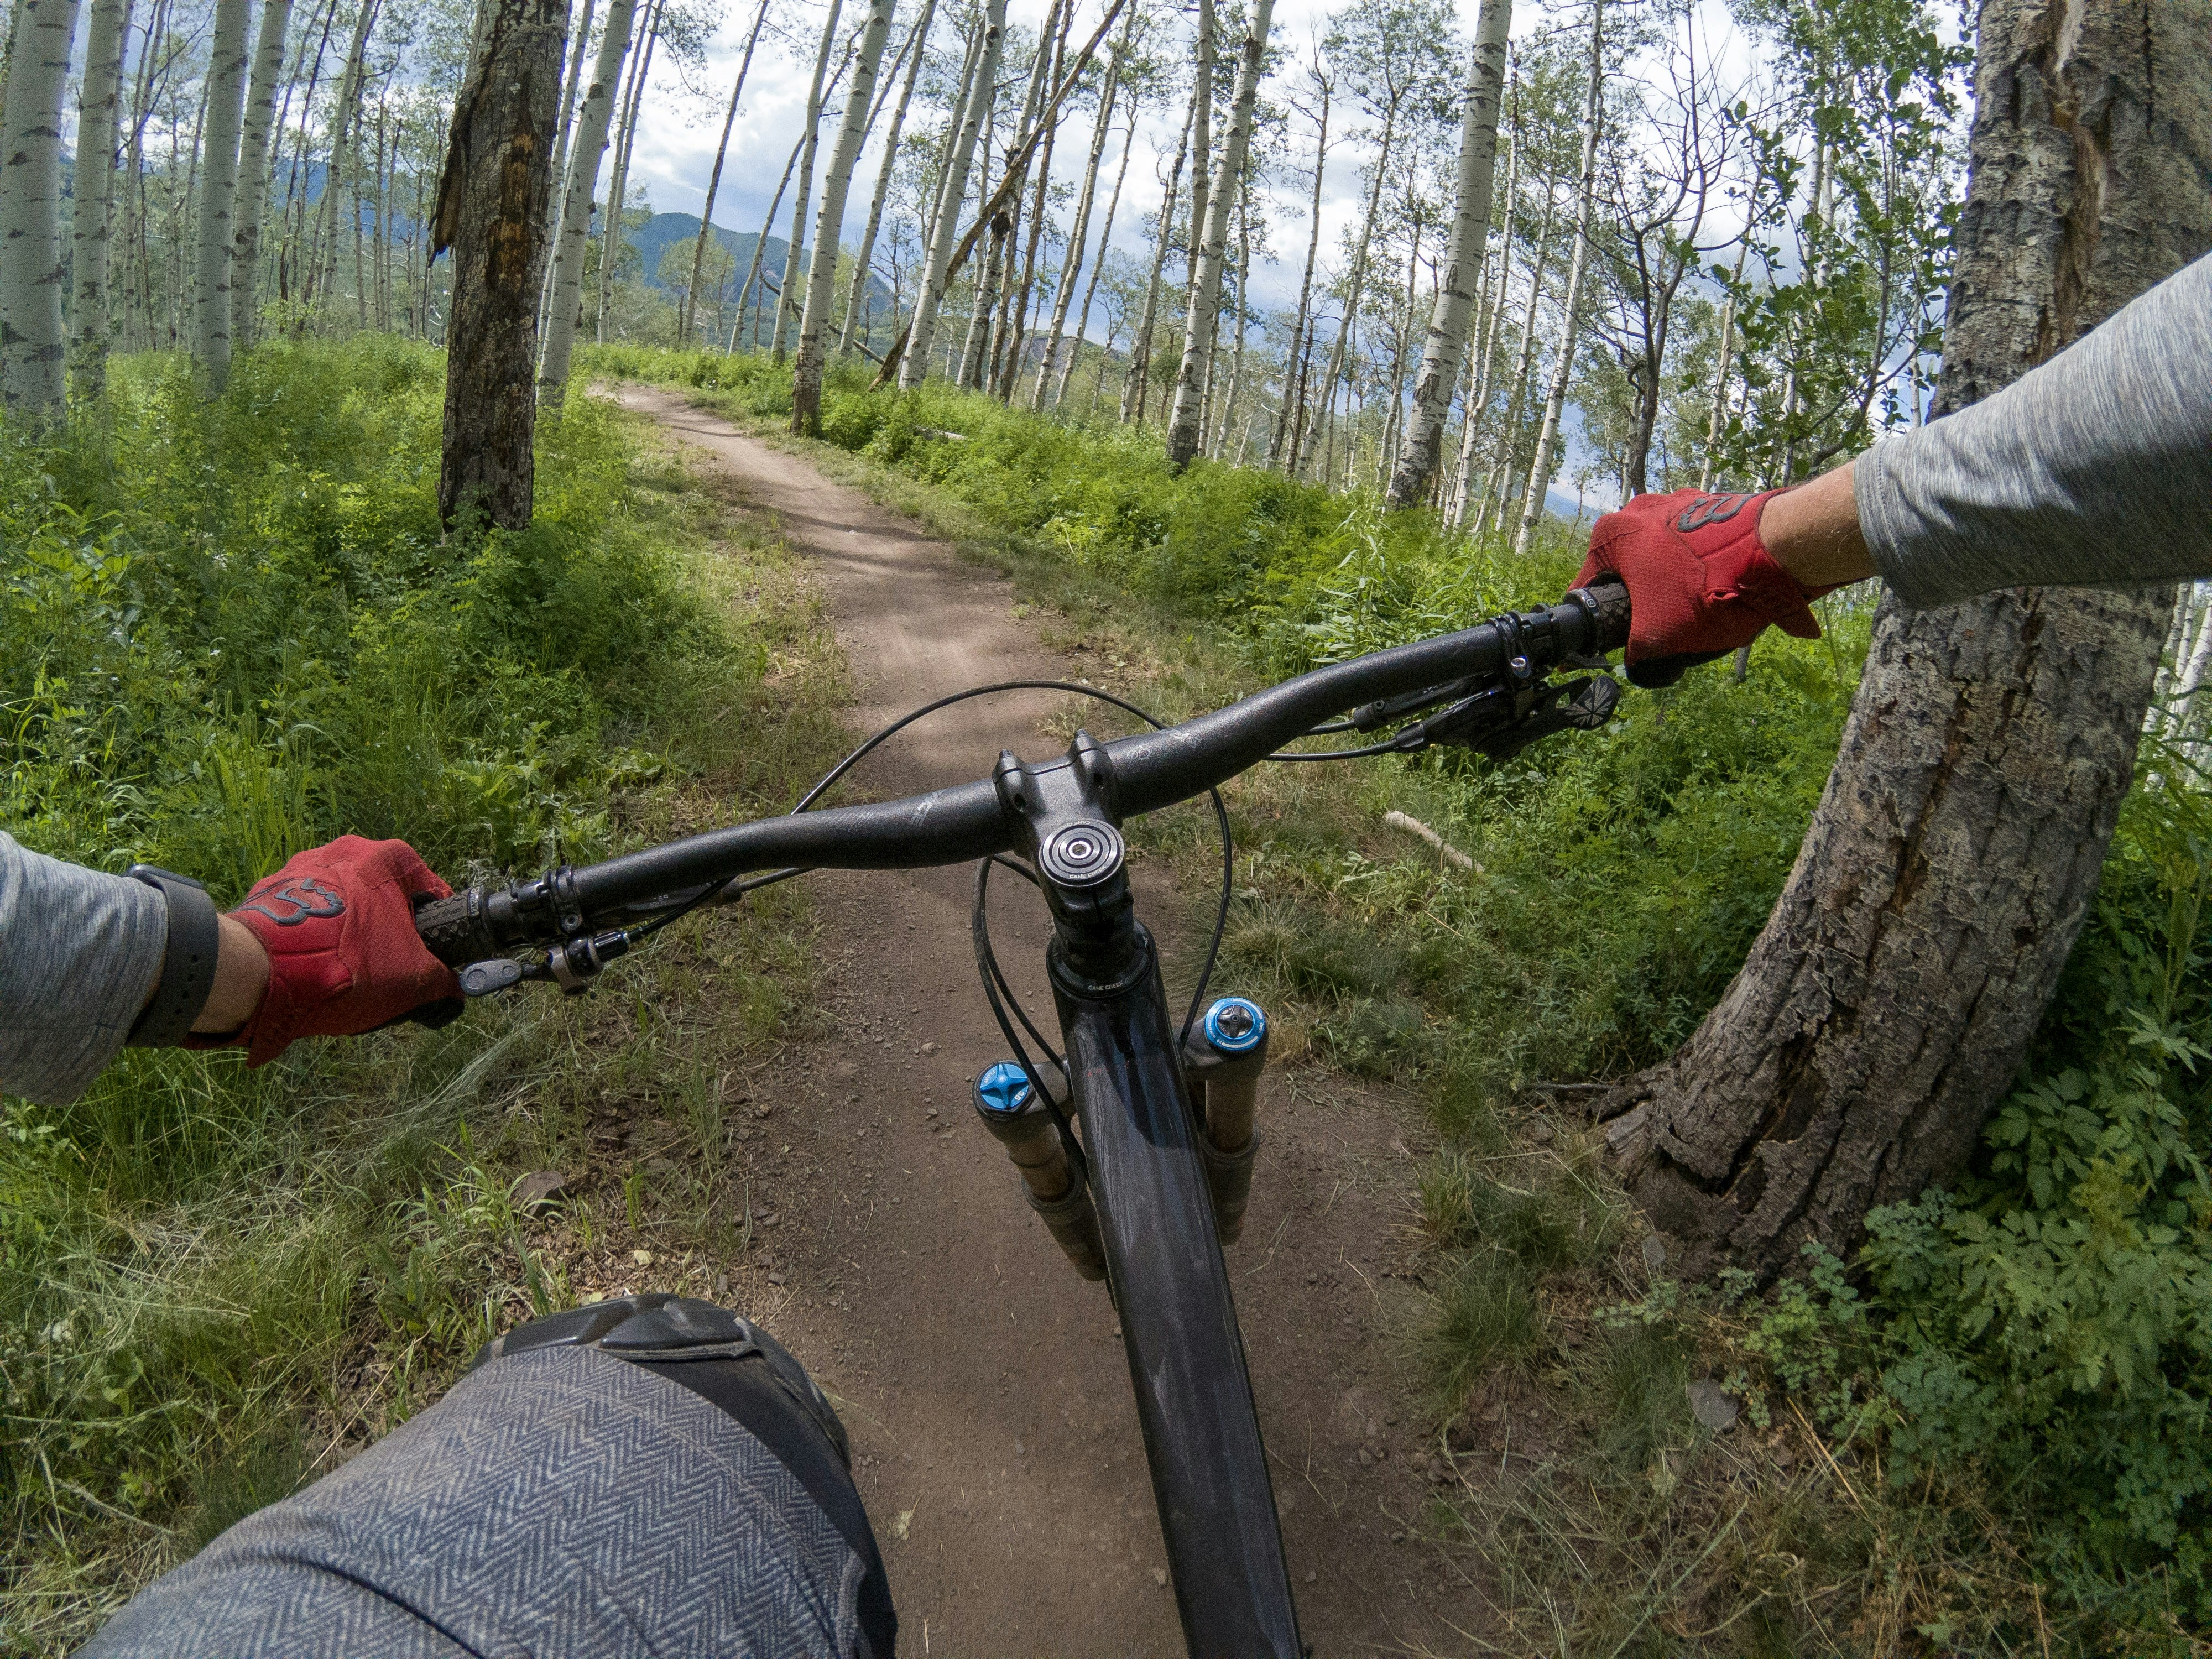
Best for guidance: If you’re climbing or scrambling, use in-camera stabilization and a chest mount. You need free hands. If you’re walking or hiking, use a gimbal. If you’re biking, use a helmet mount with digital stabilization. The difference between a steady shot and a shaky one is often just matching the stabilization type to the activity.
Also, walk like a ninja. Bend your knees. Roll your feet heel-to-toe. Keep your core engaged. No amount of stabilization can fix a stomping gait. Practice walking smoothly for ten minutes and you’ll see a measurable difference in your footage.

How to Shoot Action Without Ruining the Edit
Action sequences look chaotic on screen if you don’t film them with editing in mind. The goal is footage that cuts together easily without jump cuts or repetitive angles.
- Shoot in sequences: For each action, get three shots: wide (shows the full scene), medium (shows the person in context), close-up (shows the action detail). For mountain biking, that means one shot from far away, one shot from the side, one shot of the wheel or hands. Edit them in sequence: wide sets the scene, medium shows the action, close-up adds intensity.
- Keep clips short: Film for 5-10 seconds per shot, then cut. Long clips are hard to edit and bore the viewer. Short clips give you flexibility. If you film a 30-second downhill run, you’ll only use 5 seconds of it. Save battery and card space by shooting in short bursts.
- Get reaction shots: After each action, film the person’s face. Excitement, relief, exhaustion. These reaction shots glue the sequence together and give the edit emotional pacing. Without them, action sequences feel flat and disconnected.
- Common mistake: shooting too long: Beginners film everything in one long take. They record ten minutes of a hike, then try to edit it down. Don’t. Film in bursts. Film from different positions. The edit will take half the time and the result will be twice as watchable.
Workflow: Before you start an activity, decide what shots you need. Wide, medium, close-up. Reaction. That’s four shots per activity. Do that, and you have a complete sequence that edits in under ten minutes.
Audio Is Half the Video (Even on a Mountain)
Good video with bad audio is unwatchable. Bad video with good audio is tolerable. Audio is the most overlooked element in adventure video, and it’s the easiest to fix with one or two small investments.
- Wind protection is non-negotiable: On a mountain, wind noise will overwhelm your audio within seconds. A deadcat windscreen (furry cover) on your microphone cuts wind noise dramatically. For action cameras, get a small external mic with a deadcat. For phones, use a lapel mic with a wind muff. Without wind protection, your audio is useless. Beginners may want to start with a lavalier mic with deadcat for clear, wind-resistant speech while vlogging on the trail.
- Record ambient sound separately: The sound of wind, water, footsteps, birds. These layers make your edit feel immersive. Use a voice memo app on your phone or a small field recorder. Record 30 seconds of ambient sound at each location. Layer it under your voiceover or action audio.
- Microphone choices:
- Built-in camera mic: Good for ambient sound. Bad for speech. Avoid for vlogging.
- Lavalier mic (lapel): Best for vlogging and interviews. Plugs into phone or camera. Includes wind muff. Affordable and small.
- Shotgun mic (directional): Best for interviews and ambient capture. Mounts on camera. Good at rejecting off-axis noise. Bulky but effective.
- Common mistake: forgetting wind protection: Every beginner does this once. You set up a shot, hit record, and hear nothing but wind rumble. Always carry a deadcat. Always. It costs ten dollars and saves entire days of footage.
If you take one audio tip from this guide: get a lavalier mic with a deadcat. It costs under fifty dollars and immediately transforms your vlogs and interviews from echoey messes to professional-sounding clips.
Lighting for Outdoor Video (When You Can’t Control the Sun)
You can’t bring studio lights on a mountain. You have to work with what the sun gives you. That means planning around the light rather than fighting it.
- Golden hour (sunrise and sunset): The best light for any outdoor video. Warm, directional, flattering. Plan your most important shots around these times. The tradeoff is time pressure; you have about 30-45 minutes of good light. Be ready before it hits.
- Open shade: On a sunny day, find shade. Under a tree, next to a rock, in the shadow of a building. Open shade gives even, soft light without harsh shadows. It’s the second-best option after golden hour.
- Harsh noon sun: Avoid shooting people in direct noon sun. It creates harsh shadows on faces, blowout highlights, and unflattering contrast. If you must shoot, find a diffuser (a white shirt, a thin cloth) or position the subject with the sun behind them and use fill from a reflector.
- Reflectors: bulky but effective: A collapsible reflector (5-in-1, folds to small disc) adds light to faces in shade or backlit situations. The tradeoff: it’s one more thing to carry. For most adventure travel, use natural reflectors: snow, water, light-colored rock. These bounce light up into faces without extra gear.
- Situational advice:
- Forest: Green light, low contrast. Open your aperture or increase ISO. Use exposure compensation to brighten.
- Alpine: Harsh light, high contrast. Use ND filters or shoot in early morning. Snow reflects light, which can help or hurt.
- Desert: Harsh light, red tones. Shoot at golden hour. Use a polarizer to cut glare.
The reflector recommendation is a small collapsible 5-in-1. It packs flat, weighs nothing, and transforms a backlit face from black shadow to usable footage. Worth the space if you shoot people.
The Best Mounts and Accessories for Hands-Free Shooting
Hands-free shooting is essential for adventure. You can’t hold a camera while climbing, biking, or paddling. The right mount gives you POV footage without the struggle.
- Head mount: Good for hiking, climbing, and biking. Gives a natural eye-level POV. The tradeoff is that footage can look a bit disconnected from the body. Best for: climbing where hands are occupied.
- Chest mount: Better for biking and running. Gives a lower, more immersive POV that shows your hands and the trail. The tradeoff is that it looks bouncy on rough terrain. Best for: mountain biking and trail running.
- Helmet mount: Good for biking and skiing. Easy to attach and remove. The tradeoff is that it adds weight to the helmet. Best for: snow sports and bike riding.
- Magnetic mounts (for action cameras): Very useful for quick mounting on metal surfaces (car frames, railings, signs). The tradeoff is that they can slip on rough terrain or wet surfaces. Use only on smooth, clean metal.
- Suction cups: Good for car shots or attaching to smooth surfaces. The tradeoff is that they can fail on dirty or bumpy surfaces. Avoid for high-speed or high-vibration activities.
- Avoid these if: You’re on rough terrain with a magnetic mount; it will slip. You’re on a wet surface with a suction cup; it will fail. You’re climbing and want smooth footage; use a head mount, not a chest mount.
For most adventure travelers, a chest mount and a head mount cover 90% of situations. They’re low-profile, pack small, and give stable POV footage. Spend the extra few dollars for quick-release mounts; you’ll swap angles faster and avoid missing shots. For those who frequently switch between activities, a GoPro chest mount harness is a practical choice that keeps the camera stable and your hands free.

Simple Editing Workflow for Busy Travelers
Editing doesn’t require a laptop. Modern mobile apps are powerful enough for most adventure videos. The key is a workflow that takes under an hour per day of footage.
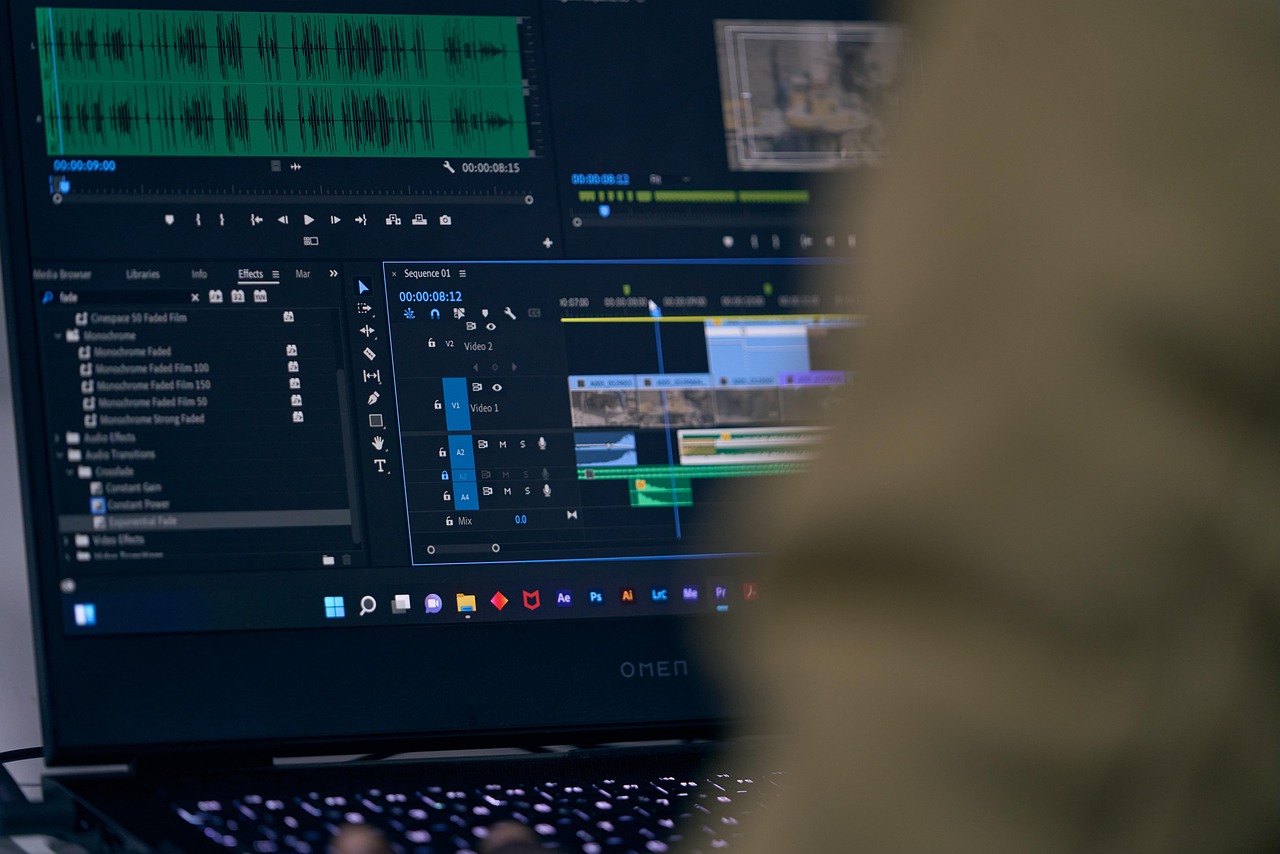
- Import and trim: Use DaVinci Resolve (free, powerful) or LumaFusion (paid, mobile-friendly). Import all clips. Watch through once. Trim each clip to the best 5-10 seconds. Delete everything else.
- Cut to music: Add a background track. Cut clips so that transitions happen on the beat. This is the single easiest way to make a video feel polished. Use royalty-free libraries (Epidemic Sound, Artlist).
- Color grade with LUTs: Apply a LUT (Look Up Table) to give consistent color. For adventure videos, a warm, slightly contrasty LUT works well. Most editing apps have built-in presets. Apply one LUT to all clips for consistency.
- Add captions: If you have dialogue, add captions. Most viewers watch without sound. Use auto-caption features in apps like CapCut. Adjust font and size for readability.
- Sync external audio: If you used an external recorder, sync audio manually. Clap at the start of recording to create a sync point. In most editors, you can align the waveform visually.
The mistake beginners make is over-editing. They add effects, transitions, and too many layers. Good adventure video is clean and straightforward. Focus on trimming, music, and captions. That’s it. Done in an hour per day of footage.
Common Mistakes Beginners Make (And How to Avoid Them)
Here are the mistakes I see most often, and the one thing I wish I knew earlier.
- Shooting everything in 30fps: Default settings produce default-quality video. Set your frame rate before you leave.
- Ignoring audio: Wind noise and echo ruin good footage. Use a deadcat and external mic.
- No b-roll: Single-angle talking heads are boring. Always get wide shots, close-ups, and detail shots.
- Overusing slow motion: Slow motion is powerful but loses impact when used constantly. Reserve it for action peaks.
- Not charging batteries: Nothing worse than missing a sunset because your GoPro died. Charge everything every night.
- Forgetting to clean the lens: A smudge on the lens makes every shot look soft. Wipe it before every shoot.
The one thing I wish I knew earlier: shoot less, shoot smarter. One minute of well-planned footage is worth ten minutes of random clips. Before you press record, ask yourself: what am I capturing? Will this cut into my edit? If the answer isn’t clear, don’t shoot.
Should You Edit in the Field or After the Trip?
There’s no single right answer. The choice depends on your trip length, internet access, and personal workflow.
- Editing in the field: Best for short trips (under a week) or workshops where you want immediate feedback. The pro is fresh memory; you remember the moment and can edit with context. The con is time; editing takes time away from adventure. You also need a laptop or tablet. Best for: media professionals, content creators, people who post daily.
- Editing after the trip: Best for long trips (over a week) or travelers who want to be fully present. The pro is better perspective; you see the story arc after you’ve finished. The con is backlog; a two-week trip might take a week to edit. Best for: travelers who prioritize experience over posting frequency.
Situational advice: If you’re on a guided trip with downtime (evenings, rest days), edit a rough cut each night. It saves work later. If you’re on a trip with no downtime (backpacking, expeditions), wait until you’re home. Don’t burn trip time on editing unless you’re being paid for daily content.
Final Thoughts on Making Adventure Videos That Hold Up
Good adventure video comes from preparation and simplicity. You don’t need expensive gear. You need a reliable camera, a microphone with wind protection, and the discipline to shoot in short sequences. Focus on getting clean footage of the moments that matter. Edit minimally. Let the adventure speak for itself.
If you want to skip the research and get straight to shooting, start with the gear section. A GoPro Hero 12, a chest mount, and a lavalier mic with a deadcat. That’s your starter kit. Everything else is refinement. Get those three things, and you’re ready to make adventure videos that actually look and sound good.