Best Lens Filters for Landscape Photography : A Practical Guide for Adventure Travelers
Introduction
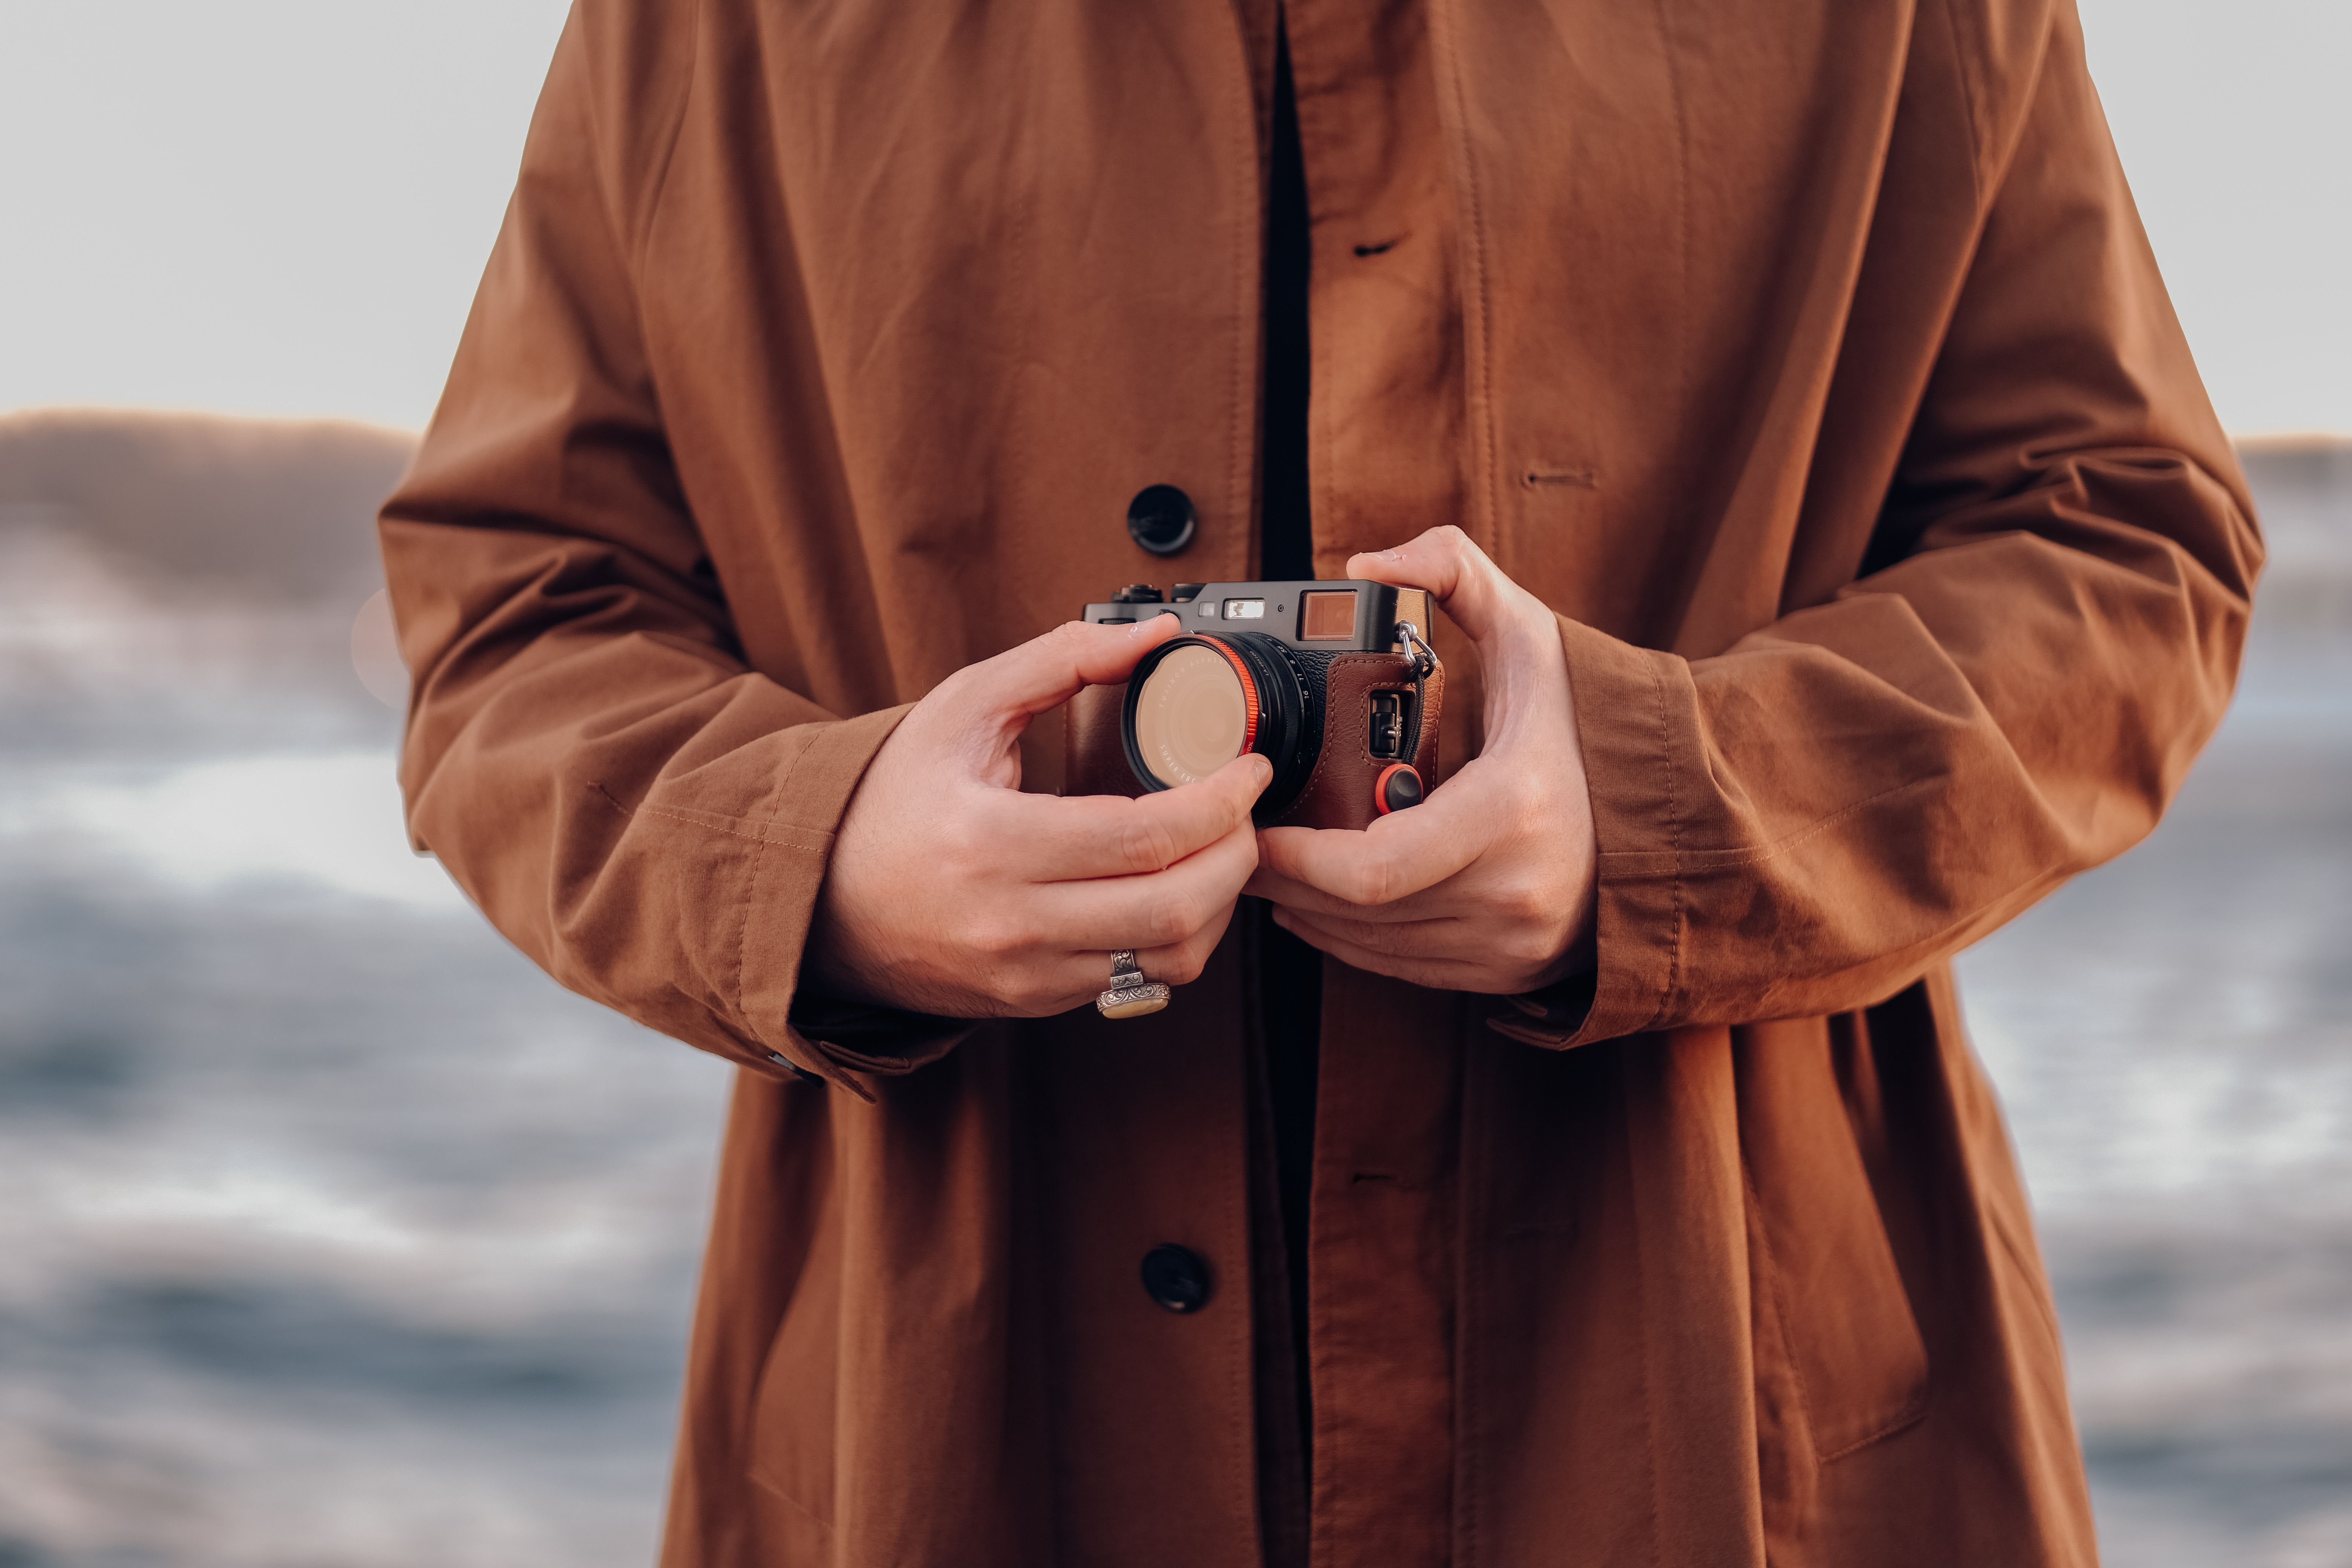 camera wearing a trench coat outdoors.” width=”1200″ height=”800″ loading=”lazy” />
If you’re serious about shooting landscapes while you’re out in the mountains, on the coast, or trekking through a forest, you already know that getting the shot right in camera saves hours of post-processing. That’s where filters come in — not as a crutch, but as a tool that does things software simply can’t replicate. This guide covers the best lens filters for landscape photography, specifically for adventure photographers who shoot in real conditions.
We’re talking polarizers, neutral density filters, graduated NDs, and the ever-controversial UV filter. I’ve broken down what actually works on the trail, what’s worth spending money on, and what’s mostly marketing fluff. By the end, you’ll know exactly what to carry in your pack and why.

Why Filters Still Matter in the Digital Age
It’s fair to ask: in an era of powerful editing tools, why bother with a piece of glass on the front of your lens? The honest answer is that post-processing can’t recreate what a good filter does. It can simulate some effects, but with tradeoffs.
Here’s what a filter gives you that software struggles with:
- Controlling reflections. A polarizer cuts glare on wet rocks, leaves, or water in a way that no slider in Lightroom can fully replicate. You can try to darken reflections in post, but you’ll end up with unnatural-looking results or blown highlights.
- Balancing exposure in one shot. Graduated ND filters let you capture a bright sky and a darker foreground without clipping. Bracketing and blending works, but it takes more time and requires a tripod and multiple exposures. If you’re shooting handheld or in fast-changing light, a GND is simpler.
- Long exposures without overexposing. An ND filter blocks light, letting you use slower shutter speeds in bright conditions. You can simulate motion blur in post, but it never looks the same as a real, continuous exposure of moving water or clouds.
- Lens protection. A clear or UV filter acts as a sacrificial layer. Sand, salt spray, dust, and accidental impacts happen. Replacing a scratched filter beats replacing a scratched front element.
Are filters a must for every landscape shooter? No. But if you find yourself fighting reflections, wanting long exposure effects, or consistently bracketing high-contrast scenes, a good set of filters will save you time and improve your results. The key is buying quality glass that doesn’t degrade your image.
The Three Essential Filter Types for Landscape Adventure Photography
Before you start buying, you need to understand the workhorses. These three types cover the vast majority of landscape scenarios you’ll encounter on an adventure shoot.
Circular Polarizer (CPL)
This is the filter I reach for more than any other. A CPL reduces glare and reflections on non-metallic surfaces like water, wet rocks, and foliage. It also deepens blue skies and increases color saturation. In practice, this means clouds pop more against a richer sky, and water becomes transparent instead of washed out by reflections.
When to use it: anytime you’re shooting around water, after rain, near waterfalls, or in forests where leaves are wet. It’s also useful for cutting haze on distant mountains.
Common mistake: using a cheap polarizer that introduces a color cast (usually blue or yellow). Also, rotating the filter for maximum effect without checking the scene — sometimes 100% polarization looks unnatural. Learn to dial it back.
Neutral Density (ND)
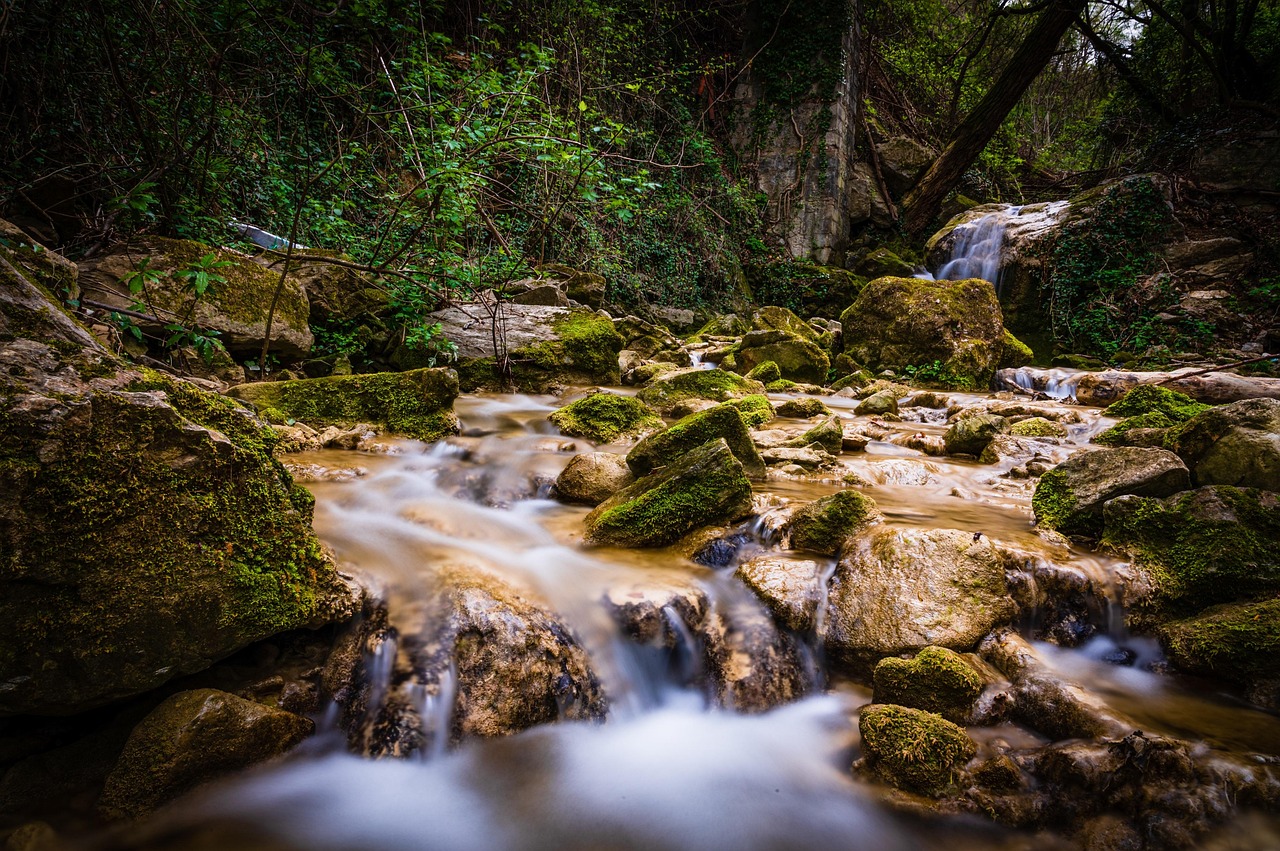
ND filters are like sunglasses for your lens. They reduce the amount of light entering the camera, allowing you to increase exposure time or use a wider aperture in bright conditions. This is what lets you create silky waterfalls, streaking clouds, or smooth ocean water in the middle of the day.
The key tradeoff is stopping power. A 6-stop ND is versatile for most moving water. A 10-stop is for dramatic cloud blur or turning a crowded beach into an empty sea of motion. Heavier filters require longer exposures, which means a stable tripod and good technique are essential.
Common mistake: buying a variable ND filter to save money and weight. In my experience, they often produce cross-shaped artifacts (X pattern) and unevenness across the frame. Stick to fixed-stop NDs for reliable results.
Graduated Neutral Density (GND)
A GND filter has a gradual transition from dark to clear. It’s designed to hold back a bright sky while leaving the foreground properly exposed. This is crucial for scenes like a sunset over a lake or a canyon with a bright horizon.
GNDs come in soft-edge (for uneven horizons, like mountains or trees) and hard-edge (for flat horizons, common over ocean or desert). They also come in different strengths (1-stop, 2-stop, 3-stop).
Common mistake: using too strong a transition or placing the gradient line on the horizon when it’s not level. Many beginners try to compensate for software blending by over-darkening the sky, which looks artificial. The goal is subtlety.
Circular Polarizer (CPL): The One Filter You Should Never Leave Home Without
If I had to pick a single filter for adventure photography, it would be the circular polarizer. It’s the only filter that offers effects you can’t achieve in post-processing with the same efficiency and quality. The ability to manage reflections and enhance color in-camera is invaluable when you’re hiking fast and conditions change quickly.
Here are the situations where a CPL pays off:
- Coastal shoots: Cuts glare on wet sand and rocks, revealing deeper colors and textures.
- Forests: Removes specular highlights on leaves, showing richer greens and deeper shadows.
- Waterfall photography: Eliminates reflections on the water surface, revealing the actual water flow.
- Sky and clouds: Deepens blue skies and makes clouds stand out, but be careful — too much polarization makes the sky look uneven.
When buying a CPL, stick with high-quality glass. Brands like Hoya, B+W, and NiSi make excellent polarizers. Avoid cheap ones that soften your image or introduce a warm or blue tint. Travelers who need a reliable polarizer for coastal or forest conditions may want to look at a circular polarizer filter from these manufacturers.
Also, consider your filter thread size. Many adventure shooters carry a step-up ring to use one CPL across multiple lenses. But if you shoot with a wide-angle lens (like a 16-35mm), a slim or ultra-slim CPL prevents vignetting.
Magnetic systems are becoming popular for quick filter swaps. Brands like Kase and NiSi offer magnetic CPLs that attach to an adapter ring. They’re convenient but can be prone to accidental detachment on windy peaks. For most hikers, a standard screw-on CPL is the most reliable choice.

Neutral Density (ND) Filters: Choosing the Right Strength for Moving Water and Clouds
ND filters unlock creative long exposure possibilities you can’t get any other way. With strengths ranging from 3-stops to 16-stops, picking the right one matters.
| Stop Reduction | Common Use Case | Exposure Time (in bright sun) |
|---|---|---|
| 3-stop (0.9 ND) | Light motion blur on waterfalls, slight smoothing of water | 1/8 to 1/4 second |
| 6-stop (1.8 ND) | Pronounced blur on waterfalls, soft clouds, motion in lakes | 2 to 15 seconds |
| 10-stop (3.0 ND) | Heavy cloud movement, smoothed oceans, ghost-like crowds | 30 seconds to 2 minutes |
For most adventure photographers, I recommend starting with a 6-stop ND. It offers enough stopping power for dramatic effects without requiring an extremely long shutter speed, which can be harder to manage on a windy trail. A 10-stop is great for creative work but demands a rock-solid tripod and good timing — wind can easily ruin a two-minute exposure. If you are dealing with bright conditions and want to experiment with long exposures, a 6-stop neutral density filter is a solid starting point.
One practical tip: if you’re shooting at high f-stops (like f/16 or f/22) with a 10-stop ND, diffraction can soften your image. It’s often better to use a lower f-stop and a stronger ND instead.
Graduated ND Filters: Balancing Bright Skies and Dark Foregrounds
GND filters are the classic landscape tool for high-contrast scenes. They let you expose for the foreground while holding back a bright sky without blowing out highlights or underexposing the lower half.
You’ll find two main types:
- Soft-edge: The transition from dark to clear is gradual. Best for uneven horizons like mountain ridges, trees, or cityscapes.
- Hard-edge: The transition is sharp. Works best for flat horizons — think ocean shots or expansive lakes where the horizon line is clean.
GNDs are typically part of a square filter system (like Lee or NiSi) where you slide them into a holder in front of your lens. This is more versatile than screw-on GNDs, which restrict your ability to adjust the gradient position.
Why still use GNDs when you can bracket and blend? Because GNDs work in one shot, which is faster and more intuitive on location. They don’t require perfectly aligned tripod positions between exposures, which can be a hassle on uneven terrain. However, for very extreme dynamic range scenes (like a sunrise against a dark canyon), bracketing may still be necessary even with a GND.
Common mistake: using a GND with too strong a notch (e.g., 3 stops on a mild contrast scene) resulting in an unnatural dark band across the sky. Also, forgetting to level your camera with the horizon, so the gradient cuts through the scene incorrectly.
UV and Clear Filters: Are They Worth the Weight in Your Pack?
UV filters were essential in the film era to block ultraviolet light that could cause a blue haze. Digital sensors are largely insensitive to UV, so these filters serve a different purpose now: protection.
Are they worth carrying? It depends on your conditions.
- Yes, bring one: If you’re shooting near the ocean (salt spray), in sandstorms, in heavy dust, or in rain. The filter is easier to clean or replace than your front lens element.
- No, skip it: For most daytime landscape work in clean air, a high-quality UV or clear filter is just an extra piece of glass that can cause flare and reduce contrast. Especially if you’re using a cheap one.
If you do use one, buy a coated, multi-coated filter from a reputable brand. A cheap UV filter will degrade image quality noticeably. Travelers shooting in dusty or coastal environments may find a multi-coated UV filter a practical addition to their kit.
Screw-On vs. Square Filter Systems: Which Is Better for Adventure Travel?
This is a classic debate, and both have tradeoffs.
Screw-On Filters (Circular)
These are the most common type for CPLs and NDs. They screw directly onto your lens thread.
Pros: Lightweight, compact, simple to use, and affordable. No holder or adapter rings needed (though you may use step-up rings).
Cons: You need a different diameter for each lens, or you use step-up rings. Can cause vignetting on ultra-wide lenses if the filter is thick. Swapping filters is slower than a square system.
Best for: Hikers who value minimal weight and simplicity, or photographers with one primary lens.
Square Filter Systems (Magnetic or Manual)
These use an adapter ring on your lens and a holder that accepts square glass or resin filters. Brands like Lee, NiSi, and Kase dominate here.
Pros: One set of filters works across all lens diameters (with adapter rings). You can stack multiple filters easily. GNDs can be positioned and rotated independently. Magnetic systems allow quick swaps.
Cons: Bulkier and heavier than screw-on filters. More parts to carry and potentially lose. Higher upfront cost for the holder and adapter rings. On windy peaks, magnetic filters can get knocked off.
Best for: Serious landscape photographers who carry multiple lenses and want maximum flexibility. Good for car-accessible shoots, but less so for ultralight backpacking.
My take: For multi-day backpacking trips, I pack a high-quality screw-on CPL and a single 6-stop screw-on ND. For dedicated photo trips where I can stash a square system in my camera bag, I bring NiSi magnetic filters for versatility.
My Recommended Top Performers for 2025
Based on my experience and the current market, here are specific filters worth considering in 2025. These are across different price points and use cases.
Budget Pick: K&F Concept Nano-X Series
This line offers solid optical quality at a very affordable price. The multi-coating reduces flare better than many budget options. Available in CPL and ND variants (3, 6, 10-stop). The magnetic system is a nice bonus for quick changes. Downside: not as scratch-resistant as premium glass. Fine for hobbyists or as a starter set.
Mid-Range: Hoya ProND Series
Hoya has been making reliable filters for decades. The ProND line offers accurate neutral color without the color cast that plagues cheaper filters. The multi-coating is effective. Available in standard screw-on sizes. Downside: not the absolute sharpest, but more than adequate for most landscape work. A safe, proven choice.
High-End: NiSi True Color CPL / Natural Night
NiSi makes filters for professionals. Their CPL is incredibly sharp and does not introduce color shift. The True Color ND line is exceptional for accurate color rendition, critical for long exposures where cheap NDs often create a magenta or blue cast. The magnetic system is well-engineered. Downside: expensive, but you get measurable improvement in image quality.
Premium Versatility: Kase Magnetic System
Kase offers a hybrid approach: a magnetic adapter ring that works with both circular and square filters. Their K-series CPL and ND are top-tier. The magnetic swap speed is genuinely useful when light changes fast. Downside: the magnetic holder adds some bulk, and the system is pricey.
Heavy-Duty: Lee Filters 100mm Square System
Lee is the standard in square systems. Their Soft and Hard GNDs are reliable, and their Little Stopper (6-stop) and Big Stopper (10-stop) are celebrated for minimal color cast. The resin filters are durable but scratch more easily than glass. Pro tip: get the x10 filter holder for wide-angle lenses to avoid vignetting.

Common Mistakes to Avoid When Choosing and Using Filters
After a decade of shooting in the field, I’ve made every one of these mistakes at least once. Learn from them.
- Buying the wrong thread size. Every lens has a different filter thread diameter. If you buy filters for your kit lens, they may not fit a new lens later. A step-up ring can help, but measure your largest lens thread and buy filters that size.
- Stacking too many filters. Putting a CPL, plus an ND, plus a GND on the same lens will almost certainly cause vignetting on wide angles. It also introduces more potential for flare and dust. Stick to one or two filters at most.
- Neglecting to clean filters before use. Dust, smudges, and salt spray ruin an otherwise pristine image. A small microfiber cloth in your bag is non-negotiable.
- Buying too-cheap glass. A $20 filter can introduce softness, color cast, and flare. It’s better to buy one good filter than three bad ones. The difference is visible even at f/8.
- Not carrying a filter pouch. Storing filters loose in your bag leads to scratches. A dedicated filter wallet or pouch protects your investment and saves you from digging around when you need to swap quickly.
How to Care for Filters on the Trail
Filters are precise pieces of glass (or resin) and they need care in harsh environments.
- Use a cleaning kit: A simple lens cleaning kit with a blower, brush, and microfiber cloth fits in any bag. A pump-action blower is better than your breath for removing dust.
- Hard case or pouch: Keep filters in a hard case or a padded pouch. A soft case can get crushed in your pack. I use a small, hard-sided filter case designed for multi-filter storage.
- In extreme conditions: In rain or heavy dust, use a UV filter for protection. If you’re near salt spray, rinse your filters with fresh water after the shoot and dry them carefully. Salt crystals can etch glass over time.
- Avoid touching the glass: Fingerprints are easy to smear but can be hard to remove if left on for weeks. Use lens wipes or a clean microfiber cloth periodically.
Final Thoughts: Building Your Filter Kit Over Time
You don’t need to buy all the filters at once. Start with a single high-quality circular polarizer and a 6-stop neutral density filter. That combo will cover 80% of what you’ll encounter on landscape adventures. Use them, learn how they interact with your camera and your style, and then expand from there.
When you’re ready, add a graduated ND for high-contrast scenes, or a 10-stop ND for more dramatic long exposures. The key is quality over quantity. A set of two very good filters is worth more than a bag full of cheap ones that degrade your images.
The specific models I use and trust have been tested in real conditions and deliver consistent results. That’s what matters when you’re miles from the trailhead and the light is perfect.