Solo Adventure Itinerary New Zealand: The Ultimate Guide
Introduction
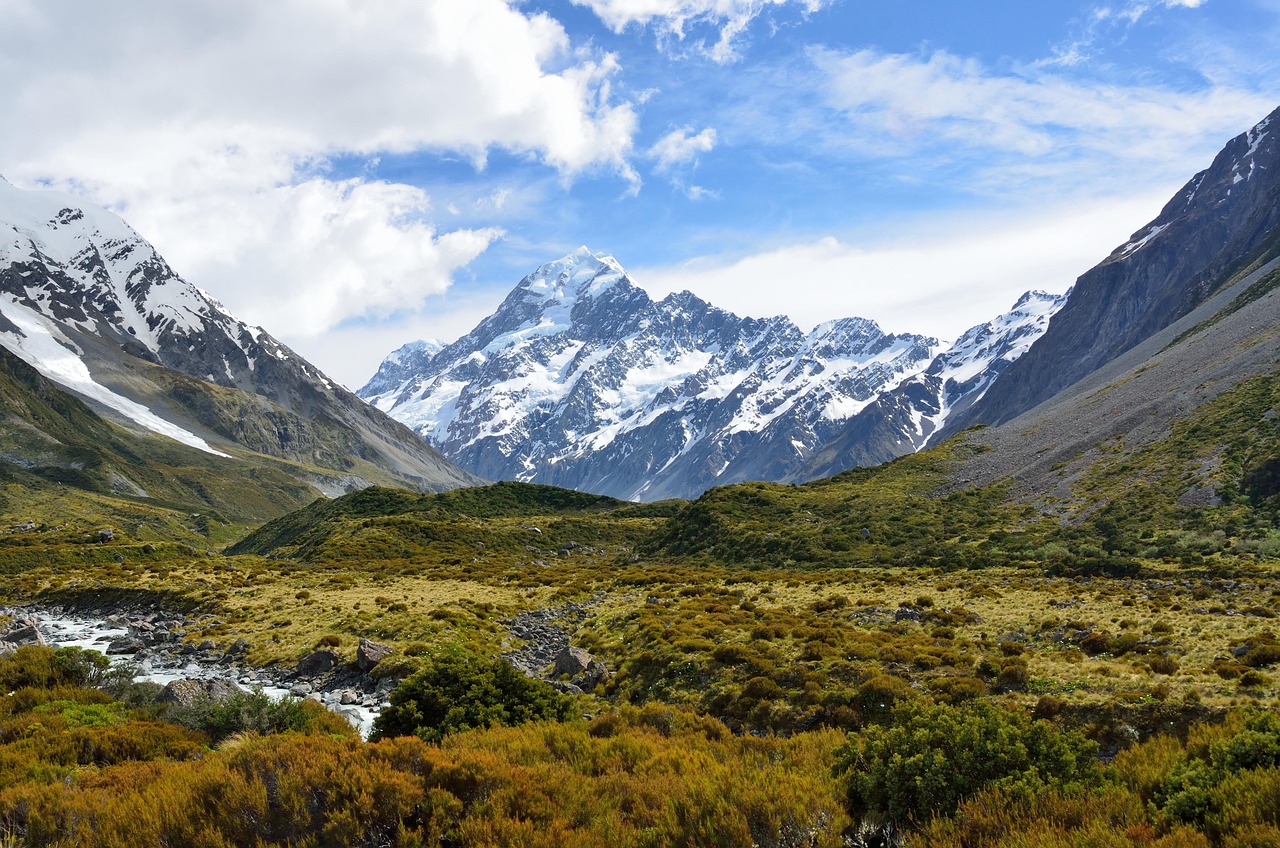
New Zealand is one of the most rewarding places to travel alone, especially when you want real adventure—not the packaged kind. The kind where you figure out bus schedules, book your own heli-hike, and end up eating chips on a beach because that was the only place still open. This article covers a practical solo adventure itinerary for New Zealand. It is for solo travelers who want genuine adventure activities like bungee jumping, glacier walks, and alpine crossings without the tour group markup or wasted time. I built this solo adventure itinerary New Zealand based on my own trips, including the mistakes, the gear that mattered, and the moments where spending a little extra actually improved the experience. You won’t find generic hotel recommendations here—just logistics, tradeoffs, and realistic expectations.
How Long Should Your Solo Adventure Itinerary Be?
The length of your trip will determine whether you see one island properly or rush through both. A 10-day itinerary works if you stick to the South Island exclusively. You can hit Queenstown, Wanaka, Franz Josef, and maybe Abel Tasman, but you’ll be moving fast. A two-week trip is the sweet spot for most first-time solo adventurers. It allows you to cover the South Island highlights and add a couple of days in the North Island without feeling like you’re in the car the whole time. Three weeks gives you breathing room. You can include Tongariro, Rotorua, and the far north without sacrificing rest days.
Flights to New Zealand are expensive, especially from North America or Europe. Once you are there, internal flights between islands are manageable, but driving between regions takes time. If you have two weeks, focus on the South Island and add one North Island stop. If you have three weeks, start in Christchurch, work your way down to Queenstown, then fly to Auckland and drive south. The tradeoff is simple: shorter trips mean more cost per day but less time off work. Longer trips mean better value per day but require more planning for accommodation early on.
The Best Time of Year for a Solo Adventure in New Zealand
Summer runs from December to February. It is the busiest and most expensive season, with accommodation booked out weeks in advance. The weather is warm, but the trails are crowded, and popular spots like Queenstown can feel overwhelming. I’ve been there in January and while the activities run smoothly, the hostels fill up fast. You need to book ahead or risk couch surfing.
Winter (June to August) is quieter and cheaper. Snow sports are excellent, especially around Queenstown and Wanaka, but daylight hours are short, and many hiking trails close or become dangerous. I’ve done winter trips and still enjoyed glacier walks and hot pools, but you’ll lose flexibility.
Shoulder seasons are genuinely the best for solo adventure. October to November and March to April offer mild weather, fewer tourists, and lower prices. In November, the lupins are blooming and the crowds are thin. In March, the autumn colors make the landscapes even better. One local piece of advice: New Zealand weather changes fast no matter the season. Pack layers year-round. A waterproof jacket is not optional—it is essential. For those looking to stay prepared, a quality waterproof jacket is a worthwhile investment.
Day 1–3: Queenstown – The Adventure Capital
Queenstown is where most solo adventure itineraries begin. It has the highest concentration of activities per square kilometer in New Zealand. Bungee jumping off the Kawarau Bridge, jet boating through the Shotover Canyon, and hiking up Queenstown Hill for panoramic views are all easy to arrange alone. The town is built for solo travelers—hostels are common, group tours are easy to join, and you’ll meet other solo travelers at the bar or the common kitchen.
Book activities at least a day ahead during summer. Walk-in availability is rare. Use local operators like AJ Hackett Bungee or Queenstown Jet for reliability. For accommodation, look at YHA Queenstown Central or the Adventure Queenstown Hostel. Both have social vibes without being party hostels. If you want a private room, try a budget lodge near the lakefront. Avoid eating on the main strip if you want to save money. The best meals are at the smaller Asian and kebab shops a block off the main road.
Day 4–5: Wanaka – Fewer Crowds, More Views
Wanaka is an hour’s drive from Queenstown and feels completely different—quieter, more laid back. The kind of place where you can walk into a café and not wait in line. For solo travelers, this is where you can connect more naturally with other people without the party scene of Queenstown.
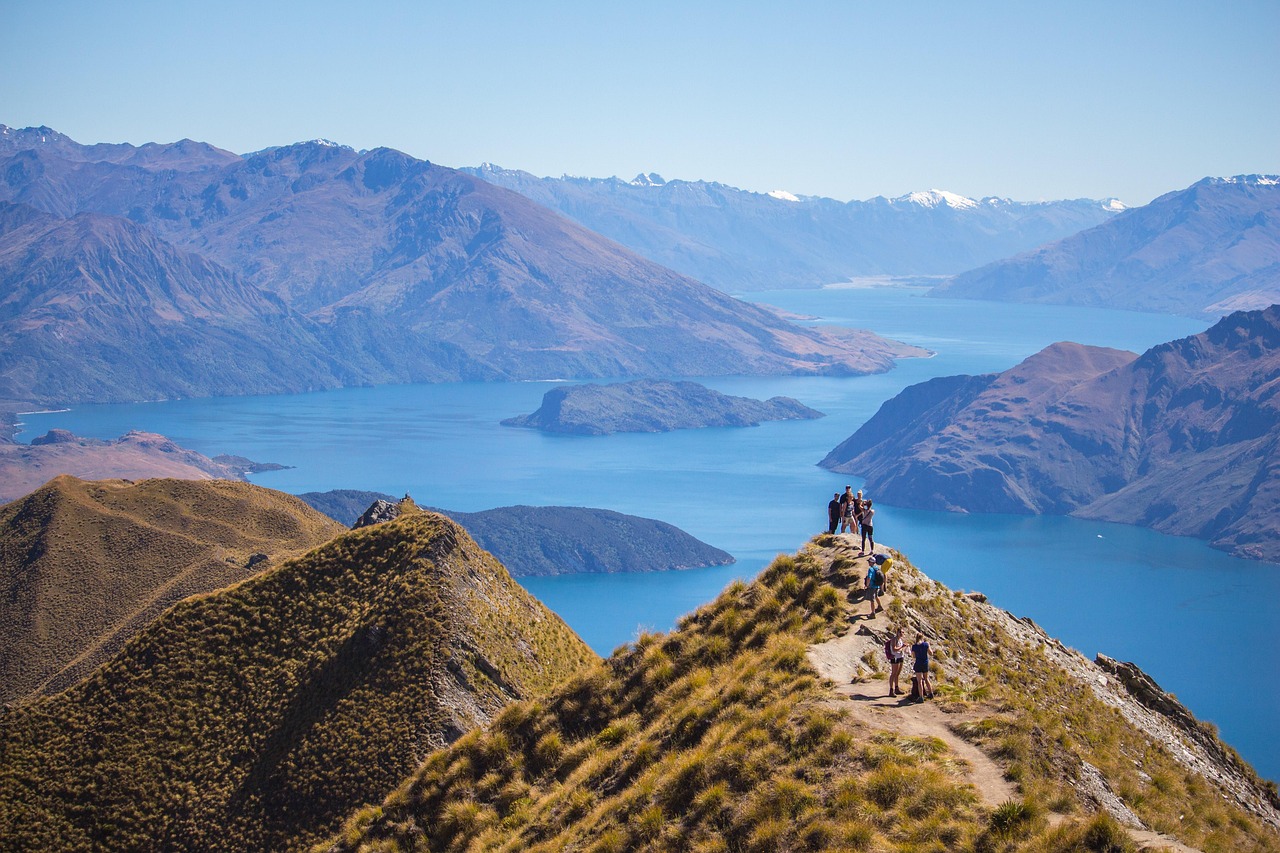
Hike Roy’s Peak early in the morning to beat the crowds. The view at the top justifies the steep climb. If you’re not into hiking, lake kayaking is peaceful and easy to do alone. You can rent a kayak from the lakefront and paddle to the islands. For accommodation, a budget motel like the Wanaka Fire Station or an Airbnb near the lake works well. You don’t need luxury here—the scenery is the luxury.
Good walking shoes make a difference on Roy’s Peak. Look for a reliable pair of hiking boots for better grip and comfort. A lightweight daypack is also worth packing.
Day 6–7: Franz Josef Glacier – Heli-Hike or Skip?
The glacier region on the West Coast is spectacular but weather-dependent. The heli-hike is the main draw. You fly onto the glacier and walk around the ice formations with a guide. It costs around $400 NZD and includes all gear. The glacier valley walk is a cheaper alternative where you hike up to the terminal face, but you don’t step on the ice. The heli-hike is worth it if you have the budget and are physically fit—it’s a genuine adventure. The valley walk is fine if you just want a photo.
Solo travelers do not get charged a surcharge with most tour operators like Franz Josef Glacier Guides. They accept single bookings easily. The big warning: weather can cancel trips. Check the forecast and budget an extra day in Franz Josef if possible. I’ve had flights canceled twice. If you’re on a tight schedule, consider skipping the glacier and spending more time in Wanaka or Abel Tasman instead.
The tour company provides boots, socks, and a jacket. You only need a warm fleece and a camera. Don’t bring a big backpack—they have lockers.
Day 8–9: Abel Tasman National Park – Kayaking and Beaches
Abel Tasman is the most accessible coastal park in New Zealand. Golden beaches, clear water, and forest tracks. The best way to experience it as a solo traveler is a kayak and hike combo tour. You paddle along the coast, land at a beach, and walk part of the track. Group tours are standard here, and solo travelers fit right in.
There are different route lengths. A half-day kayak is good if you’re short on time. A two-day kayak tour lets you camp on the beach overnight, which is memorable but requires carrying camping gear. For solo travelers, the 1-day combo tour is a strong choice. You get the best of both without the extra weight.
Practical logistics: if you’re driving, park at Marahau and take a water taxi. Book the sea taxi in advance during summer because slots fill up. Accommodation near the park includes the Marahau Beach Camp and the Abel Tasman Lodge. Both are functional and basic.
A dry bag is essential for keeping gear safe on the water. Sunscreen is also necessary because the UV is strong even on cloudy days.
Day 10–12: Tongariro Alpine Crossing – One of the Best Day Hikes
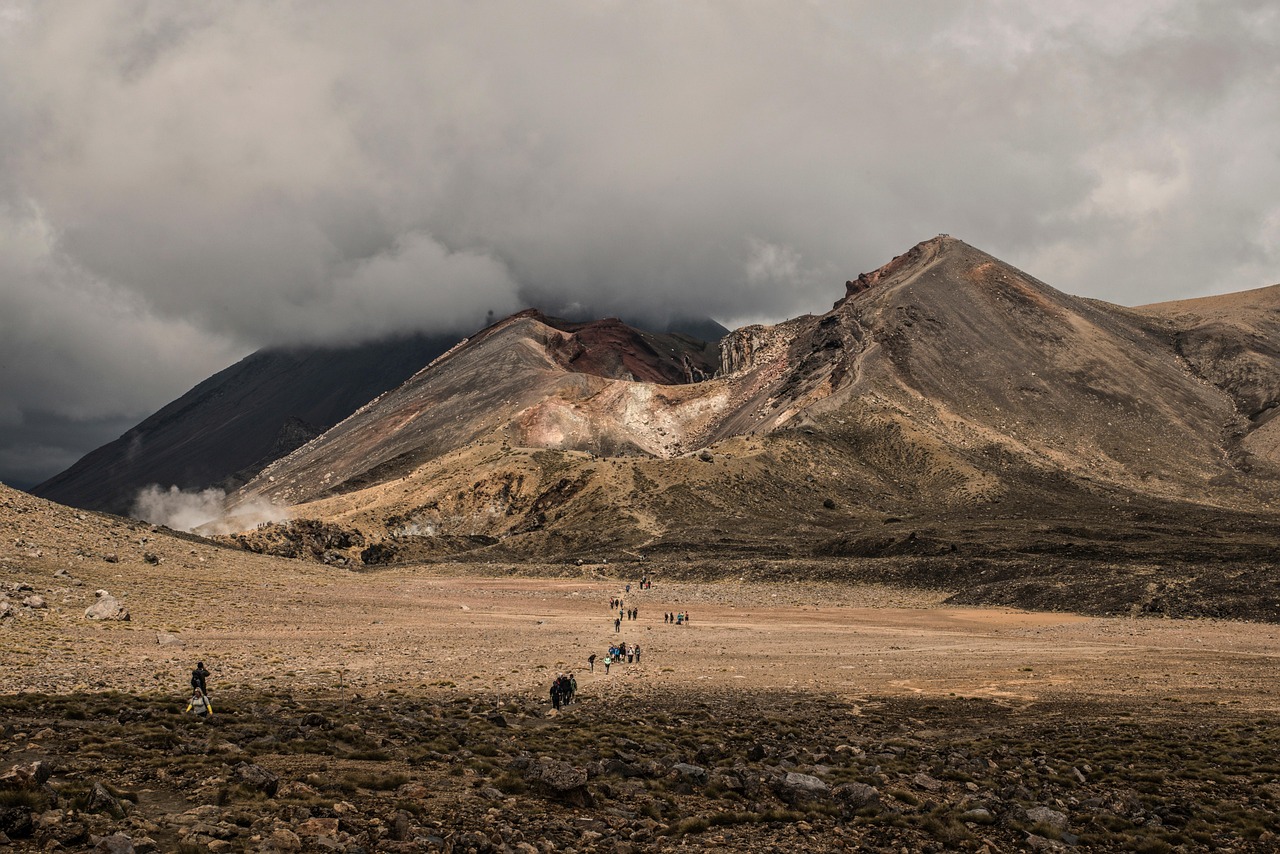
The Tongariro Alpine Crossing is widely considered one of the best day hikes in the world. Volcanic craters, emerald lakes, and lunar-like landscapes. It’s a 19-kilometer point-to-point trail that takes about 7 to 8 hours. For solo adventurers, this is a must-do, but it requires preparation.
Start early. The first shuttle from Turangi leaves around 5:30 AM in summer. This gives you time to finish before the afternoon winds pick up. Check the weather the night before. If it’s cloudy or windy, postpone. The trail can be dangerous in bad conditions. Bring at least 2 liters of water and some high-energy snacks. There’s no water along the trail.
Compared to other day hikes like the Routeburn or Kepler, Tongariro is shorter but more exposed. It’s doable for most fitness levels. Shuttle services run from Turangi and National Park Village. Book the return shuttle at the same time.
Hiking poles help on the loose volcanic scree. A pair of trekking poles provides stability on the descent. A hydration pack makes it easier to drink while walking.
Day 13–14: Rotorua and Waitomo – Geothermal and Glowworms
Rotorua is where you wind down after the high-energy days. Geothermal parks, Māori cultural shows, and hot pools. The best solo activity is the geyser walk at Te Puia. It’s well organized and educational. For a more adventurous option, try black water rafting through the Waitomo caves. It’s wet, dark, and completely unique.
If you’re on a budget, skip the paid geothermal parks and walk the free trails at Kuirau Park. It has bubbling mud pools and hot springs accessible to anyone. For accommodation, hostels like the Rotorua Central Backpackers have hot pools. The Polynesian Spa is expensive but worth it for one evening of relaxation.
In Waitomo, book a combo tour that includes the glowworm cave and black water rafting. It saves money compared to booking separately. Local knowledge: avoid the overpriced restaurants on the main street in Rotorua. The better food is found at the ethnic eateries on Amohau Street.
Essential Gear for a Solo Adventure in New Zealand
Solo travel in New Zealand isn’t complicated, but the right gear makes a difference. Here’s what you actually need:
- Waterproof jacket – A good shell like the Patagonia Torrentshell or The North Face DryVent. Don’t cheap out on this.
- Hiking boots – Sturdy mid-height boots with good grip. Merrell Moab 3 or Salomon X Ultra 4 are reliable. Rent them in New Zealand if you don’t want to pack them.
- Power bank – You’ll use your phone for navigation, photos, and booking accommodation. An Anker PowerCore 20000 keeps it charged for days.
- First aid kit – A small one with blister plasters, antiseptic wipes, and painkillers. Adventure Medical Kits makes a lightweight option.
- Portable water filter – The tap water is safe in cities but not always on trails. The LifeStraw Go bottle works well.
You can rent gear like sleeping bags and tents in New Zealand, but your own boots and jacket are worth bringing. Don’t overpack. Laundry facilities are everywhere. Two pairs of pants, three shirts, warm layers, and a rain jacket are enough.
Common Mistakes Solo Travelers Make on Adventure Itineraries
Even experienced solo travelers make these mistakes. Here are the most common:
- Underestimating driving distances. New Zealand isn’t huge on a map, but the roads are winding and slow. A 200-kilometer drive can take three hours. Plan for that.
- Not booking accommodation in advance during summer. I’ve shown up in Queenstown in January and found every hostel full. Booking at least two weeks ahead is wise.
- Relying on phone navigation without offline maps. Cell service drops in many remote areas. Download Google Maps offline or use a dedicated GPS app like Maps.me.
- Skipping travel insurance. Activities like bungee jumping and glacier hiking come with real risks. If you get injured, the medical costs can be high. Insurance is non-negotiable.
Local knowledge: Buy a local SIM card from Spark or Vodafone at the airport. Data is cheap and coverage is better than international roaming.
Budget Breakdown: How Much Does a Solo Adventure Cost?
New Zealand isn’t a budget destination, but you can control costs. Here’s a rough daily breakdown for a solo traveler:
- Accommodation: $40–60 NZD (dorm bed in hostel)
- Food: $30–40 NZD (mix of cooking and eating out)
- Transport: $30–50 NZD (fuel or bus passes)
- Activities: $50–100 NZD (one paid activity per day)
Total per day: approximately $150–250 NZD (about $90–150 USD). You can save by cooking meals, choosing free hikes, and staying in less popular towns. Don’t save on gear quality. A cheap sleeping bag or rain jacket will ruin an adventure.
Solo Adventure vs Group Tour: Which One Fits You?
There are two main ways to do a solo adventure itinerary. One is fully independent: rent a car or use buses, book hostels, choose your own activities. The other is a group tour like Kiwi Experience or Stray Travel. Both have pros and cons.
Going solo gives you full flexibility. You decide when to move, where to stay, and how much to spend. It’s cheaper if you’re disciplined. But it requires more planning and can feel lonely if you don’t put yourself out there.
A group tour provides built-in social life. You travel with the same people for days or weeks. You don’t need to plan much. The downside is less freedom. You follow a set route and schedule. If you want to skip an activity, you might have to wait for the next bus.
I’ve done both. For experienced solo travelers, independent travel is better. For first-timers or those who want guaranteed company, a group tour is the way to go. If you choose a group tour, book early because popular departures fill fast.
Final Tips Before You Book
Start planning early. Visa requirements depend on your nationality, so check the New Zealand immigration website. Travel insurance is not optional. If you get hurt on a hiking trail or miss a flight, you’ll be glad you had it.
New Zealand is one of the best places for solo adventure. The people are friendly, the infrastructure works, and the landscapes are genuinely world-class. If you follow this itinerary and prepare properly, you’ll have a trip you’ll remember for the right reasons.
Ready to book? Use the links above to compare flights and tours. Start now while availability is good.