Inca Trail to Machu Picchu: The Complete Hiking Guide
Introduction
The Inca Trail to Machu Picchu has a reputation for a reason. It’s a four-day journey through cloud forest, past Inca ruins, and over two high passes, ending at the Sun Gate for that first look at Machu Picchu. But each year, people get tangled in the logistics. This Inca Trail Machu Picchu hiking guide is here so you don’t become one of them.
After spending time in Peru’s trekking scene—dealing with permits, altitude, and choosing operators—I’ve collected what matters. We’ll cover the permit system (the biggest headache), training, packing, route choices, and the mistakes that can turn a great trip into a tough one. By the end, you’ll have a clear plan to book and hike the Inca Trail without the guesswork. Just practical steps.

Why Hike the Inca Trail? (And When It Might Not Be for You)
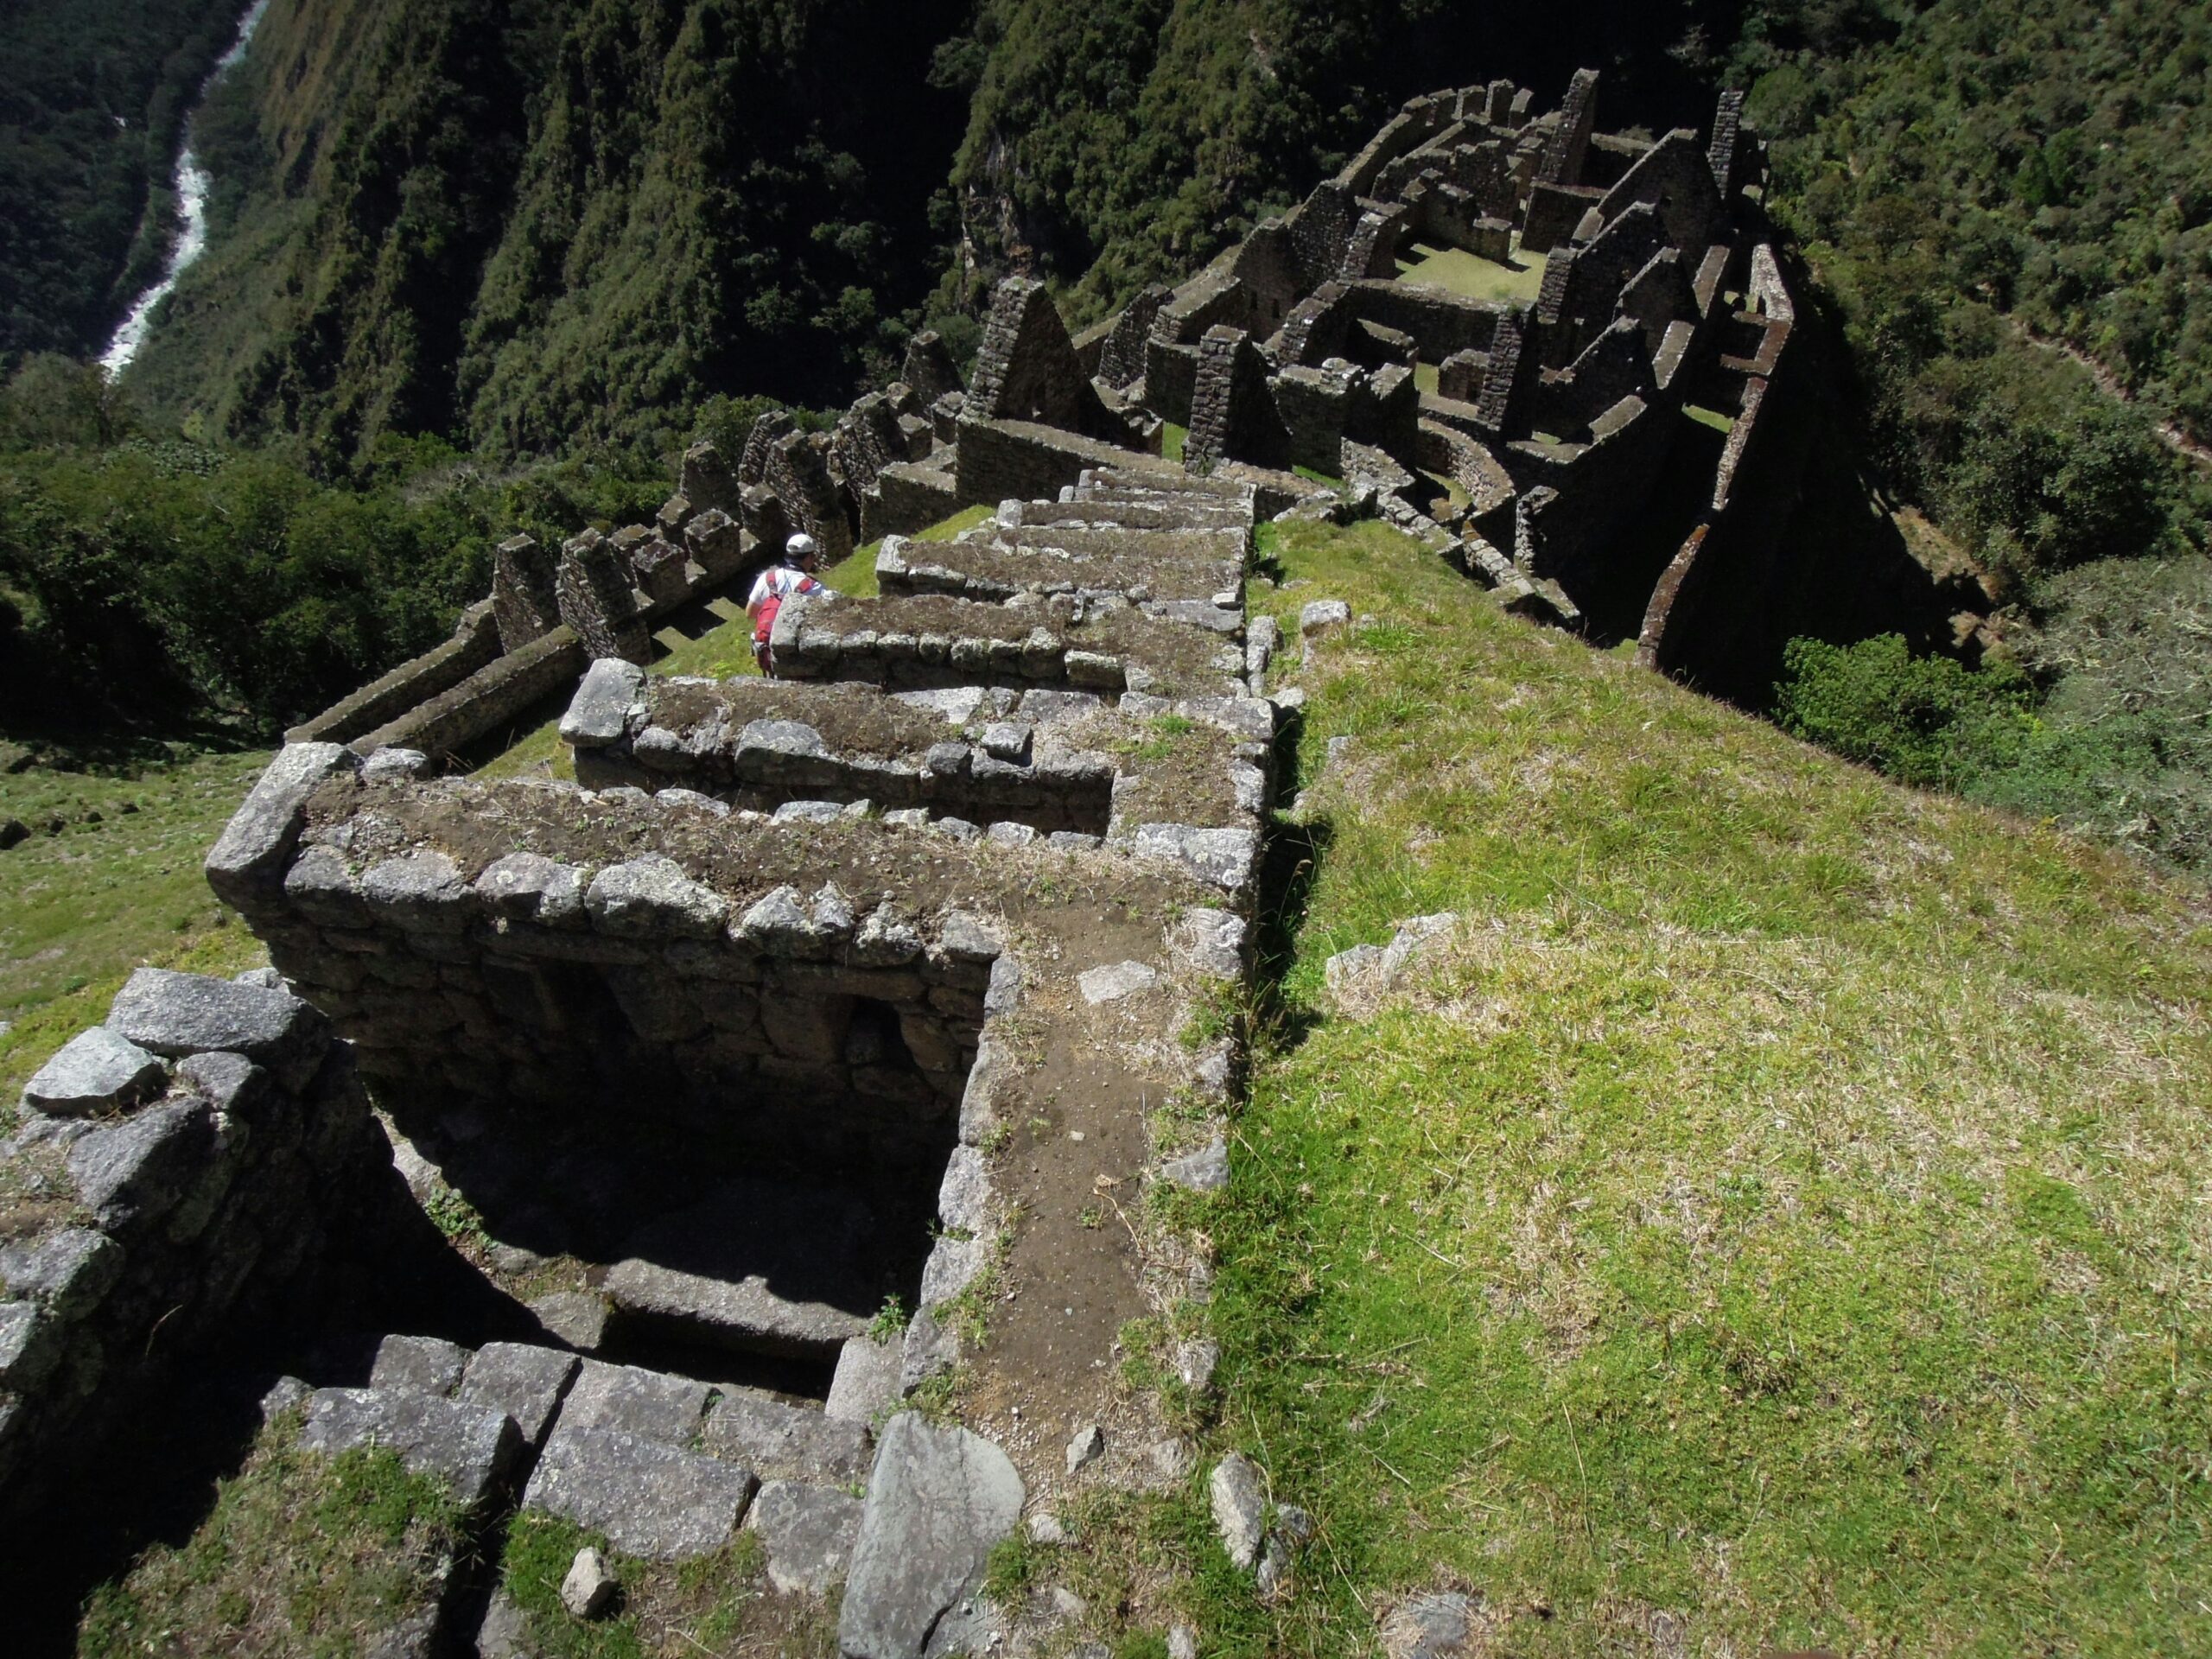
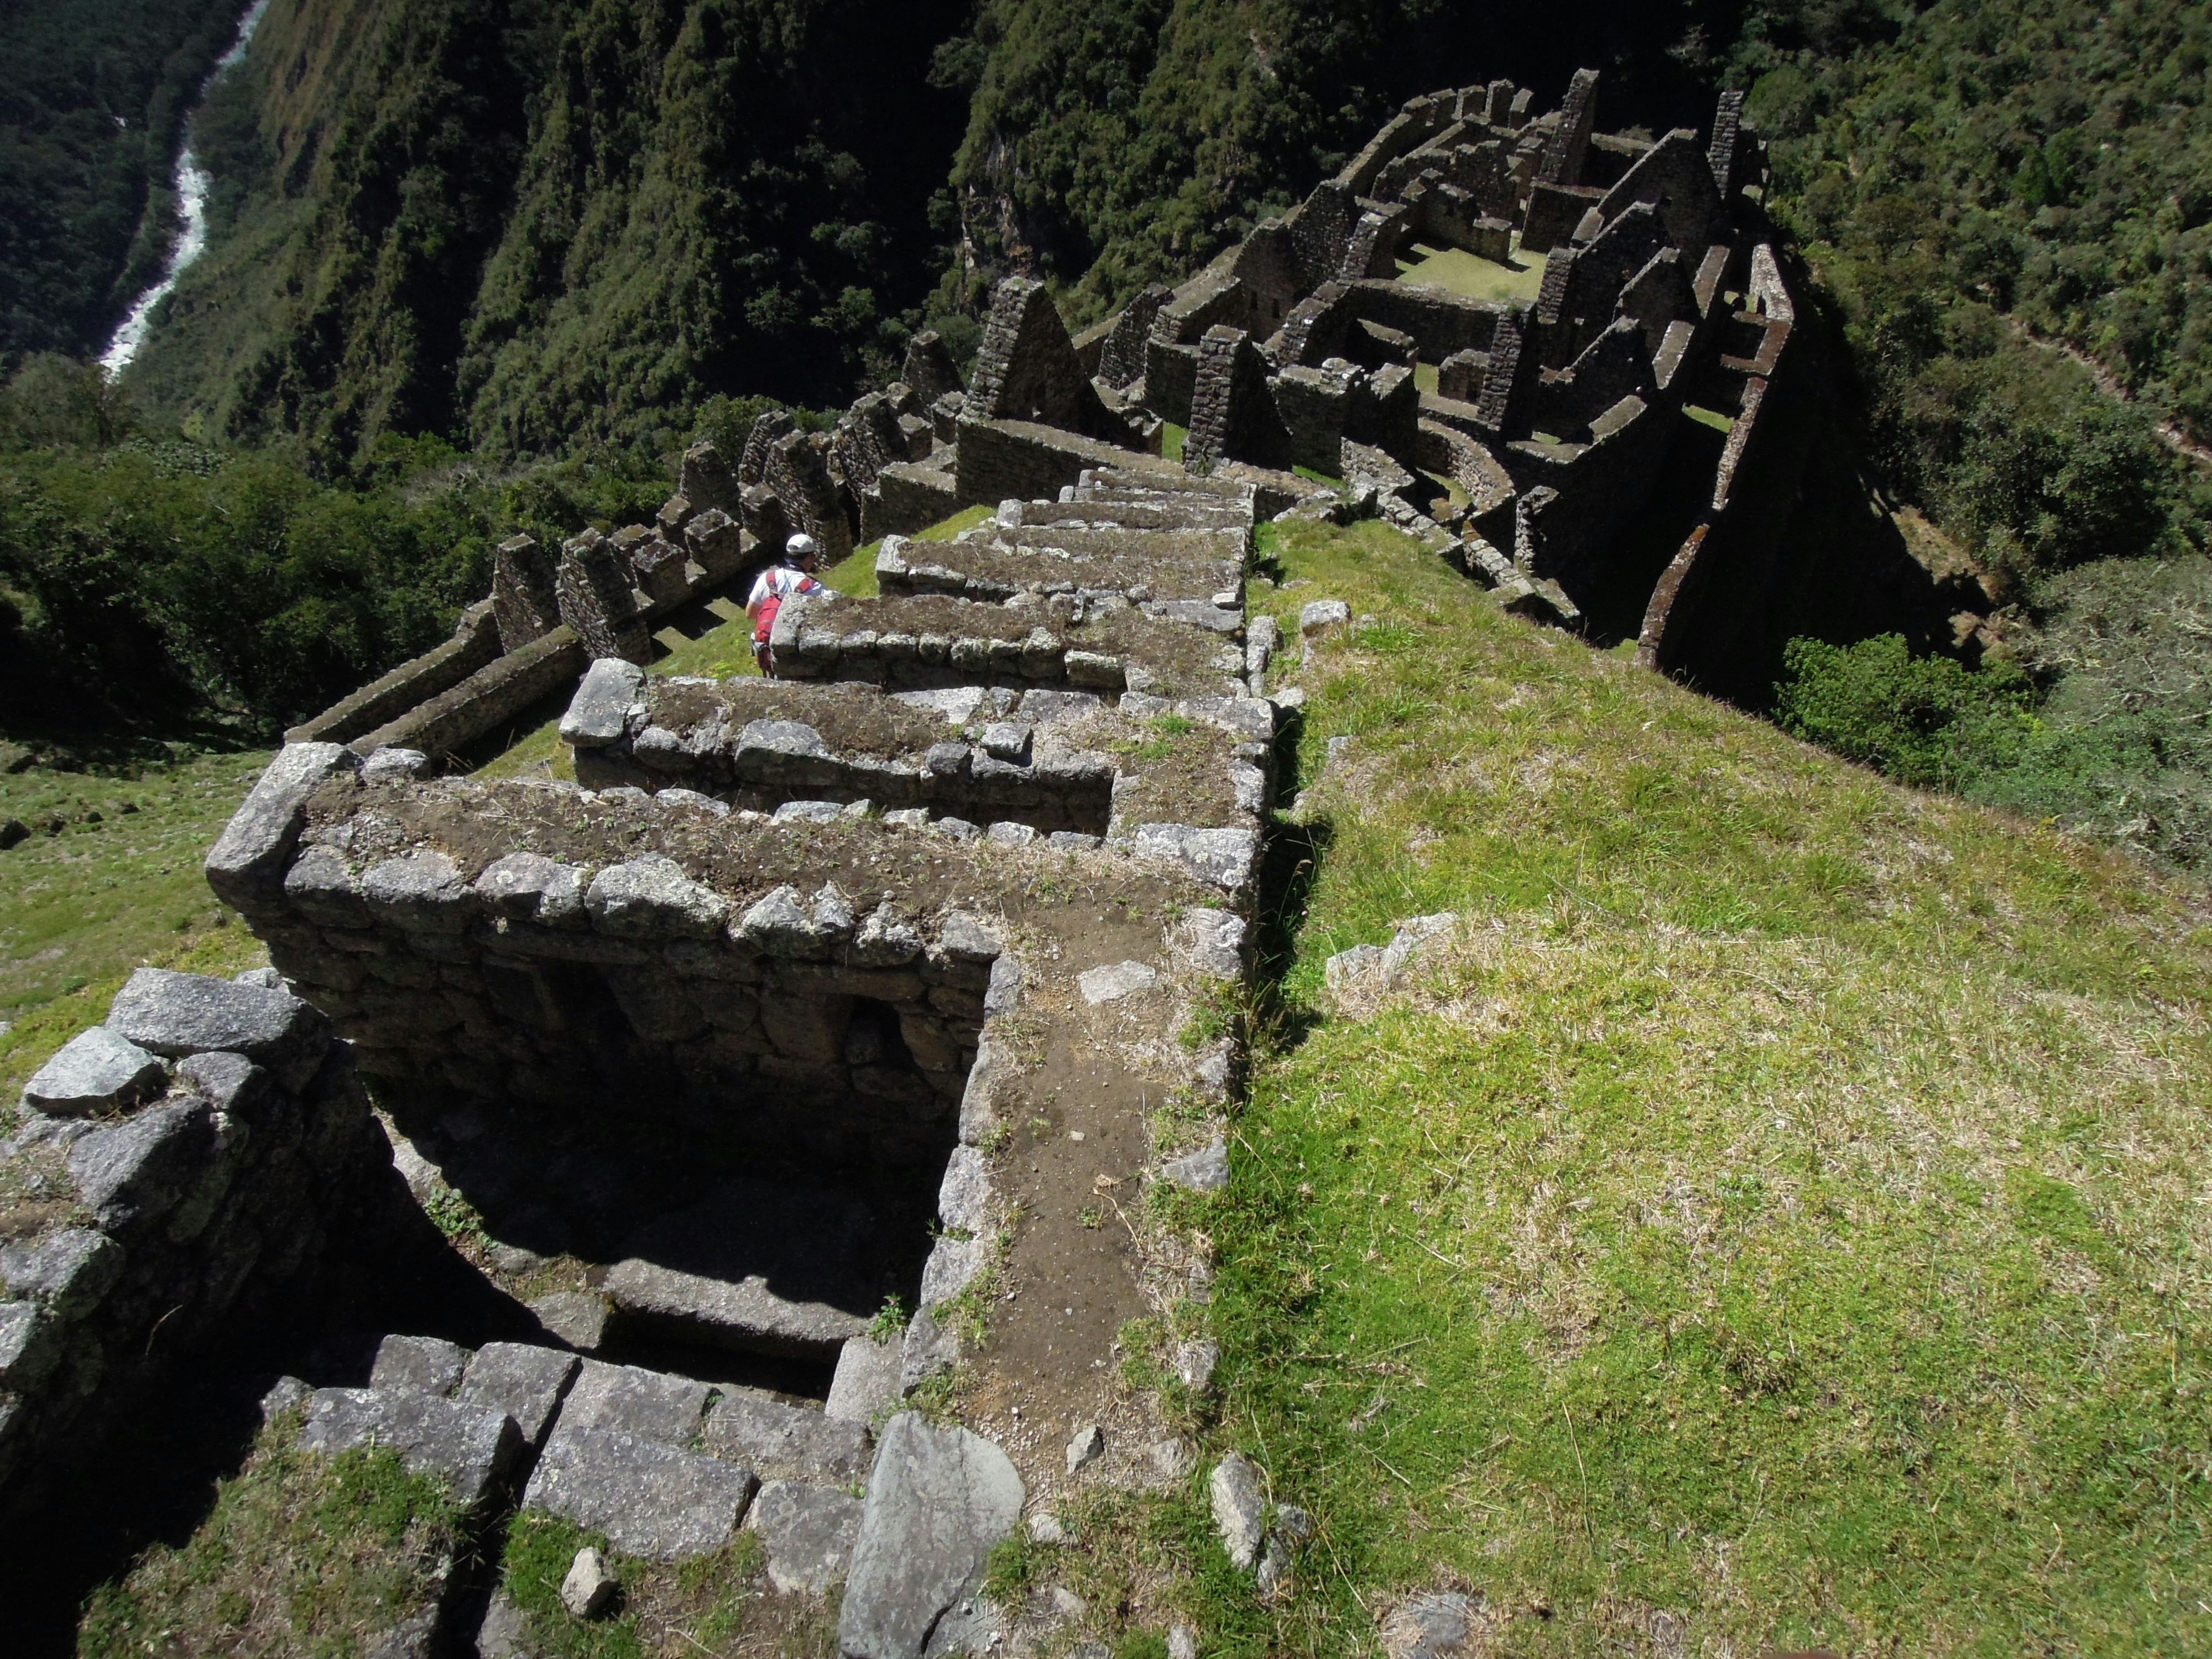
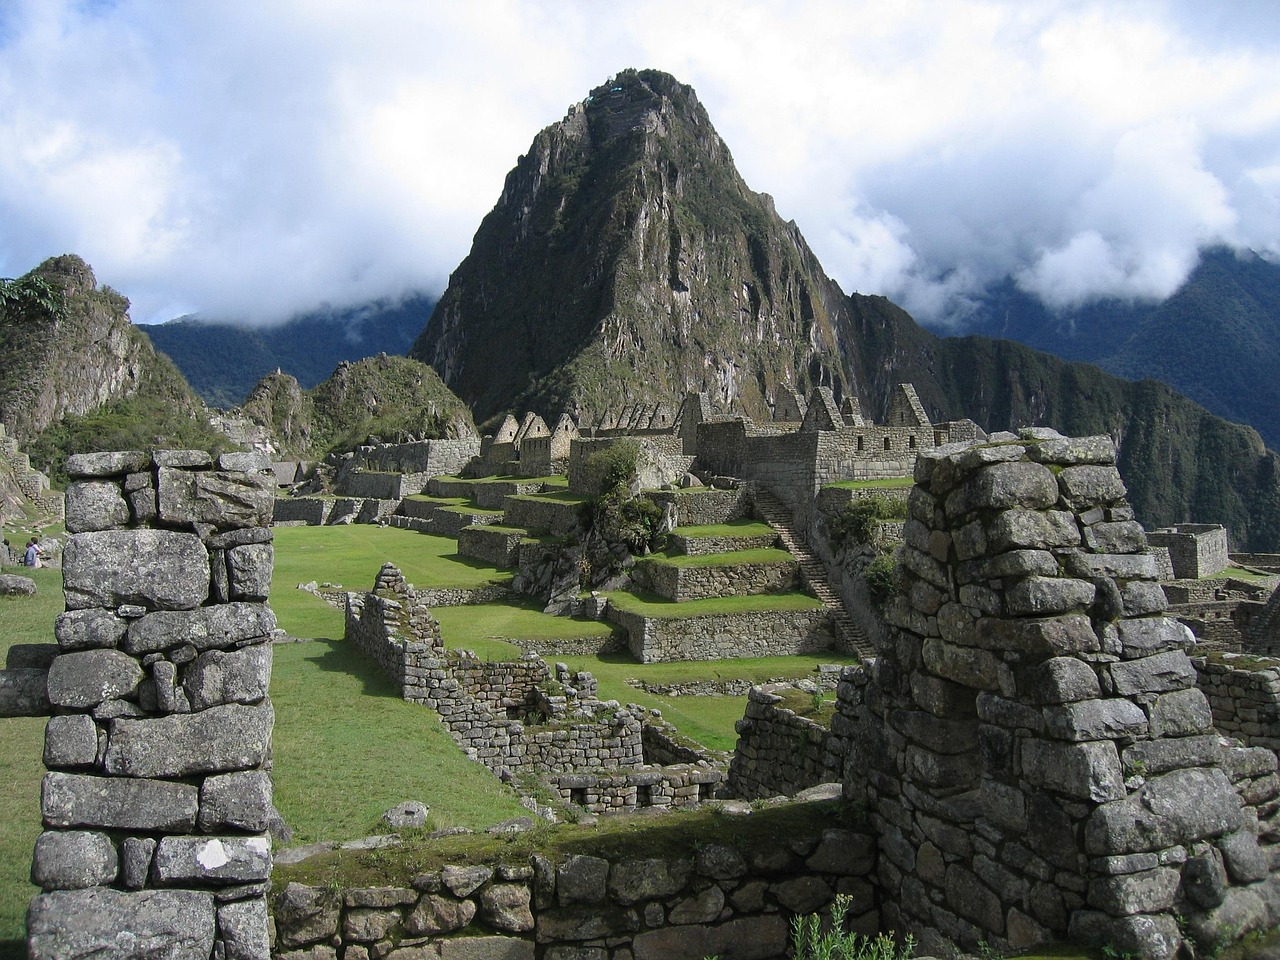
The appeal is straightforward: you walk on original Inca stonework, see sites like Wiñay Wayna, and enter Machu Picchu through the Sun Gate at sunrise. That entry is only for trekkers, and it’s something you can’t get from a bus or train. But it’s not everyone’s ideal trip.
Best for: Hikers who want a mix of culture and physical challenge. People who are fine with guided camping for four days. Trekkers who can book several months ahead.
Not best for: Anyone on a tight schedule (unless you do the 2-day version). Travelers who want to go independently (you need a licensed guide). People who don’t have patience for permit bureaucracy. Other treks like the Salkantay Trek are less restricted, cheaper, and more flexible. The Lares Trek offers a less crowded cultural experience. The Inca Trail is special, but it’s also the most logistically demanding.
How to Get a Permit: The Biggest Hurdle
This one thing stops more trips than altitude or fitness. The Peruvian government limits the trail to 500 people per day, including porters and guides. That leaves about 200 spots for trekkers. Permits sell out months in advance, especially from May to September.
Here’s the system:
- Season: The trail is open from March to January. It’s closed for maintenance in February.
- Booking window: Permits become available from October for the following year. Peak dates (June–August) often sell out by January.
- How to book: You must go through a licensed tour operator. They handle the permit application. Don’t try to do this on your own.
- Scam warning: Some operators overbook and leave you without a spot. Only book with agencies that have verified reviews on sites like TripAdvisor or that come recommended. Get a permit confirmation number when you book.
- Flexibility tip: If your dates are flexible, you have a better chance. Mid-week start dates and shoulder months (March, April, October, November) are less competitive.
If you’re set on the Classic 4-Day, book as soon as you know your dates. Waiting is risky.
Classic 4-Day vs. Short 2-Day Inca Trail: Which Should You Choose?
Both routes end at the Sun Gate, but the experience is quite different.
The Classic 4-Day: This is the full experience. You cover about 42 kilometers (26 miles) of trail, camp at three different spots, hike over Dead Woman’s Pass at 4,215 meters, and pass through impressive ruins. It’s three nights of camping and four days of hiking. The sense of achievement is real. Cost is typically $600–$900 per person. It suits dedicated hikers who want the complete journey.
The Short 2-Day: This is a condensed version. You take the train to Kilometer 104, hike for about 6–8 hours that day, camp near Wiñay Wayna, and then hike to the Sun Gate early the next morning before visiting Machu Picchu. It’s less physically demanding. Cost is lower, around $350–$500. It works for time-pressed travelers, families, or anyone unsure about handling the full four days.
My take: If you have the time and have been training, do the 4-Day. If you’re short on time or less confident about your fitness, the 2-Day still gives you that moment at the Sun Gate. Just know you miss the deeper wilderness and ruins.
What You Need to Know About Altitude Before You Go
Dead Woman’s Pass sits at 4,215 meters (13,828 feet). That’s high. Altitude sickness is real and can sideline even fit hikers. Ignoring it is the second biggest mistake people make.
Symptoms to watch for: headache, nausea, dizziness, loss of appetite, fatigue. If mild, you can usually push through with rest and hydration. If severe—vomiting, confusion, trouble walking—you need to descend. Operators carry oxygen and can help you get down if needed.
How to handle it:
- Arrive in Cusco (3,400m) at least 2–3 days before the trek. Give yourself time to adjust.
- Drink coca tea. It’s a legitimate remedy, not just for tourists.
- Stay hydrated. Aim for 3–4 liters of water per day on the trail.
- Avoid alcohol and heavy meals before and during the trek.
- Consider altitude medication like Diamox, but talk to a doctor first. It helps some people but has side effects.
What to carry: Coca leaves or candies, electrolyte packets, and a small bottle of altitude medication as backup. Don’t rely on pills alone. Gradual acclimatization and hydration are key. Travelers who have struggled with altitude before might want to bring altitude sickness remedy supplies for peace of mind.
Packing List: What to Bring (and What to Leave Behind)
Packing is about being prepared without overloading your porter. The porter weight limit is about 7 kg (15 lbs) for your personal gear, plus your sleeping bag and mat if rented. Pack accordingly.
Clothing layers (the non-negotiable core):
- Base layer: Merino wool or synthetic. Avoid cotton. One for hiking, one for sleeping.
- Mid layer: Fleece jacket or lightweight down vest. Essential at altitude.
- Outer shell: Waterproof and windproof jacket. Rain is common in the cloud forest.
- Hiking pants: Quick-dry, convertible zip-offs work well. One pair for hiking, one for camp.
- Footwear: Broken-in hiking boots with good ankle support. Blisters can derail the trek if you try new boots.
Essential gear:
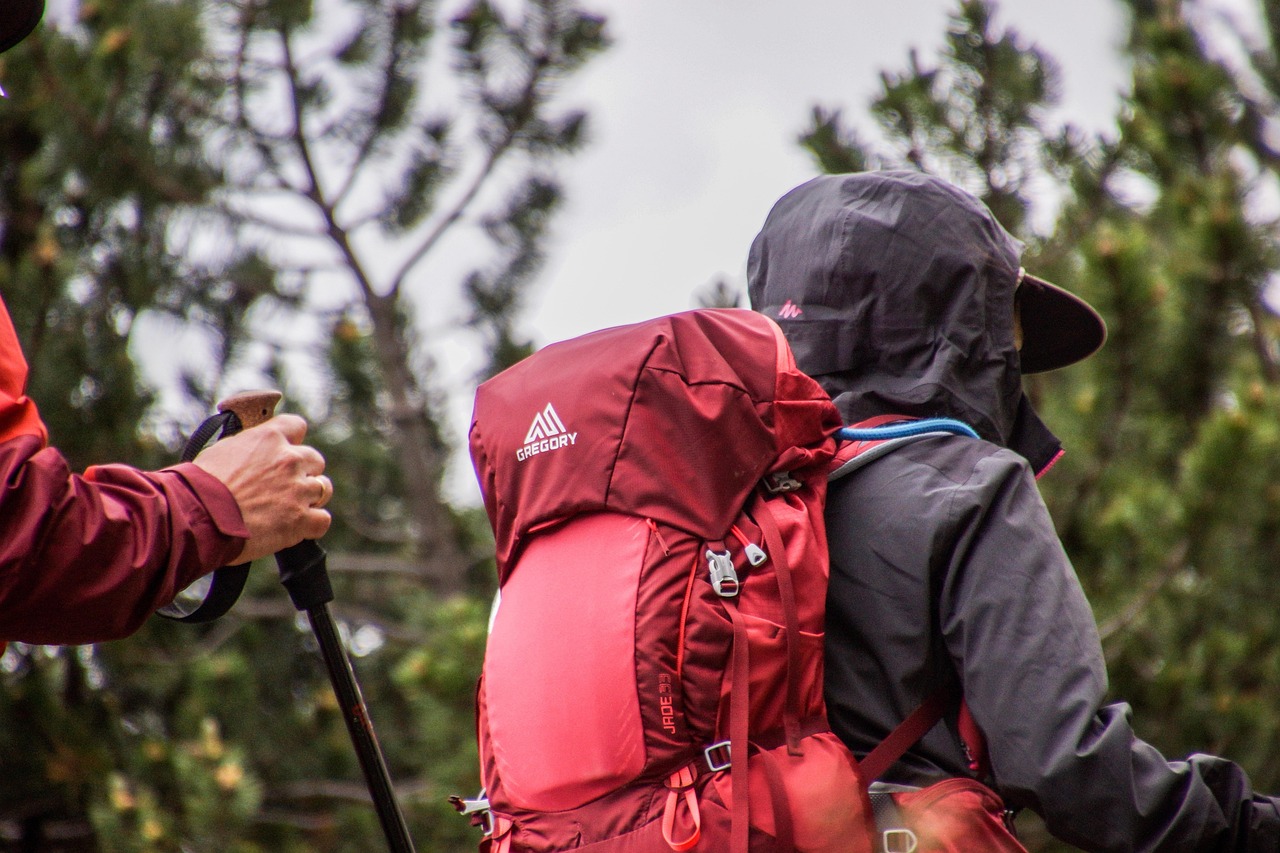
- Trekking poles (your knees will thank you on the descent from Dead Woman’s Pass). Hikers who prefer a more stable stride can check out hiking trekking poles lightweight options.
- Headlamp with fresh batteries (for early starts and bathroom trips)
- Sunscreen (SPF 50+) and sunglasses (UV is strong at altitude)
- Insect repellent (DEET-based for the lower forest sections)
- Water purification tablets or a filter bottle (streams are available)
- Sleeping bag rated to at least 10°F / -12°C. Rent a quality bag from your operator if buying isn’t practical.
Items to leave behind: Jeans (cotton is bad when wet), heavy extras like books or laptops, more than one pair of shoes, and unnecessary toiletries. Pack light but smart.

Physical Preparation: How to Train for the Inca Trail
You don’t need to be an ultra-runner, but you need a baseline of fitness. The hike involves long days, steep ascents, and technical stone steps. Start training 6–8 weeks before you leave.
Sample weekly schedule (6 weeks out):
- 3 days/week: Hiking with a loaded daypack (8-10 kg / 18-22 lbs). Aim for 2-3 hours with 300-500 meters of elevation gain per hike.
- 2 days/week: Stair climbing. Find a long flight and do repeats. This helps with the altitude and step work.
- 2 days/week: Cardio endurance. Running, cycling, or elliptical for 45-60 minutes.
- 1 day rest.
Key tip: Focus on descending practice. Many people think the hard part is going up, but the constant downhill on uneven stone can be tough on your knees. Practice downhill hiking with poles.
See your doctor before you go. Mention the altitude and physical demands. They can advise on altitude medication or any underlying conditions. This is important if you have heart or breathing issues.
What a Typical Day on the Trail Looks Like
A normal day on the 4-Day trek follows a predictable rhythm. It helps to know what you’re signing up for.
- 5:00 AM: Wake-up. Your porter brings you a cup of coca tea in your tent. Pack your sleeping bag and duffel.
- 5:30 AM: Breakfast in the mess tent. Hot drinks, oatmeal, eggs, bread.
- 6:00 AM: Start hiking. You walk at a steady pace with your guide, stopping at ruins and viewpoints.
- 10:30 AM to 12:00 PM: Lunch stop. A full cooked meal—soup, main course, fruit.
- 12:00 PM to 4:00 PM: Afternoon hiking block. This is often uphill or downhill depending on the day.
- 4:00 PM to 5:00 PM: Arrive at camp. Tents are already set up by the porters. Relax, hydrate, rest.
- 6:00 PM: Dinner. Another full meal. Tea time and socializing.
- 8:00 PM: Lights out. Everyone turns in early for the next day’s start.
The daily distances vary: Day 1 is about 12 km (7.5 mi) on fairly flat terrain. Day 2 is the hardest at 16 km (10 mi) with Dead Woman’s Pass. Day 3 is 10 km (6 mi) with lots of ruins. Day 4 is an early morning 6 km (3.7 mi) to the Sun Gate.
The porters are the backbone. They carry tents, food, and equipment at an impressive pace. Respect them. Tip them.
Common Mistakes First-Time Hikers Make (and How to Avoid Them)
- Overpacking. You bring too much weight, then struggle on the trail. Stick to the porter limit. Let your operator handle tents, food, and cooking gear.
- Underestimating altitude. You don’t acclimate and get sick on Day 2. Arrive in Cusco early, stay hydrated, and respect the altitude.
- Booking a sketchy operator. You save money, but get poor equipment, overwhelmed porters, or a permit that was never secured. Spend the extra $100-200 on a reputable company. Read recent reviews, not just the top-rated ones.
- Not training. You struggle on the uphills, get injured, or hold the group back. Train with a loaded pack and stairs.
- Ignoring weather layers. You get cold or wet and have a miserable time. The weather changes fast. Always have your shell and mid-layer accessible in your daypack.
Cultural note: Tipping porters and guides is expected. Budget $30-50 for porters total, and $10-20 for your guide. Hand it to them in cash in an envelope on the last day.
Arriving at Machu Picchu: What to Expect at the Sun Gate
On the final morning, you wake up before dawn. After a quick breakfast, you hike the last stretch to the Sun Gate (Inti Punku). It’s usually a 30-45 minute walk. You arrive around 6:30 AM, and the first rays of sun hit the stone.
It’s a good moment. But it’s also crowded. Groups gather, people take photos, and you share the view. Don’t expect solitude. After the photos, you descend into the main citadel for a guided tour. This is where booking an extra hike—Huayna Picchu or Machu Picchu Mountain—can be worth it. You get a different view and a bit more space. These tickets sell out months in advance. If you want one, add it when you book your permit.
Also, bring cash. There are no ATMs inside, and you’ll want to buy snacks or water once you exit.
Booking Your Trip: Tour Operators, Costs, and What’s Included
Here’s a breakdown of what you’ll pay and what to check:
- Permit fee: $50-$100. This is separate from the operator cost. It’s included in most packages.
- Tour operator cost (4-Day): $600-$900. This includes permit, guide, porters, all meals, camping equipment (tents, sleeping bag, mat), and bus ticket from Machu Picchu to Aguas Calientes.
- Tour operator cost (2-Day): $350-$500. Includes same services, plus the train ticket to the trailhead.
- Extras: Tips ($30-70 total), Huayna Picchu ticket ($50-80), sleeping bag rental ($20-30), hiking poles ($10-15).
What a good operator provides:
- Professional guide with good English
- Qualified porters (check they are paid fairly)
- Quality tents and sleeping pads
- Hygienic food preparation (look for reviews mentioning food quality)
- Oxygen and first aid kit
- Permit confirmation number in advance
Warning signs of a bad operator: Prices below $500 for the 4-Day. No permit number provided before your trip. Vague responses about porter conditions. Multiple negative reviews mentioning cancellations or safety issues.
Do your research. Pick one with consistent positive reviews and clear pricing. If possible, book through a platform that offers buyer protection.

Final Checklist Before You Depart for Cusco
- Permit confirmed? Do you have the official confirmation number from your operator? Call to verify if needed.
- Gear packed? Layered clothing, broken-in boots, rain gear, headlamp, trekking poles, sunscreen, water treatment. For organization, a hiking daypack lightweight can help keep essentials accessible on the trail.
- Training done? You’ve been hiking with a loaded pack for the last 6 weeks.
- Cusco arrival? You have 2-3 days in Cusco before the trek starts.
- Weather checked? Pack for rain, sun, and cold. Be ready for anything.
- Bank notified? Tell your bank you’re traveling to Peru. Carry some soles and a credit card for emergencies.
- Documents printed? Passport, confirmation, emergency contacts. Keep a copy in your daypack and another in your main luggage.
The Inca Trail involves some logistics, but get them right, and it’s a rewarding experience. Now go book that permit.