Adventure Travel Emergency Guide: How to Handle Crises on the Road
Introduction
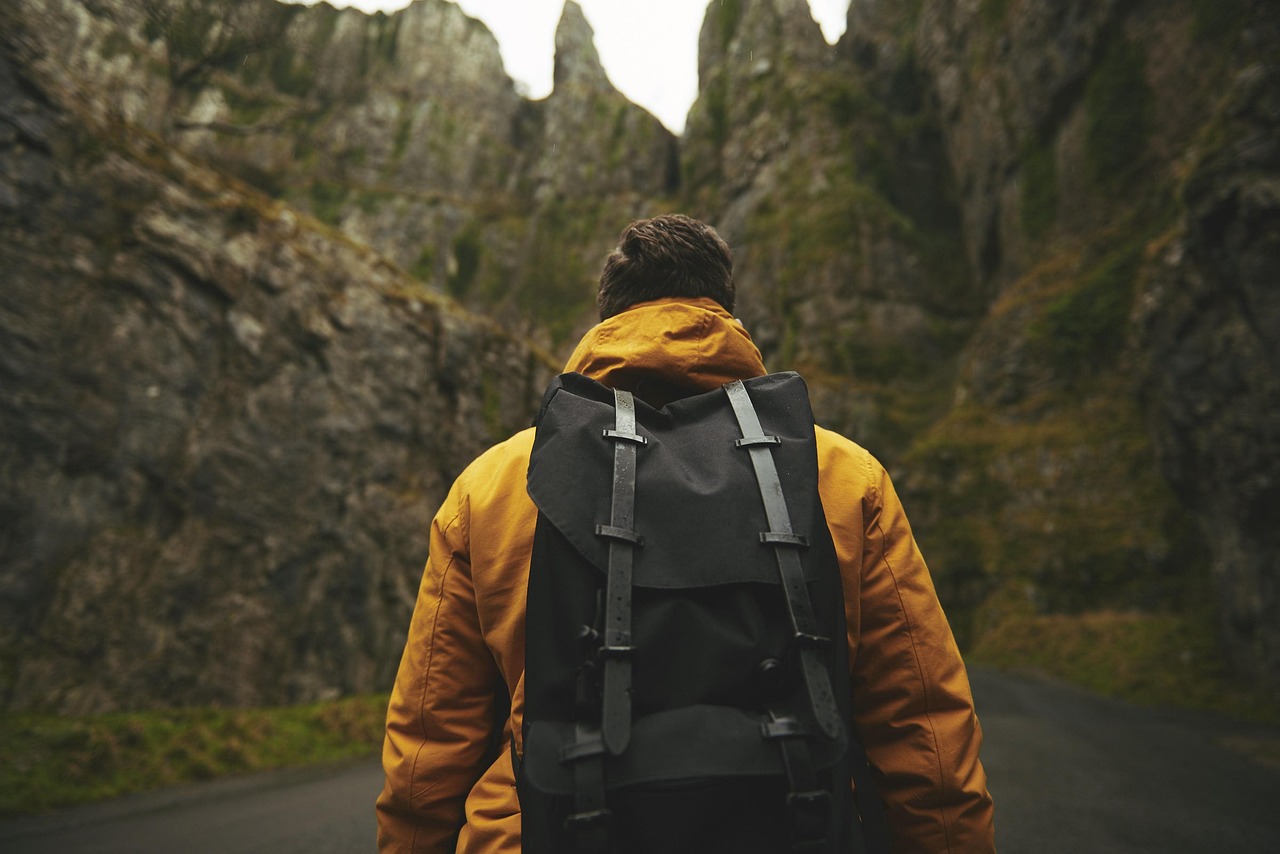
When you’re miles from the nearest road, carrying everything you need on your back, a small problem can turn into a serious situation fast. That’s why this adventure travel emergency guide exists. It’s not meant to scare you away from the backcountry. It’s about making sure you know what to do when something goes wrong. Truth is, most emergencies during adventure trips aren’t dramatic Hollywood scenes. They’re sprained ankles on scree slopes, dehydration on a hot ridge, or a broken tent pole in a downpour. How you handle these moments depends almost entirely on how you prepared beforehand. Panic fades when you have a plan. This guide covers the most common scenarios, the gear that actually matters, and the decisions that keep you safe. Let’s get into it.

Why Adventure Travel Requires a Different Emergency Mindset
Losing your wallet in a city is a hassle. Losing your way on a glacier is a different category entirely. The emergency mindset required for a remote trek or climbing trip is fundamentally different from urban travel. In a city, you have infrastructure all around you—hospitals, police, cell service. In the backcountry, you have none of that. You and your group are the emergency services. Self-reliance isn’t a nice idea; it’s the baseline.
Another factor is the type of risk. Adventure activities like multiday hiking, mountaineering, or whitewater rafting introduce hazards that most travel insurance policies explicitly exclude. A standard plan won’t cover helicopter evacuation from a climbing accident. It won’t pay for a search-and-rescue operation if you get lost. You need specialist coverage, and you need to know the limitations of your gear and your own skills before you head out.
The tradeoff is simple: the more remote the trip, the more you have to carry in your head and your pack. This isn’t about being paranoid. It’s about being competent. The adventure mindset acknowledges the risks, prepares for them logically, and then gets on with enjoying the trip.
The Most Common Adventure Travel Emergencies (and What to Do First)
When you’re in the moment, your brain tends to freeze. Having a short mental checklist for the most likely problems helps you move past the shock and into action. Here are the five most common emergencies we see on trails and in campsites, and the immediate first steps to take.
- Sprains and breaks: Stop immediately. Do not try to walk it off. If it’s a lower limb injury, you risk turning a sprain into a fracture or causing a fall that hurts someone else. Immobilize the joint or limb with a splint or your hiking pole. If you can’t bear weight, you need evacuation.
- Dehydration and heatstroke: Stop hiking. Get into the shade. If there’s no shade, use your pack or a rain jacket to create shade. Drink water slowly, not all at once. Pour water on your head and wrists to cool down. If you stop sweating, you’re in trouble. This is the point where you need to call for help if you can’t cool down within 20 minutes.
- Getting lost: The single most important rule is to stop moving. It sounds counterintuitive, but walking around in a panic will only make you more lost. Sit down. Get your map out. Use the STOP protocol we cover in detail later. Do not keep walking hoping you’ll recognize something.
- Gear failure: Assess the damage before you do anything. Is it something you can fix with duct tape or a multi-tool? Or is it catastrophic, like a torn tent body? For catastrophic failures, your priority is building a shelter using your emergency bivvy or a tarp. Fix the gear later.
- Severe weather: If you hear thunder or see lightning, get off ridges immediately. If a flash flood is possible, move to high ground. For hypothermia, the first signs are shivering and clumsiness. Get the person into dry clothes and a sleeping bag, and give them warm sugary drinks. Heat them from the outside with your own body if necessary.
How to Build an Adventure-Ready Emergency Kit Without Overpacking
Every gram counts, but so does your safety. The key is to carry the right gear for your specific trip, not a hospital pharmacy. Here’s how I build my emergency kit, balancing weight against utility.
First-Aid Basics
Don’t bring a 20-pound medical kit for a three-day hike. A good minimalist kit includes: blister treatments (moleskin or leukotape), antiseptic wipes, a small tube of antibiotic ointment, gauze pads, medical tape, ibuprofen, an antihistamine for allergic reactions, and a tourniquet only if you’re trained to use one. This covers 90% of trail injuries. If you prefer a pre-packed option, look for a compact hiking first aid kit that includes the basics without extra weight.
Communication Devices
This is the most important and most expensive part of your kit. The two main options are satellite messengers (like the Garmin inReach Mini 2) and personal locator beacons (PLBs, like the ACR ResQLink). A satellite messenger lets you send two-way texts, so you can explain the situation. A PLB just sends a distress signal. For true solo trips, go with a satellite messenger. For group trips in cell range, a good offline map app on your phone might be enough.
Other Essentials
- Multi-tool: A solid multi-tool like a Leatherman or a Victorinox can fix gear, open cans, and even help with first-aid. For a reliable option, consider a Leatherman multi-tool for outdoor use.
- Fire starter: Waterproof matches and a ferro rod. Do not rely on a single lighter. Practice starting a fire before you need to.
- Emergency bivvy: A lightweight, waterproof bivvy bag. It’s not a tent—it’s a survival shelter that prevents hypothermia. Keep it accessible, not buried.
The decision framework is simple: For a day hike under 8 miles, you can get away with a small kit and a fully charged phone. For a multiday expedition or any trip in cell-dead zones, you need the satellite messenger, a proper first-aid kit, and the repair items.

Communication During a Crisis: Devices and Protocols
If you can’t call for help, you have to self-rescue. That’s a far more serious situation. Here’s a breakdown of the communication tools available and when each one makes sense.
| Device Type | Best For | Pros | Cons |
|---|---|---|---|
| Satellite Messenger (Garmin inReach) | Solo adventurers, group trips, any trip outside cell range | Two-way messaging, SOS button, weather reports, tracking | Requires subscription, annual fee, upfront cost |
| Personal Locator Beacon (PLB) | Spontaneous trips, budget-conscious adventurers | No subscription, very reliable, dedicated SOS | One-way only (no texts), cannot update your status |
| Cell Phone | Short day hikes, car camping, areas with known coverage | Already have it, works with offline maps | Battery dies in cold, no signal in canyons or mountains |
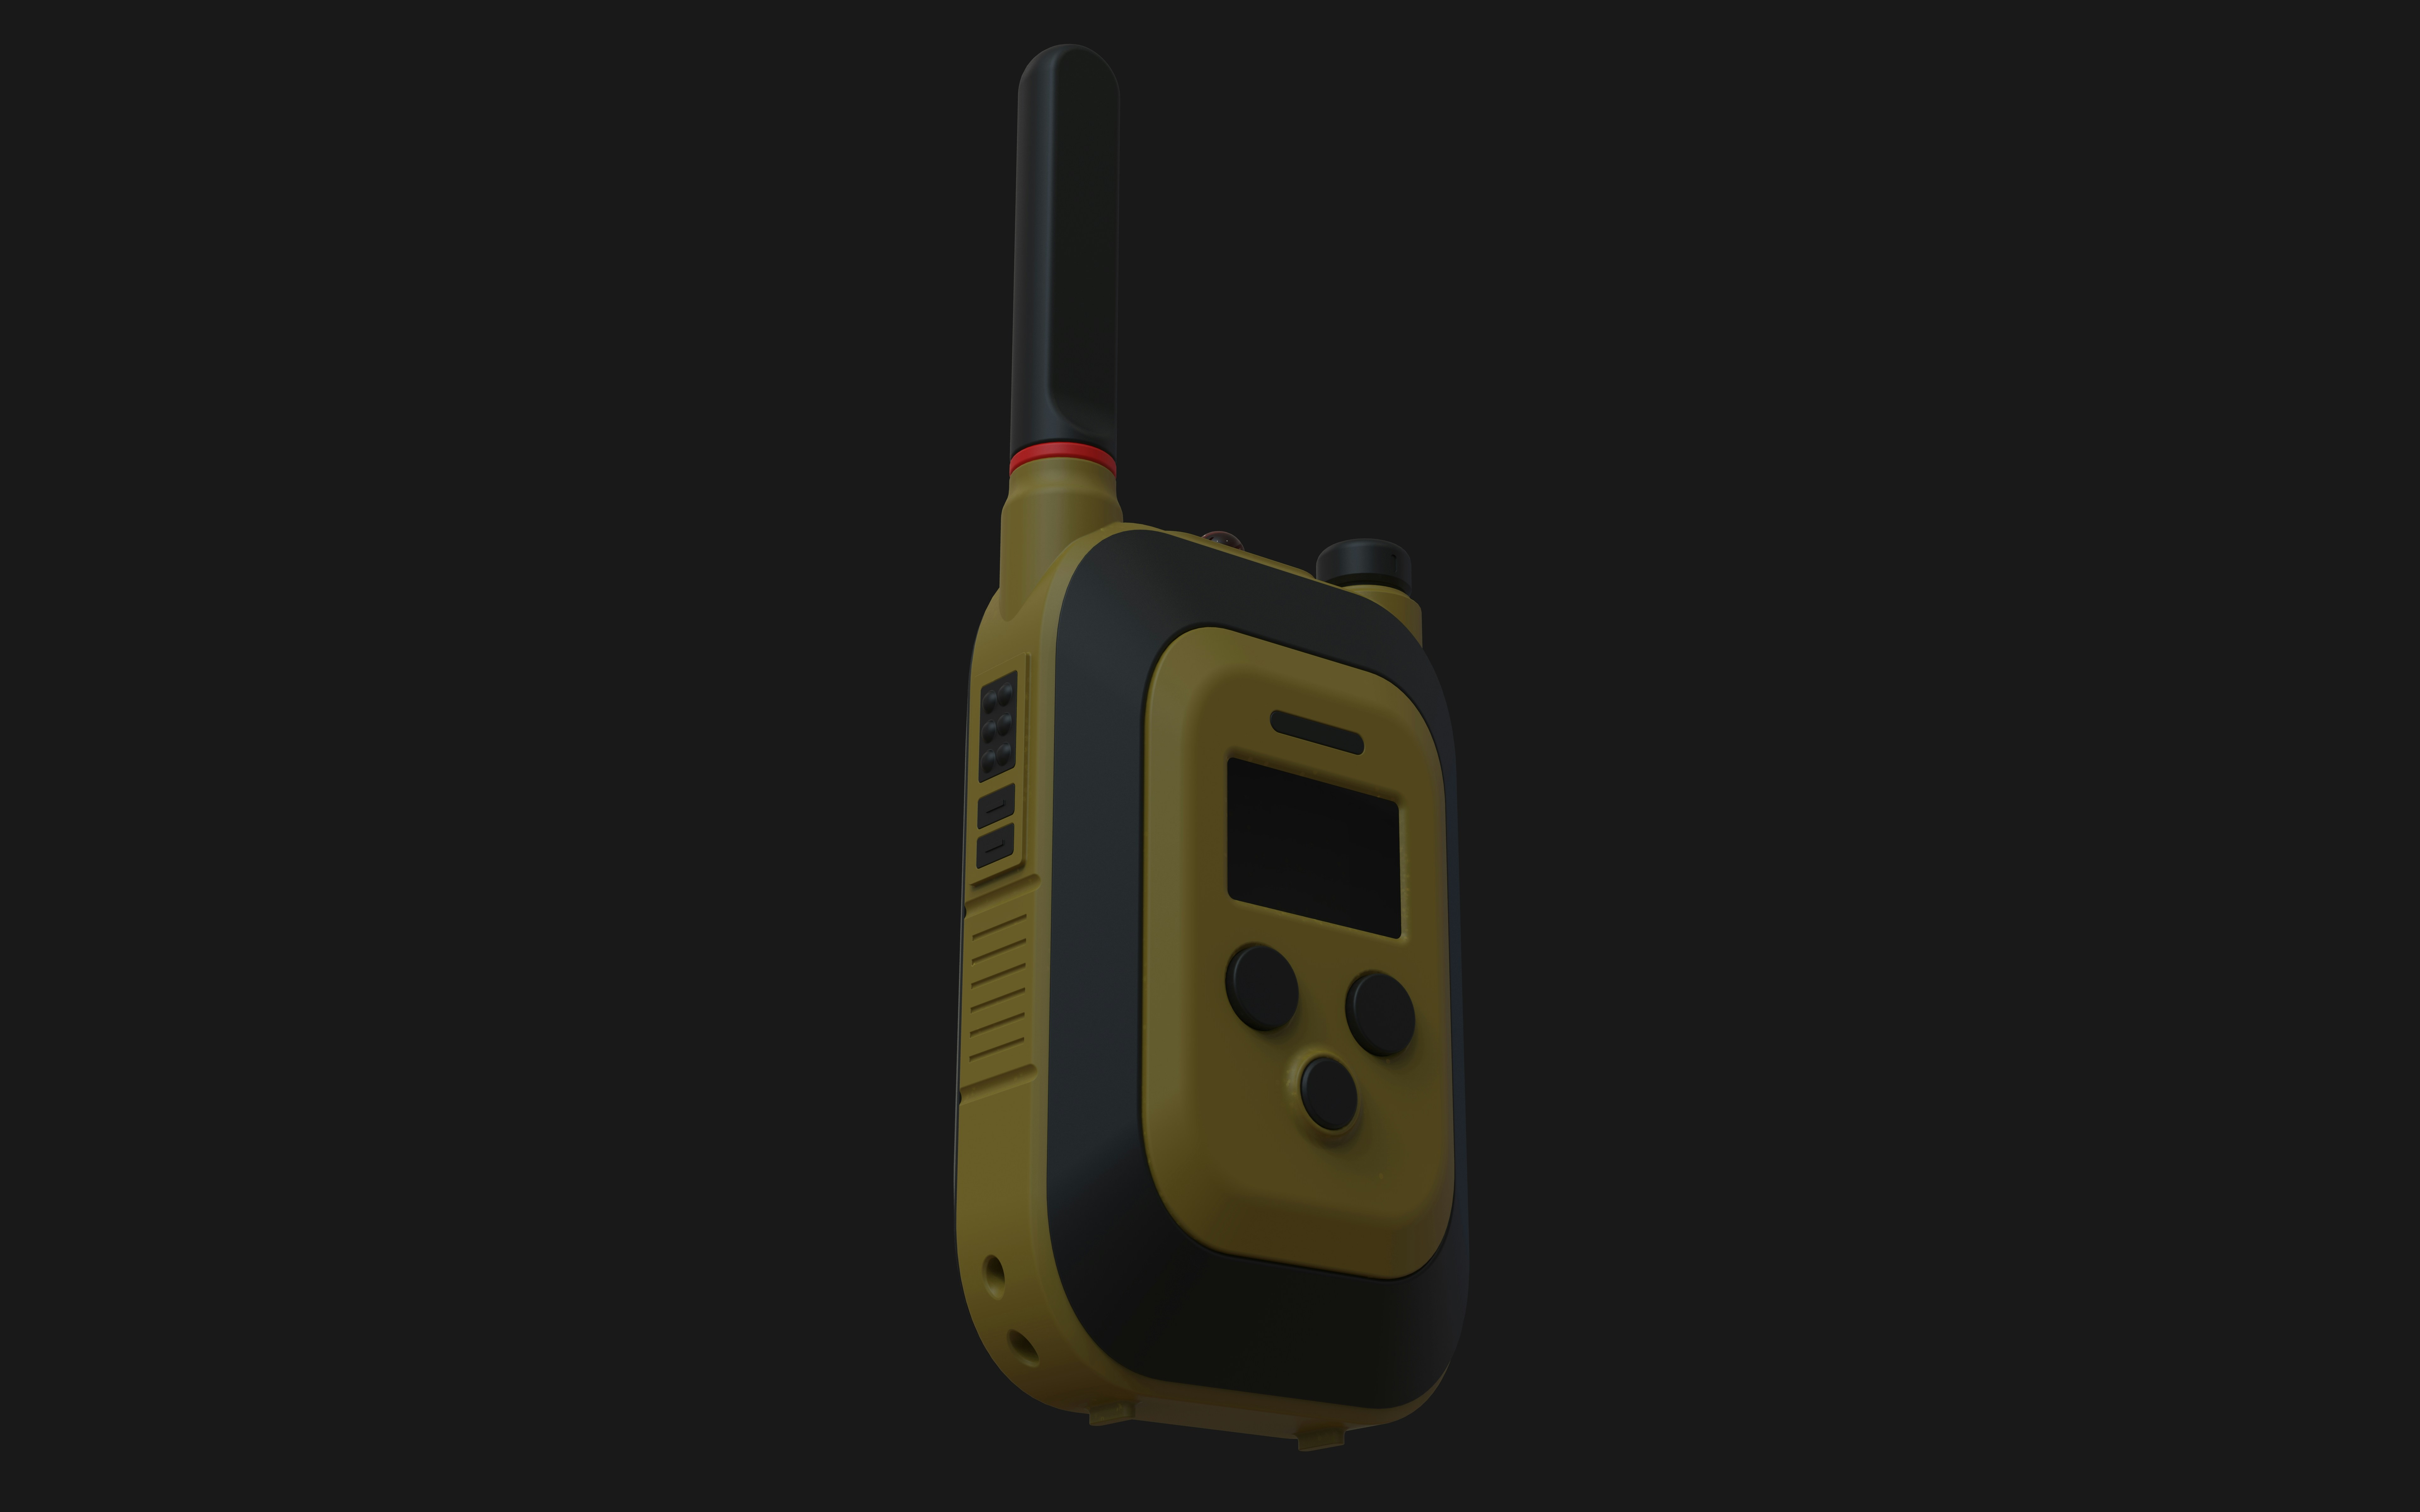
| Two-Way Radio (FRS/GMRS) | Group communication in close proximity | No subscription, good for group coordination | Limited range (1-2 miles), not an emergency device |
Beyond the device, you need a protocol. This is the boring but critical part: before you leave, you tell someone reliable exactly where you’re going, what route you’re taking, when you expect to check in, and what to do if you don’t. This is your trip plan. It should include your vehicle details, your intended campsites, and the call-sign or number of your satellite messenger. Do not skip this. It’s the single cheapest safety measure you can take.
Battery management is another practical point. Keep your devices in an inner pocket close to your body to preserve battery life. Turn off Bluetooth and Wi-Fi. Carry a small power bank if you’re using your phone as a navigation tool. A dead phone in a crisis is not helpful.
Medical Emergencies: When to Evacuate vs. When to Self-Treat
This is where experience really counts. The hardest decision on the trail is knowing whether to keep going or call it. The general rule is: if you can’t walk on it, you shouldn’t walk on it. That sounds obvious, but I’ve seen people try to hike out on a broken ankle only to end up in a worse spot.
Here are some clear criteria for evacuation:
- Blisters: Treat with moleskin and clean the area. If it’s infected (red, hot, pus), you need to get off the trail and see a doctor.
- Twisted ankle: If you can bear weight and move, you can likely self-treat with rest, ice (or cold stream water), compression, and elevation (RICE). If you cannot put weight on it after 10 minutes of rest, you likely have a fracture and need evacuation.
- Deep cut: Clean the wound thoroughly with clean water. Apply pressure to stop bleeding. Stitches are needed if the wound is deep, gaping, or won’t stop bleeding. If you’re more than a day from a road, you’re better off calling for help.
- Allergic reaction: If you have an EpiPen, use it immediately. After the EpiPen, you need to get to a hospital. Do not wait to see if symptoms return. If you don’t have an EpiPen and you see hives, swelling of the face or throat, or difficulty breathing, evacuate immediately.
The important takeaway is that medical self-care has limits. You can clean a wound and splint a leg, but you cannot treat a fracture in the field. You can manage mild dehydration, but not heatstroke. Knowing these limits is what stops a manageable problem from becoming a crisis.
What to Do If You Get Lost: A Step-by-Step Protocol
Getting lost is frightening, but it’s also usually the result of a series of small mistakes. The first thing to do is to recognize that you are lost. Denial is the enemy here. As soon as you suspect you are off route, stop walking. Use the STOP protocol.
- Stop: Sit down. Take a breath. Do not move until you have a plan.
- Think: When did you last know exactly where you were? How long have you been walking since then? What was the last recognizable landmark?
- Observe: Look around. Can you see the trail? A ridge? A stream? A distinct peak? Use your map to try to match what you see. Check your compass.
- Plan: Based on your observation, decide on a plan. If you are very confident you can backtrack, do so slowly. If you are not confident, you are better off staying put. If you have a GPS device, use it now. If you have a whistle, blow three short blasts (the universal distress signal). If you have a mirror or fire starter, use them to attract attention.
The biggest mistake is walking downhill without a plan. People often think a stream will lead to a road. That’s sometimes true, but often the stream leads into a canyon or a cliff. Stay on ridges if you can, because they offer good lines of sight and are easier to navigate. And do not rely solely on your phone’s GPS without a backup map and compass. Phones die, and offline maps can be wrong at a critical juncture.
How to Handle Gear Failure Without Ruining Your Trip
Gear will break. It’s not a matter of if, but when. Knowing how to do a field repair can save you a lot of pain and a potentially dangerous situation. The key items to always carry for repairs are: duct tape (wrapped around a water bottle or a piece of card), zip ties, a needle and thread (or a small sewing kit), and a small section of cordage.
Here are the most common gear failures and my field fixes:
- Broken tent pole: Use a tent pole splint (which you can buy or make from a metal tube) or a combination of duct tape and a trekking pole to splint the broken pole. A zip tie can also work to hold it together.
- Torn sleeping bag: Duct tape is your friend. If you have a small tear, patch it from the inside and outside. If it’s a large tear, you will need a needle and thread. A sleeping bag with a tear will lose all its insulating loft, so this is a critical fix.
- Snapped strap: Use a zip tie or a cord to lash the strap back together. If you have a buckle that broke, a small carabiner can hold the webbing in place temporarily.
- Boot sole peeling off: Duct tape, applied generously. Or two zip ties. This is a temporary fix to get you to a town, not a permanent solution.
For serious gear failure like a broken frame on a pack, you might need to redistribute the load to other group members or use your sleeping pad as an emergency frame. The point is, improvisation is a skill you develop. Test your gear before you go. Know what weak points it has. And carry a small repair kit that matches the gear you’re actually using.
Weather Emergencies: Lightning, Flash Floods, and Hypothermia
Weather is the great equalizer. You can prepare for blisters and broken gear, but weather can change in minutes and catch even the most experienced traveler. The first line of defense is situational awareness. Before you leave camp, check the forecast. On the trail, watch the sky. Building cumulonimbus clouds, a sudden drop in temperature, or a change in wind direction are all signs that something is coming.

Lightning
If you hear thunder, lightning is close enough to strike you. Get off ridges, peaks, and wide open spaces. Avoid isolated trees. Crouch on the balls of your feet to minimize contact with the ground. Do not lie flat—that makes you a bigger target for a ground current. If you are in a group, spread out so that if one person is struck, the others can help. Wait at least 30 minutes after the last thunderclap before moving on.
Flash Floods
This is a real risk in desert canyons and narrow valleys. If you hear a rumbling sound or see the water rising, immediately move to higher ground. Do not try to outrun the water in a canyon. You will lose. If you are in a slot canyon, the safest place is a wide area, not a narrow passage. Do not cross a flowing creek if the water is above your knees—the current can be deceptive.
Hypothermia
The early signs are shivering and clumsiness. This is when treatment is easiest. Get the person out of the wind and rain. Put them in dry clothes and a sleeping bag. Give them warm, sugary drinks or food. Do not give them alcohol. If they stop shivering, that’s a sign of severe hypothermia. In that case, you need to warm them from the outside by skin-to-skin contact. This is a life-threatening situation and requires immediate evacuation.
Insurance That Actually Covers Adventure Travel Emergencies
Standard travel insurance is designed for hotel stays and lost luggage. It often has blanket exclusions for activities like trekking above 3,000 meters, mountaineering, scuba diving, or climbing. If you’re doing any of these, you need specialist insurance.
When shopping for adventure travel insurance, here’s what to look for:
- Evacuation coverage: This should cover helicopter evacuation and medical transport to a hospital. Read the fine print. Some policies only cover evacuation to the “nearest appropriate medical facility,” which could be a basic clinic.
- Search and rescue: This is separate from evacuation. It covers the cost of a search team if you are lost. Some policies cap this at a low amount.
- Activity-specific exclusions: Check the list of covered and excluded activities. Some policies have a “dangerous sports” add-on. Pay for it.
- Gear loss: This covers your expensive backpack and equipment if it’s lost or stolen. It’s useful, but not as critical as the above.
Providers like World Nomads and SafetyWing are popular among adventurers because they do cover a wide range of activities. But don’t just take my word for it. Read the policy wording. Call them if you need to. The cheapest policy is useless if it doesn’t cover your specific trip. The cost of a good policy is always less than the cost of a helicopter ride.
How to Practice Emergency Drills Before Your Trip
Reading this guide is a good start. Practicing it is better. Muscle memory saves you when you’re cold, wet, and scared. Here are a few simple drills you can do at home or on a local hike:
- Set up your tent in the dark or in the rain. Do it in your backyard. Do it in a park. See how long it takes. If it takes more than 10 minutes, you need to get faster.
- Read a map and compass at night. Use a red light. Orient the map. Find a bearing. This skill is slowly being lost because everyone relies on GPS. It’s a critical backup.
- Simulate a sprained ankle. Have a friend act like they can’t walk. Try to build a splint from your gear. Try to move them 100 meters. You’ll quickly realize how difficult it is to evacuate a person. An emergency splint for hiking can be a useful addition to your practice setup and real kit.
- Test your emergency communication device. If you bought a satellite messenger, send a test message. If you have a PLB, make sure you know how to activate it. Do not wait until you are in a crisis.
These drills take an hour each. They will save you hours of confusion on the trail. Do them.
Common Mistakes Travelers Make During Emergencies (and How to Avoid Them)
I’ve made some of these mistakes. I’ve seen others make them. Here are the most common and how to avoid them.
- Panic and rush decisions. When the adrenaline hits, people make bad choices. They run downhill, they try to cross a flooded creek, they ignore a painful ankle. The fix is simple: stop. Count to ten. Breathe. Then act. That pause is worth more than any piece of gear.
- Not telling anyone the trip plan. This is the most avoidable mistake. If you have no trip plan, no one knows you are missing until days after you were supposed to return. Tell someone at home the exact route, campsites, and when you expect to check in. That person is your safety net.
- Solely relying on your phone’s GPS. I see this all the time. People have maps on their phone, but no backup. The phone battery dies in the cold. The app crashes. You take a wrong turn and can’t find your way back. Always carry a physical map and a compass, and know how to use them.
- Ignoring early symptoms of altitude sickness or dehydration. Altitude sickness starts with a headache. Dehydration starts with a dry mouth and dark urine. Ignoring these early signs can lead to serious problems later. Treat them early. If you have a headache at altitude, stop climbing. If you are thirsty, you are already dehydrated. Drink water before you feel thirsty.
These mistakes are not about lack of skill. They are about bad habits. Break the habits before your trip.

Final Checklist: What to Review Before Every Adventure Trip
This is the part you can actually take with you. Print this list or save it on your phone. Review it before every trip, no matter how short.
- Check your gear: First-aid kit, repair kit, emergency bivvy, fire starter, multi-tool
- Check your communication plan: Satellite messenger or PLB charged and tested, trip plan left with someone at home, emergency contacts saved
- Check your insurance: Does your policy cover the activities you’re doing? Does it include evacuation and search and rescue?
- Check the weather forecast: Be prepared for the worst-case scenario, not the best one
- Check your physical maps and compass: Do you have a backup navigation system? Do you know how to use it?
- Check your physical condition: Are you fit enough for the route? Have you acclimatized to altitude?
That’s it. It’s not glamorous work, but it’s the kind of work that separates a good trip from a tragic story. The wilderness is an incredible place, and it rewards preparation. Take the time to get ready. Your future self will thank you.
Solo Hiking Safety Tips for Beginners: A Practical Guide
Solo Female Adventure Travel Safety: 15 Essential Tips for Women Traveling Alone
The Essential Adventure Travel First Aid Kit: What to Pack and Why