The Ultimate Adventure Travel Gear Checklist for Any Trip
The Only Adventure Travel Gear Checklist You Actually Need
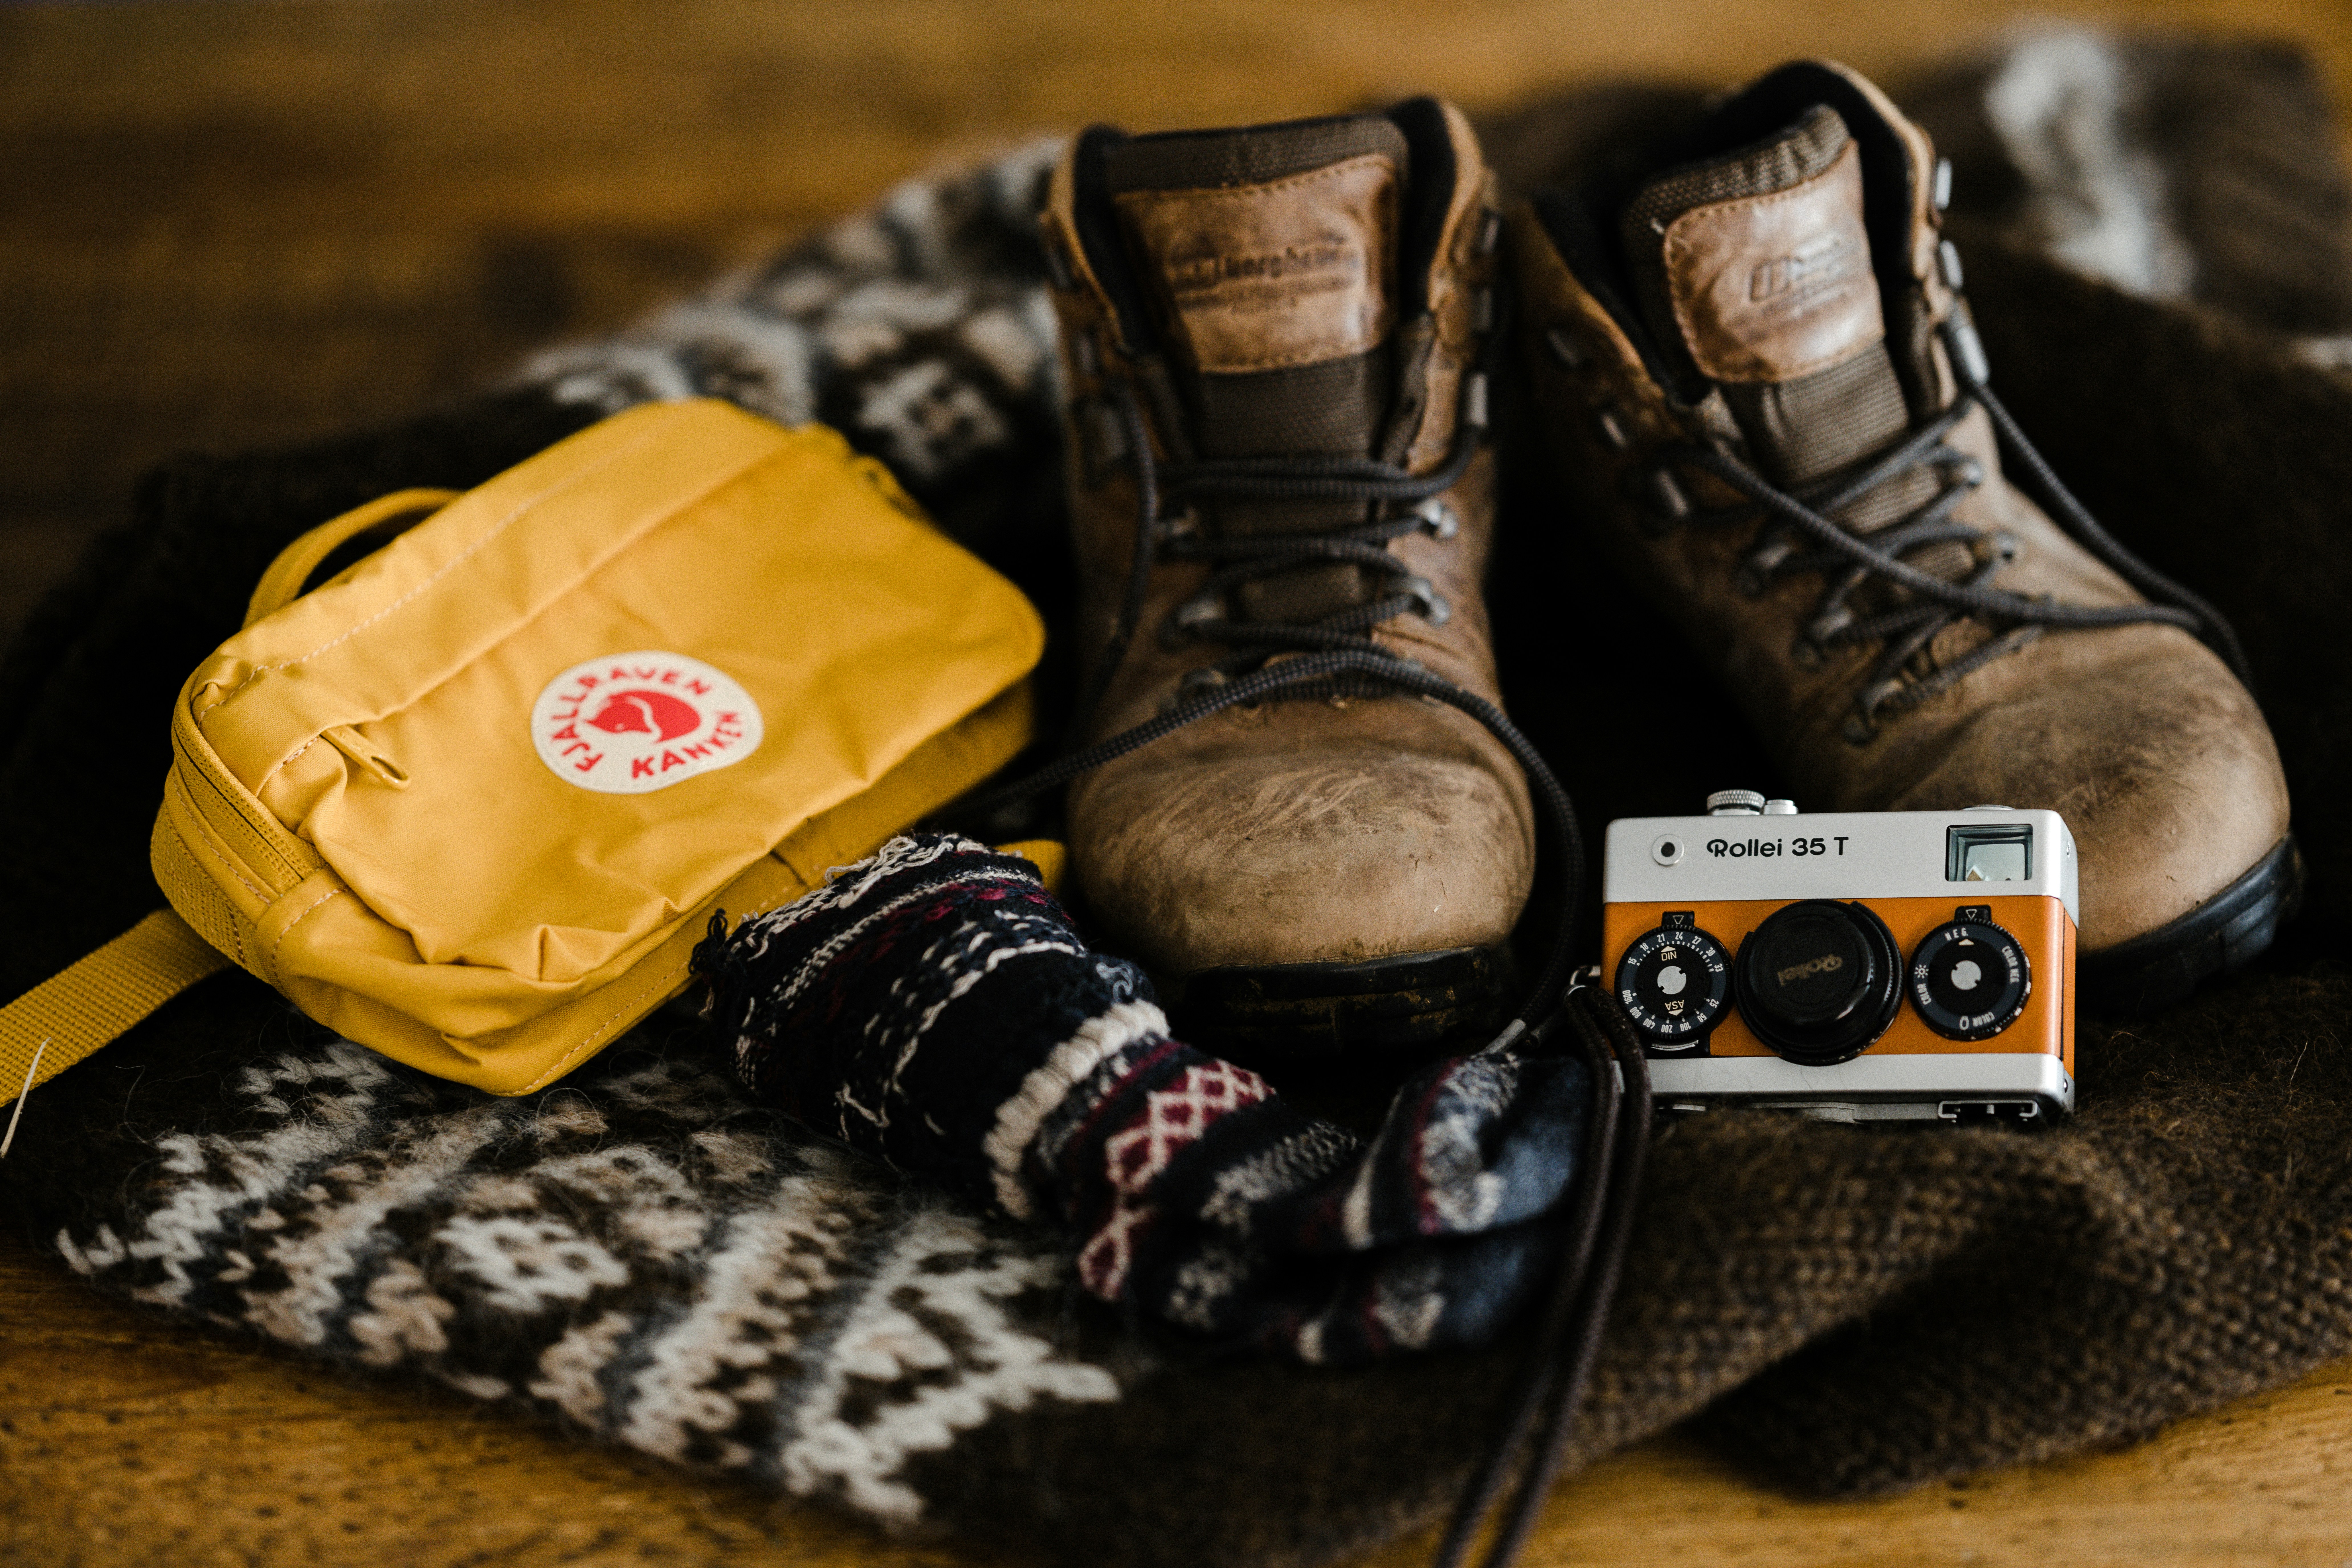
Heading out for a weekend of ridge walking, a multi-day kayak trip, or a week of scrambling up alpine slopes? The biggest stress factor is usually the gear. You worry about what to bring and what to leave behind. That’s where a solid adventure travel gear checklist helps. This guide is for anyone in the planning stage. It helps you pack effectively without overstuffing your bag. No two adventures are the same. A jungle traverse needs a different setup than a cold-weather summit attempt. This list covers the versatile, universal pieces that work across most trip types. Use it as your foundation, then customize it for your specific terrain and conditions.

Why a Universal Gear Checklist Matters (and What It Won’t Cover)
A good gear checklist does one thing well: it reduces stress. When you’re staring at a pile of gear the night before you leave, a list stops you from making frantic, expensive purchases at the local outfitter. It also prevents you from arriving at the trailhead without a water filter or headlamp. The tradeoff is that no single list works for every scenario. A universal list is a starting point, not a final answer. Packing for a desert canyon is different from packing for a coastal rainforest. A one-size-fits-all approach will leave you wet or overheated. You need a trip-specific kit. This list is the skeleton. You add the muscles based on your destination, climate, and activity level. Admitting this limitation upfront builds trust. A checklist claiming to be perfect for every trip is a lie.
The Backpack: Your Mobile Base Camp
Your backpack is the single most critical piece of gear on this list. Everything else lives inside it. If it’s wrong, the whole trip gets harder. For day hikes and short overnighters in mild weather, a 20 to 30-liter pack is usually enough. Look for something light that sits close to your back. For multi-day trips carrying a tent, stove, and several days of food, you need a 50 to 70-liter pack. Internal frames are standard now and offer good stability. The hip belt is where you should pay the most attention. That belt should transfer eighty percent of the weight to your hips, not your shoulders. A common mistake is buying a pack that’s too big. A 70-liter bag feels empty on a three-day trip, which encourages overpacking. Another mistake is ignoring fit. Every torso length is different. If you can, get fitted at a shop. For a high-reliability option, look at Osprey or Deuter packs. Travelers who need a durable pack for varied conditions can find reviews of the best backpacking backpacks to compare features like suspension and weight distribution. These brands offer strong warranty programs and are designed to last through years of abuse.
Shelter and Sleep Systems: Rest When It Matters
Sleep quality dictates how you feel the next day. Your rest system needs to match your expectations and the climate. Tents are the most versatile option. They work in wet, cold, and windy conditions. For warm, dry climates, a hammock with a rain fly is lighter and more comfortable. The sleep system breaks into three parts: the bag, the pad, and the shelter. Sleeping bags come with a temperature rating. For most three-season trips, a bag rated at twenty degrees is a good safety margin. Down bags are warmer per ounce, but they’re useless when wet. Synthetic bags are heavier but handle moisture better. The sleeping pad is equally important. The R-value measures insulation from the ground. A pad with an R-value of around 4.5 to 5 works for cold-weather trips. A common mistake is underestimating how cold it gets at night, even in summer. A three-season bag with a decent pad covers most scenarios. When choosing between two tent models, consider a freestanding design for rocky or sandy ground, and a non-freestanding design if you want to save weight. For longer trips, a high-quality sleeping bag for camping can make a significant difference in warmth and comfort.

Clothing Systems: Layers Over Fashion
There’s no room in your pack for trendy pieces. Everything you wear serves a purpose, and that purpose is managing temperature and moisture. The layering system is simple: base layer, mid layer, outer layer. The base layer sits against your skin and should be moisture-wicking. Merino wool is the gold standard because it manages odor and regulates temperature naturally. Synthetic polyester blends are cheaper but get smelly faster. The mid layer traps heat. A lightweight fleece works for active days, while a down jacket or synthetic puffy is better for static camp use. The outer layer protects you from wind, rain, and snow. A good waterproof jacket with a DWR coating is worth the investment. Gore-Tex is the industry benchmark, but other membranes work fine. Footwear depends on terrain. Trail runners are lighter and dry faster, making them a good choice for dry, smooth trails. Hiking boots offer more ankle support and last longer on rocky, uneven ground. The tradeoff is breathability versus durability. You pay more for lighter, more breathable gear, but it’s worth it for long miles. Avoid cheap polyester base layers. Spend on merino wool and a good waterproof shell.
Navigation Tools: Don’t Rely on Your Phone Alone
Your phone is a powerful tool, but it’s not a reliable navigation device for the backcountry. Batteries drain in the cold, screens break, and signal disappears. You need a backup. At a bare minimum, carry a paper map of the area and a baseplate compass. This setup never runs out of battery, but it requires you to know how to orient the map and take a bearing. Many people skip this skill and get lost. For convenience, a dedicated GPS device like a Garmin inReach provides satellite navigation and emergency communication. It’s bulky but reliable. Offline maps on your phone are a good middle ground. Download them before you leave. The biggest mistake is not learning how to use the compass before your trip. You can read reviews of the best compasses, but if you can’t use one, it’s just a piece of plastic. Beginners may want to start with a reliable hiking compass to practice basic orienteering skills before heading out. Whatever you choose, always carry a backup. A paper map and a basic compass weigh almost nothing.
Hydration and Water Treatment: Stay Alive, Stay Light
Water is heavy. Carrying enough for a full day of hiking means hauling several extra pounds. A better strategy is to carry less water and treat water you find along the trail. Hydration bladders are popular because they let you drink without stopping, but they’re less durable than bottles and harder to clean. Nalgene bottles are nearly indestructible. Stainless steel bottles like Hydro Flask are heavier but keep water cold. For water treatment, you have several options. The Sawyer Squeeze is lightweight, fast, and reliable. It filters water quickly but requires you to squeeze. A UV pen is lighter and faster but needs batteries and clear water. Gravity filters are great for base camps. A common mistake is not treating water in remote areas. Giardia and other parasites exist nearly everywhere. Even clear mountain streams can be contaminated. A filter weighs only a few ounces, and the cost compared to getting sick on the trail is nothing.
Cooking and Food Storage: Fueling the Engine
A hot meal at the end of a long day is a morale booster. Cooking systems come in two main types: canister stoves and liquid fuel stoves. Canister stoves are the standard for most trips. They’re simple, light, and boil water fast. The downside is that they perform poorly in cold weather. As the temperature drops, the fuel pressure drops. Liquid fuel stoves work better in freezing temperatures and at high altitude, but they’re heavier and require priming. For most warm-weather and short trips, a canister stove like a Jetboil or MSR PocketRocket is the right choice. Cookware should be lightweight and compact. A single titanium pot with a lid is enough for boiling water. For food storage, you need to keep critters away. In bear country, a hard-sided bear canister is required. In other areas, a bear bag or an odor-proof dry bag works well. A common mistake is forgetting to check fuel type compatibility. Not all stoves work with all canisters. Pack the right fuel for your setup.

First Aid and Emergency Kits: What Actually Belongs
A first aid kit should be small and specific to your trip. You don’t need a full trauma kit for a weekend hike. The most common issues on the trail are blisters, small cuts, and headaches. Blisters are the number one nuisance, so bring moleskin or blister bandages. A roll of medical tape weighs almost nothing and fixes almost everything. Pain relief like ibuprofen or acetaminophen is useful. Antihistamines for allergies or unexpected reactions are also a good idea. The debate is whether to buy a pre-made kit or build your own. Pre-made kits from Adventure Medical Kits are well-organized and cost effective. They include most of what you need. A DIY kit can be more tailored but requires discipline. The biggest mistake is overpacking. A massive kit gets left behind or takes up too much space. Underpacking is also a problem. Carry the basics plus a whistle, a fire starter, and an emergency blanket. These three items can save your life if you get lost or stranded.

Tools and Repair Kits: Fix It on the Trail
Things break on the trail. A small multi-tool with pliers, a knife, and a screwdriver covers ninety percent of repairs. A Leatherman or Swiss Army Knife is the standard. Duct tape is the single most useful repair item you can carry. Wrap a few feet around a pencil or a water bottle to save space. Gear repair patches work for inflatable pads, tents, and puffy jackets. The common mistake is carrying a full toolkit. You don’t need a full-sized wrench or a hammer. A small multi-tool and a roll of duct tape can fix a broken strap, a leaking hydration tube, or a torn pack. Pack these three items and you can handle most problems on the trail.
Lighting: Don’t Get Caught in the Dark
When the sun goes down, you need light. A headlamp is better than a flashlight because it keeps your hands free. Look for one that puts out at least 200 lumens for general use. More is better for navigating tricky terrain at night. Battery life matters. Lithium batteries last longer in cold weather. Some headlamps come with a red light mode, which is useful for preserving night vision and not blinding your hiking partners. Avoid relying on your phone’s flashlight. It drains your battery, and you need that phone for other things. A dedicated headlamp from Petzl or Black Diamond is cheap insurance.
Common Packing Mistakes That Ruin Adventure Trips
I’ve made every mistake on this list. You don’t need to repeat them. The first mistake is overpacking. More stuff means a heavier pack, which means more fatigue and less enjoyment. The second mistake is ignoring weather forecasts. You check the weather for your city, but you don’t check the forecast for the trailhead at elevation. It can be ten degrees colder up there. The third mistake is not testing your gear before the trip. A new stove you’ve never lit is a gamble. Test everything at home. The fourth mistake is buying cheap gear that fails. A cheap stove that won’t boil water or a tent that leaks will ruin your trip. Spend on the pieces that matter most: your shelter, your sleep system, and your shoes. Everything else is negotiable.
Final Gear Checklist: Print This Before You Pack
Here’s a quick, scannable list to run through before you zip your bag:
- Backpack (appropriate size)
- Shelter (tent, hammock, or bivvy)
- Sleeping bag (temperature rated for the trip)
- Sleeping pad (appropriate R-value)
- Base layers (wool or synthetic)
- Mid layer (fleece or down jacket)
- Outer layer (waterproof jacket and pants)
- Footwear (trail runners or boots)
- Navigation (map, compass, GPS device)
- Hydration (water bottles or bladder + filter)
- Cooking system (stove, fuel, pot)
- Food storage (bear canister or dry bags)
- First aid kit (blister care, pain relief, emergency items)
- Multi-tool and duct tape
- Headlamp with extra batteries
Print this out and check each item against your specific trip. Customize it for your destination.
Frequently Asked Questions About Adventure Gear
How much should my pack weigh?
A good target is that your total pack weight should not exceed twenty to twenty-five percent of your body weight. Base weight (everything except food and water) should be around fifteen pounds or less if you’re using ultralight gear.
Do I need waterproof boots?
If you’re hiking in wet or muddy conditions, yes. If you’re in a dry climate or on smooth trails, trail runners are better. They dry faster and are lighter.
What if I’m on a budget?
Spend your money on three things: your shoes, your sleeping bag, and your tent. Everything else can be bought cheaper. A cheap stove will still boil water, and a cheap headlamp will still provide light. Don’t skimp on the gear that protects you from the elements or supports your feet.
Can I use a backpacking checklist for a climbing trip?
A universal checklist is a starting point, but it needs to be modified. Climbing trips require specific hardware like ropes, harnesses, and carabiners. Add those to your checklist and remove items you won’t use.