How to Train for Adventure Travel: A Practical Fitness Guide
“`html
Introduction

Adventure travel isn’t a beach vacation. It’s active, demanding, and humbling if you show up unprepared. If you’re planning a multi-day trek in Patagonia, a via ferrata in the Dolomites, or a backpacking trip through the Andes, your body needs to handle things a standard gym routine doesn’t cover. This adventure travel training guide is for anyone who wants to build real-world capability for their next trip. You don’t need a gym membership or a complicated periodized program. You need specific, practical training that translates to uneven terrain, heavy packs, long hours, and unpredictable conditions. That’s what we’re building here. We’ll cut through the noise and focus on what actually works for the trail, not the mirror.

Why Generic Fitness Plans Fall Short for Adventure Travel
Most fitness plans are designed for aesthetics or general health. Bodybuilding splits, CrossFit metcons, and running programs all have their place, but they don’t transfer well to the specific stresses of adventure travel. The gym is a controlled environment. The trail is not. Here are the key differences:
- Volume vs. intensity: A typical gym workout lasts an hour with rest periods. A day on the trail can be 8–10 hours of continuous, low-to-moderate effort. Your body needs sustained output, not spike and recover.
- Single-plane vs. multi-plane movement: Most gym machines work in one plane. Adventure travel demands stability on uneven, shifting surfaces—rocks, roots, scree, mud. You need reactive stability from your ankles, knees, and hips.
- Load distribution: A barbell squat loads your spine symmetrically. A backpack shifts weight, pulls you backward, and creates asymmetrical forces. You need core stability and single-leg strength to manage that.
- Altitude and environment: Many adventure destinations involve altitude, cold, heat, or humidity. Standard gym training doesn’t prepare your cardiovascular system for reduced oxygen or your body for temperature regulation during prolonged effort.
If you’ve been following a general fitness routine, don’t scrap it. But understand that it’s not enough. You need to add endurance, load-bearing stability, and mobility to your foundation. That’s what this plan addresses.
The Three PillarsAdventure Travel Fitnessness: Endurance, Strength, Mobility
Adventure travel fitness breaks down into three non-negotiable components. Each covers a specific demand you’ll face on the trail.
- Endurance: This is your aerobic engine. It allows you to walk uphill for hours without redlining, recover quickly during breaks, and maintain a steady pace over multiple days. Without it, you’ll be the person stopping every twenty minutes.
- Strength: This isn’t about maxing out on a bench press. It’s about load-bearing capacity and stability. You need the strength to carry a pack, step up onto boulders, and stabilize your body on uneven ground. Think squats, lunges, and carries, not pectoral flys.
- Mobility: This is your range of motion. Tight hips, stiff ankles, and a locked-up upper back are common problems that lead to injury on the trail. Mobility work prevents these issues and allows you to move efficiently over varied terrain.
Training for adventure travel means balancing these three pillars. Neglect one, and the whole system breaks down. Let’s dive into each.
Building Aerobic Endurance Without Burning Out
The most effective way to build endurance for adventure travel is steady-state aerobic work. Specifically, Zone 2 heart rate training. This means working at a pace where you can still hold a conversation, but you’re breathing noticeably harder than at rest. For most people, this is a power hike or a brisk walk on an incline.
Zone 2 training develops your aerobic base without crushing your central nervous system. It builds capillary density and mitochondrial efficiency, meaning your body gets better at using fat for fuel and clearing lactate. This is what keeps you moving on day three of a trek when others are hitting the wall.
How to do it:
- Use a treadmill with a steep incline (10–15%). Set a speed that keeps your heart rate in zone 2 (roughly 65–75% of your max heart rate). Aim for 45–90 minutes per session.
- Better yet, get outside. Hike on actual trails with a light pack (10–15 lbs). Uneven terrain recruits more stabilizer muscles and better simulates real conditions.
- Do 2–3 zone 2 sessions per week. One can be a long hike of 2–3 hours. The others can be shorter treadmill sessions.
Common mistakes to avoid:
- Overtraining: Doing too many high-intensity sessions will burn you out and increase injury risk. Keep most of your endurance work steady and easy.
- Too much HIIT: High-intensity interval training has its place, but it doesn’t build the sustained aerobic engine you need for long days. Prioritize zone 2 over sprints.
- Neglecting gear: A heart rate monitor is the single most useful tool for endurance training. It keeps you honest. A cheap chest strap or wrist-based monitor is fine, like an heart rate monitor chest strap. Hiking poles can also reduce the load on your knees during long downhill sections.

Strength Training Movements That Actually Transfer to the Trail
For adventure travel, your strength training should be centered on compound, multi-planar movements that build stability and load-bearing capacity. Forget isolation exercises. Here are the key movements:
- Squats: Build leg strength and core stability. Goblet squats and front squats are excellent because they force you to keep an upright torso, similar to carrying a pack.
- Lunges: Any variation works—walking lunges, reverse lunges, lateral lunges. They build single-leg strength and balance, which are critical for uneven terrain.
- Step-ups: This is the single best exercise for steep ascents. Use a box or bench at knee height. Step up, drive through your heel, and control the descent. Add weight as you progress.
- Deadlifts: Specifically suitcase deadlifts and single-leg deadlifts. These build the posterior chain (glutes, hamstrings, lower back) and teach you to stabilize asymmetrical loads. Perfect for managing a heavy pack.
- Rows: Bent-over rows or inverted rows. These build the upper back strength needed to carry a pack comfortably. A strong upper back also helps with posture.
- Carries: Farmer’s carries and suitcase carries. These build grip strength, core stability, and load-bearing endurance. Walk with a heavy dumbbell or kettlebell in one hand for 30–60 seconds.
Sample mini-circuit: Do this 2–3 times per week. Rest 60–90 seconds between rounds.
- Step-ups (per leg) x 10
- Single-leg deadlifts (per leg) x 8
- Farmer’s carry x 30 seconds each hand
- Push-ups x 15
- Repeat for 3–4 rounds
Best for: If your trip involves steep terrain, prioritize step-ups and lunges. If you’re carrying a heavy pack, prioritize deadlifts and carries. Tailor the emphasis but don’t skip the basics.
Why Mobility Work Is a Non-Negotiable (and How to Do It Right)
Mobility isn’t about touching your toes. It’s about having functional range of motion in the joints that take the most stress on the trail. The biggest issues adventure travelers face are stiff ankles, tight hips, and lower back pain from a loaded pack. Mobility work prevents these issues, allowing you to move efficiently and avoid injury.
Key drills to include:
- Ankle dorsiflexion: Tight ankles force you to compensate with your knees and hips, leading to pain. Do a simple stretch: stand facing a wall, place your foot a few inches from the wall, and drive your knee forward while keeping your heel on the ground. Hold for 30 seconds per side. Repeat daily.
- Hip CARs (controlled articular rotations): These open up the hip joint. Stand on one leg, and slowly rotate the other leg in a large circle, keeping your pelvis stable. Do 5 circles each direction per leg. Great for pre-hike warm-ups.
- Thoracic rotations: A locked-up upper back makes carrying a pack miserable. Lie on your side with your knees stacked. Open your top arm toward the ceiling, rotating through your mid-back. Do 8–10 reps per side.
How to integrate mobility work: Do these drills as part of your warm-up before strength or endurance sessions. They take 5–10 minutes. You can also do them on rest days as a separate session. Aim for 3–4 times per week.
Avoid this mistake: Do not static stretch before exercise. Static stretching (holding a stretch for 30+ seconds) temporarily reduces muscle strength and power. Use dynamic mobility drills like CARs instead. Save static stretching for after your workout or on rest days.
How to Simulate Real Conditions: Terrain, Load, and Pace
You can’t replicate the trail entirely in a gym, but you can get close. The most effective training for adventure travel is rucking—walking with a weighted pack on real terrain. Here’s how to do it correctly:
- Start light: Begin with 10–15 lbs in your daypack. Walk on trails, grass, or gravel—anything that isn’t a paved road. Uneven surfaces force your stabilizers to work.
- Progress slowly: Add 5 lbs every week or two until you’re carrying 25–30 lbs. Don’t jump straight to your trip pack weight. Your joints and connective tissue need time to adapt.
- Use stairs or hills: Find a steep hill or a stadium staircase. Walk up at a slow, steady pace. This mimics the sustained effort of a long ascent. On the descent, control your steps to protect your knees.
- Pace matters: On the trail, you’re not sprinting. You’re walking at a pace you can maintain for hours. On your rucks, aim for a cadence of about 120 steps per minute. Use a metronome app if needed.
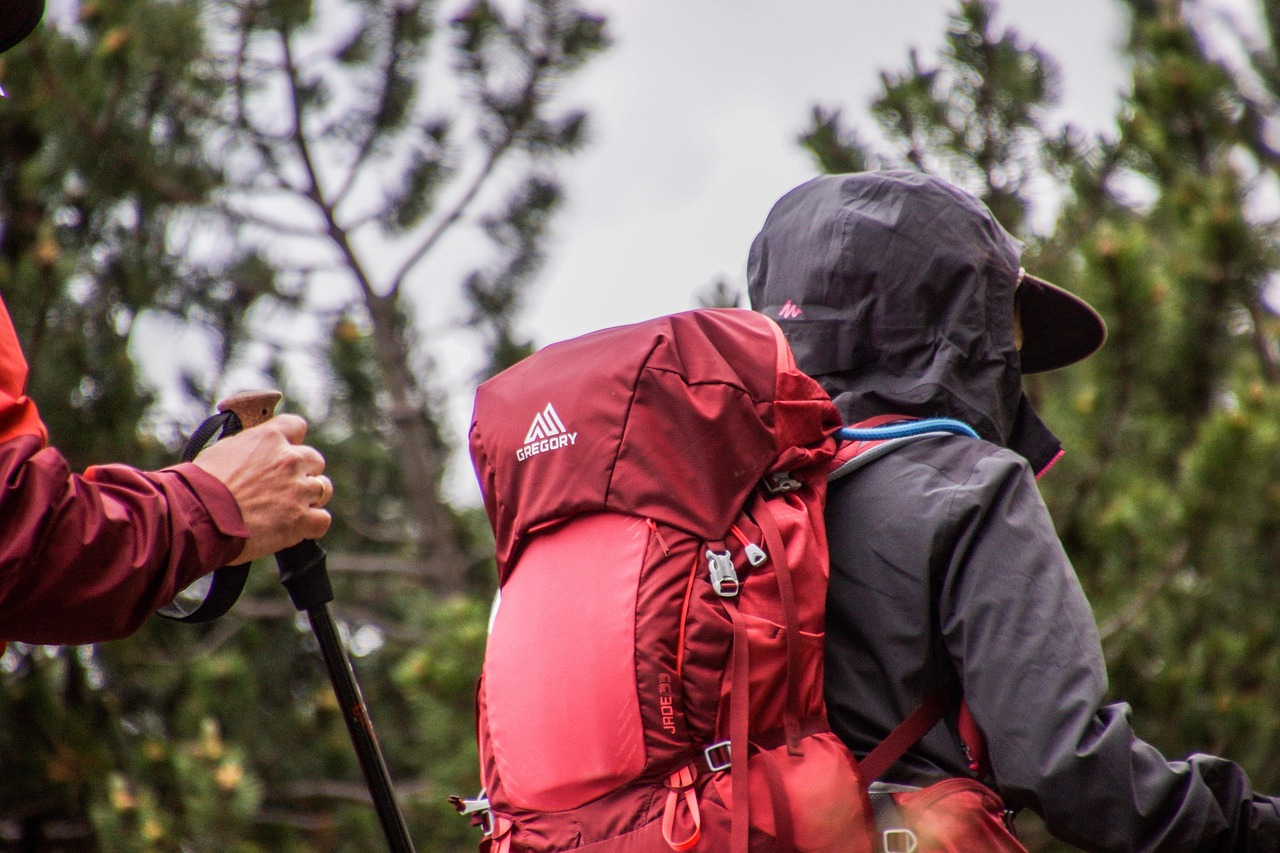
Gear considerations: Your pack should fit well. A cheap, poorly adjusted pack will cause shoulder and back pain before your legs get tired. Look for a pack with a hip belt that transfers weight to your hips, such as a hiking daypack with hip belt. Hydration bladders (e.g., CamelBak) make drinking on the move easier, which is crucial for long sessions. Break in your hiking boots before you start rucking—blisters are a training killer.
Common Mistakes Beginners Make When Training for Adventure Travel
Here are the most frequent errors I see. Avoid them, and your training will be far more effective.
- Ignoring downhill training: Eccentric loading (lengthening under tension) destroys your quads and knees on descents. Add downhill walking or negative step-ups to your training. It’s a specific stressor you can’t skip.
- Only training on flat surfaces: Paved roads don’t prepare your ankles for rocks and roots. Get off the pavement as much as possible. Your stability will thank you.
- Starting with too much pack weight: Your spine, shoulders, and hips need time to adapt. Use the 10% rule: add no more than 10% of your body weight per week to your pack. If you’re 170 lbs, start with 17 lbs max.
- Skipping recovery days: Your body gets stronger during rest, not during workouts. Training 7 days a week will lead to overuse injuries. Include at least one full rest day and one active recovery day (light walking, stretching) per week.
- Focusing only on legs: The trail demands full-body strength and endurance. Neglecting your back, core, and grip strength will catch up with you. Incorporate rows, carries, and upper body work.
Sample Weekly Training Schedule for an 8-Week Prep Period
Here’s a concrete weekly schedule for a focused 8-week prep. Adjust based on your current fitness level.
| Day | Activity | Key Gear |
|---|---|---|
| Monday | Steady-state ruck: 45 min, 15–20 lbs, on uneven terrain | Hiking boots, daypack, hydration bladder |
| Tuesday | Strength circuit: step-ups, single-leg deadlifts, farmer’s carries, push-ups (3–4 rounds) | Dumbbells or kettlebell, sturdy shoes |
| Wednesday | Zone 2 hike: 60–90 min, light pack (10 lbs), conversational pace | Hiking boots, heart rate monitor, hiking poles |
| Thursday | Mobility work: ankle drills, hip CARs, thoracic rotations (20 min) | Foam roller or massage ball |
| Friday | Strength circuit: squats, lunges, rows, carries (3–4 rounds) | Dumbbells or kettlebell |
| Saturday | Long ruck: 2–3 hours, 20–25 lbs, varied terrain | Hiking boots, pack, hydration, snacks |
| Sunday | Active recovery: light walk or stretch (30 min) | Comfortable shoes |
Week-by-week progression: In weeks 1–2, keep everything light. In weeks 3–6, increase ruck weight (add 5 lbs each week) and extend your long ruck by 30 minutes. In week 7, continue at peak volume. Week 8 is taper week—cut volume by 50% while maintaining intensity.

How to Adjust Training for Different Types of Adventure Travel
Not all adventure travel is the same. Here’s how to adjust your training for specific trip types:
- Trekking (multi-day, high altitude): Emphasize endurance above all. Ruck with a pack weight that matches your trip load (20–30 lbs). Do your long rucks on steep hills. Altitude simulator masks don’t work. Instead, focus on breathing technique and slow, steady pacing.
- Via ferrata or rock climbing: Pull strength and grip endurance become critical. Add pull-ups, dead hangs, and farmer’s carries with fat grips to your strength routine. Your upper body and grip training shift from back support to primary movers.
- Sea kayaking: Upper body endurance and core stability are the priority. Include rows, pull-downs, and rotational core work (Pallof presses, cable rotations). Your endurance sessions should be longer but with less load. Core strength prevents back pain during long paddling days.
- Backpacking (heavy load, long miles): This is the full package. Your training should be balanced across all three pillars. Prioritize rucking with your actual trip pack weight in the final weeks. Focus on core stability and load management.
Tailor the emphasis but don’t abandon the other pillars. A sea kayaker still benefits from leg strength for portaging. A trekker still needs upper body strength for scrambling.
Gear That Can Make or Break Your Training
Good training gear isn’t about looking the part. It’s about functionality and injury prevention. Here’s what matters:
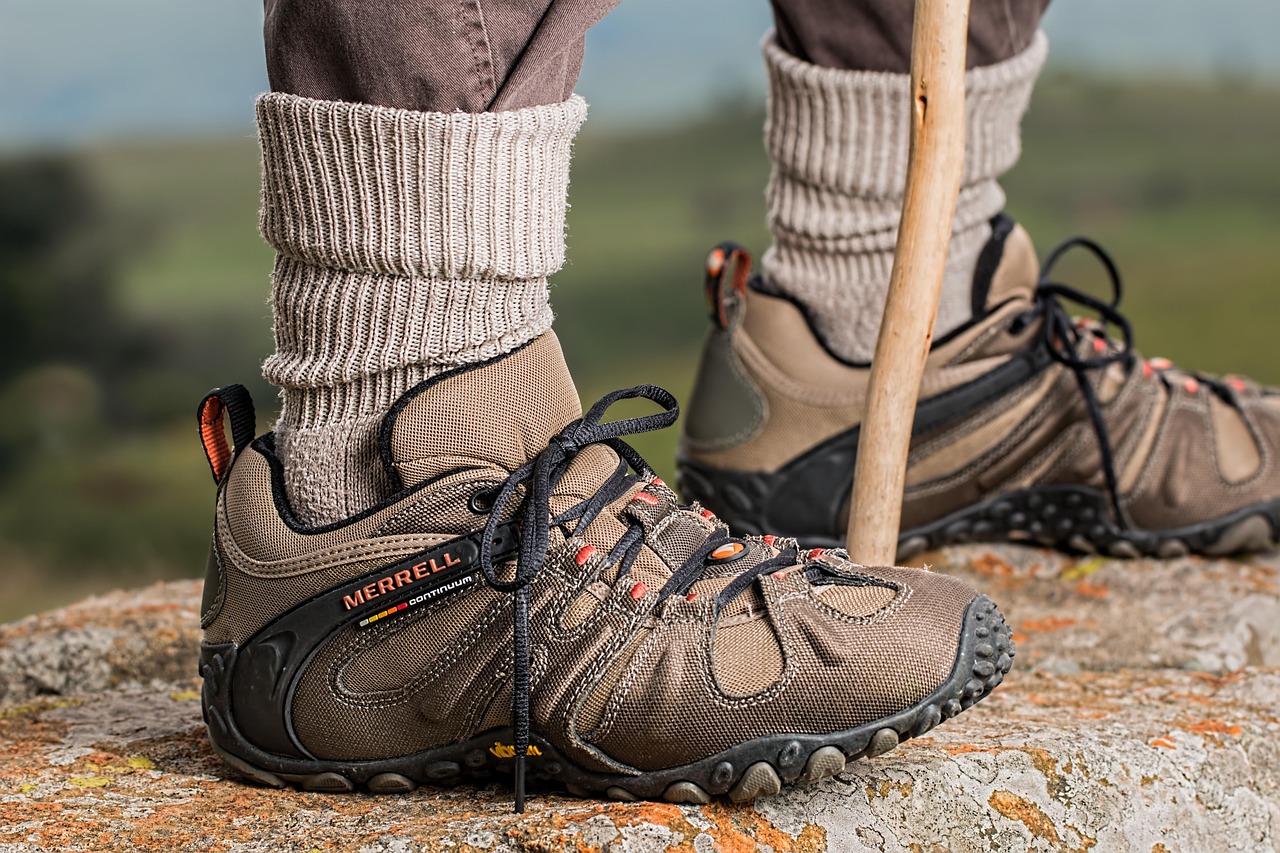
- Proper hiking boots: Do not train in new boots. Break them in during your first few weeks of rucking. This prevents blisters and ensures they are comfortable for your actual trip. Avoid minimalist shoes for heavy rucking unless you’ve built up to them.
- A daypack for rucking: Look for a pack with a hip belt and adjustable sternum strap. It doesn’t need to be fancy, but it must fit well. A bad pack will cause shoulder and back pain before your legs get tired.
- A heart rate monitor: This is the single most underrated training tool. It keeps you in zone 2 during endurance work and prevents overtraining. A simple chest strap or wrist-based monitor like a Garmin or Polar works.
- A high-quality foam roller or massage ball: Recovery is training. Rolling out tight muscles after long rucks prevents knots and keeps your mobility on track. A foam roller for mobility or a lacrosse ball is worth its weight.
- A durable water bottle or bladder: Staying hydrated during training is non-negotiable. A hydration bladder for hiking makes drinking on the move easy. A wide-mouth Nalgene bottle is fine for shorter sessions.
Putting It All Together: Your Final Week Before the Trip
The final week is a taper. Your goal is to arrive at the trailhead fresh, not fatigued. Here’s a rough outline:
- Reduce volume: Cut your training volume by 50–60%. A short ruck (20–30 minutes) and a light strength session are plenty. Maintain intensity on the movements you do.
- Prioritize sleep and nutrition: Sleep 7–9 hours per night. Eat a balanced diet with plenty of carbohydrates in the 2–3 days before departure. Complex carbs (rice, oats, sweet potatoes) are best.
- Hydrate well: Carry a water bottle everywhere. Drink consistently. You can’t catch up on hydration in a day.
- Stretch and roll: Do your mobility drills every day. Focus on hips, ankles, and lower back. Use a foam roller on any tight spots.
- Logistical check: Pack your gear, double-check your boots, and plan your first day’s route. The less you have to think about on the trail, the better.
You’ve put in the work. Now trust it. The trail is the payoff. Good luck out there.
“`